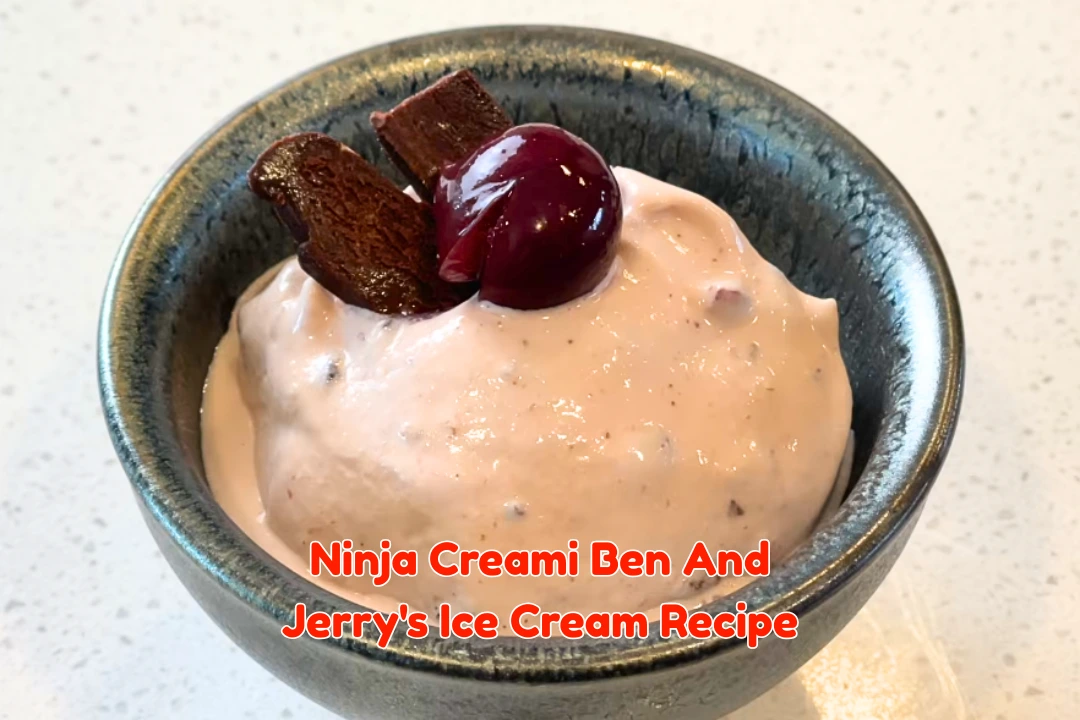
Ninja Creami Ben And Jerry’s Ice Cream Recipe (nostalgic flavor)
Do you ever get a craving for that classic cherry and chocolate ice cream flavor and wish you had a pint waiting in the freezer?
I do. Cherry Garcia has always been one of those flavors I come back to, especially when I want something rich, creamy, and full of cherry flavor.
Today, I’m sharing my Ninja Creami Ben & Jerry’s Ice Cream Recipe, inspired by that familiar cherry-chocolate combination.
What makes this homemade version a little different is that the cherries are prepared separately in an allulose syrup before they go into the pint.
That helps keep the cherry pieces soft instead of turning into hard frozen chunks. I also make a simple dark chocolate fudge to fold through the ice cream.
The result is a smooth Ninja Creami cherry ice cream with soft fruit pieces and little bites of rich chocolate fudge in every scoop.
It has that nostalgic cherry-and-chocolate flavor I keep coming back to, but with the fresh texture you get from making a pint at home.
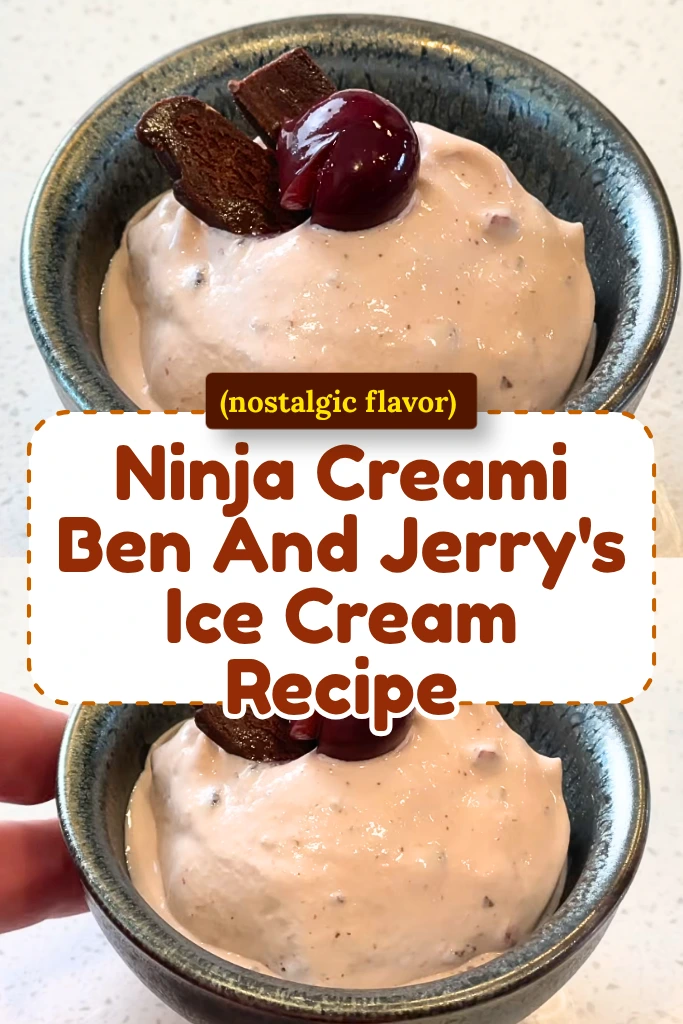
Why I’m Making This Cherry Ice Cream Using Ninja Creami
Making this cherry ice cream with the Ninja Creami because it gives me a smoother, creamier texture with very little hands-on work after the base is frozen.
I’ve made homemade ice cream with a regular ice cream maker, but the Creami gives this recipe a different kind of finish.
The frozen cherry base comes out thick and scoopable, and a quick re-spin helps if the first spin looks crumbly. I also like having separate control over the cherry pieces and chocolate fudge.
After the first spin, I can add both with the Mix-In setting and keep those little bites throughout the pint instead of blending them into the base.
For this cherry chocolate ice cream, that texture is the main reason I reach for my Ninja Creami.
Ninja Creami Ben And Jerry’s Ice Cream Ingredients
100 g frozen cherries for the cherry mixture
I use frozen cherries here because they are easy to keep on hand and work great for making sweet, soft fruit pieces.
150 g water
I add water to the cherry mixture to make a light syrup that helps the fruit stay softer after freezing.
60 g allulose
I use allulose because it helps keep the cherries from turning into hard little ice cubes in the finished ice cream.
375 g 2% milk
I use 2% milk for a creamy base without making the mixture too heavy.
600 g heavy whipping cream, 33% fat
This gives the ice cream its rich, smooth feel. I like 33% cream for this recipe.
190 g granulated sugar
Regular white sugar adds the main sweetness and helps give the ice cream a soft, scoopable texture.
110 g skim milk powder
I add skim milk powder for more milk flavor and a thicker, creamier base.
30 g corn syrup or invert sugar
A little corn syrup helps improve the texture and keeps the frozen ice cream from feeling too hard.
200 g frozen cherries
These cherries go right into the ice cream base. They give the whole pint a fresh cherry taste and pretty pink color.
1 portion ice cream stabilizer
I use the amount listed by the stabilizer maker for about 1.5 liters of ice cream. It helps the base stay smooth.
390 g sweetened condensed milk
I use sweetened condensed milk for the chocolate fudge. It makes the fudge sweet, thick, and easy to cut into small pieces.
350 g dark chocolate, about 70% cacao
Dark chocolate gives the fudge a deep chocolate taste. I find it works better with the sweet cherry flavor than milk chocolate.
Prepared cherry pieces
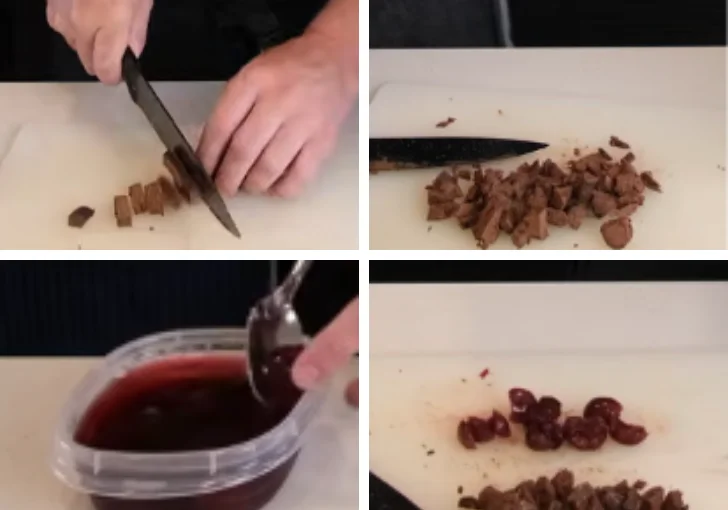
I cut the chilled cherries into quarters. Smaller pieces spread through the ice cream better.
Prepared chocolate fudge pieces
I cut the firm fudge into pieces about ½ cm wide. Small pieces are much easier for the Creami to mix.
Essential Kitchen Appliances
- Ninja Creami machine
- Ninja Creami pint containers
- Small saucepan
- Large saucepan
- Blender
- Kitchen scale
- Cooking thermometer
- Rubber spatula
- Measuring spoons
- 12 x 8-inch baking tray
- Parchment paper
- Fine-mesh strainer, if needed
- Potato masher, if you do not have a blender
How To Make Ninja Creami Ben And Jerry’s Ice Cream At Home
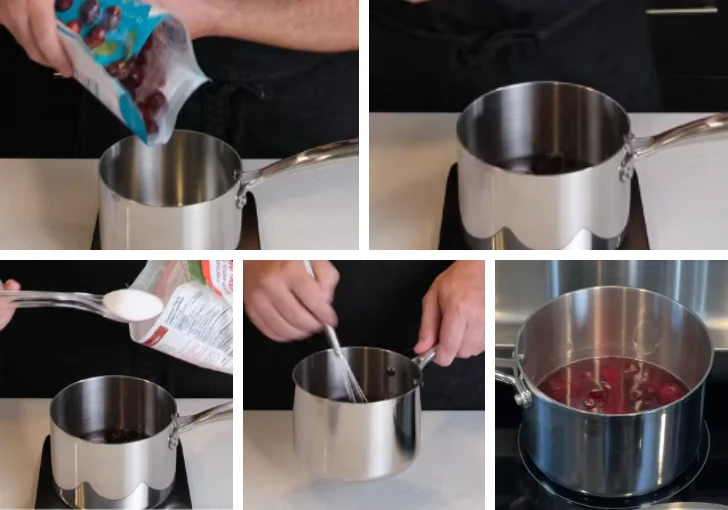
Step 1 | Prepare the Cherry Mixture
Start with 100 g frozen cherries in a small saucepan. Add 150 g water and 60 g allulose. Stir everything gently.
Set the pan over low heat. Let the cherries warm for about 20 minutes. Keep the heat low. You do not want the mixture to boil hard.
The goal is to let the sweetener syrup soak into the cherries. This small step makes a big difference later. The cherries stay softer instead of turning into hard, icy fruit pieces.
Once the cherries are done, take the pan off the heat. Let the mixture cool fully.
Step 2 | Mix the Dry Ingredients
Place 190 g sugar in a large saucepan. Add the ice cream stabilizer based on the amount recommended by the product maker.
Mix the stabilizer into the sugar first. I always do this before adding liquid. It helps spread the stabilizer through the base instead of leaving little clumps.
Add 110 g skim milk powder. Stir again until the dry ingredients are mixed well.
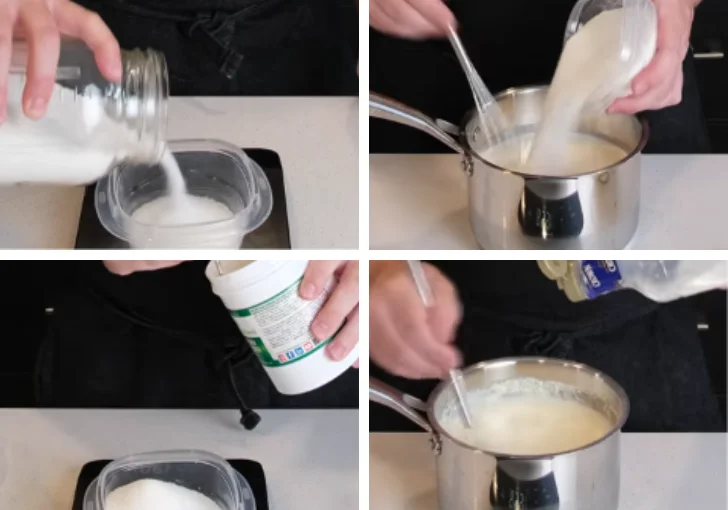
Step 3 | Add the Milk and Cream
Pour 375 g 2% milk into the saucepan. Add 600 g heavy whipping cream and 30 g corn syrup or invert sugar.
Stir the mixture until the milk powder and sugar are well mixed. Scrape around the bottom and sides of the pan so nothing is sitting there dry.
The mixture should look smooth before you start heating it.
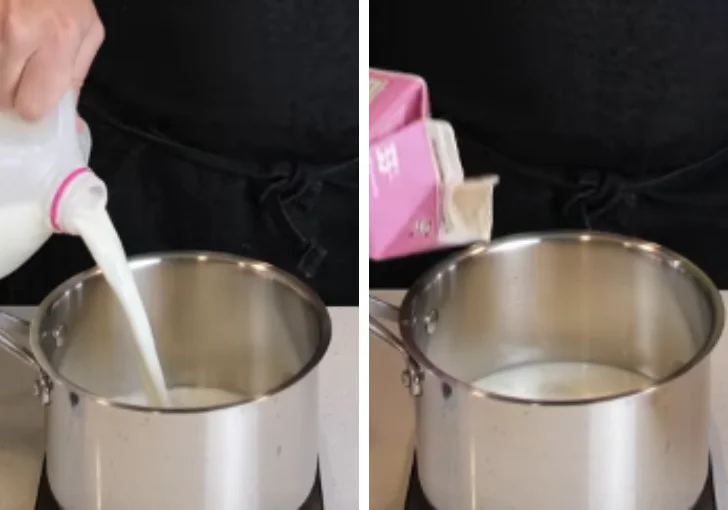
Step 4 | Add the Cherries
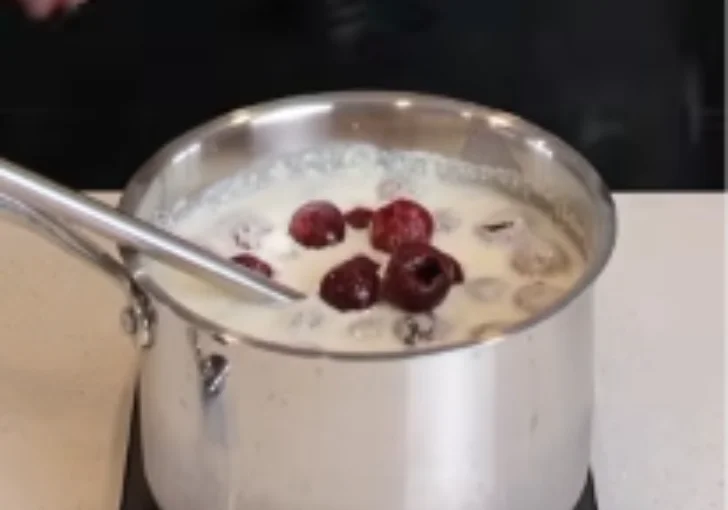
Add 200 g frozen cherries to the milk and cream mixture.
Place the saucepan over medium heat. Stir often as it warms.
Use a kitchen thermometer and slowly bring the mixture to about 85°C (185°F).
Try not to let the mixture go much over 90°C. Cherries are acidic, and too much heat can make dairy curdle. I keep my eye on the thermometer and take my time here.
Step 5 | Blend the Cherry Base
Once the base reaches about 85°C, remove it from the heat.
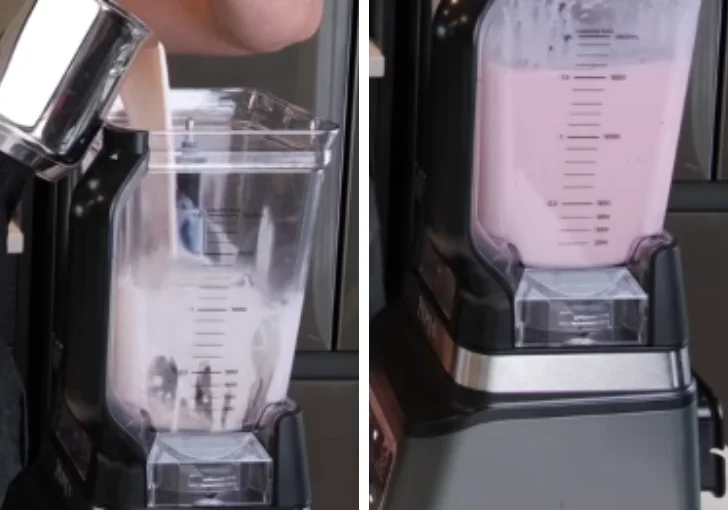
Carefully pour the hot mixture into a blender. Be careful with hot liquids and do not overfill your blender.
Start on low speed for about 20 seconds. Then use short 5- to 10-second bursts at medium or high speed.
Blend until the cherries break down and the base looks smooth.
If you don’t have a blender, mash the cherries very well with a potato masher or fork. Then pour the mixture through a fine-mesh strainer to remove larger pieces.
Step 6 | Cool the Ice Cream Base
Pour the warm cherry base into your Ninja Creami containers.
Do not put the hot containers straight into the freezer. Let them cool first.
Place the cooled containers in the refrigerator and chill the base for several hours. I like to give it plenty of time to get cold before freezing.
A fully chilled base freezes better and gives the Ninja Creami a better starting point.
Step 7 | Chill the Cherry Mix-In
Go back to the first cherry mixture.
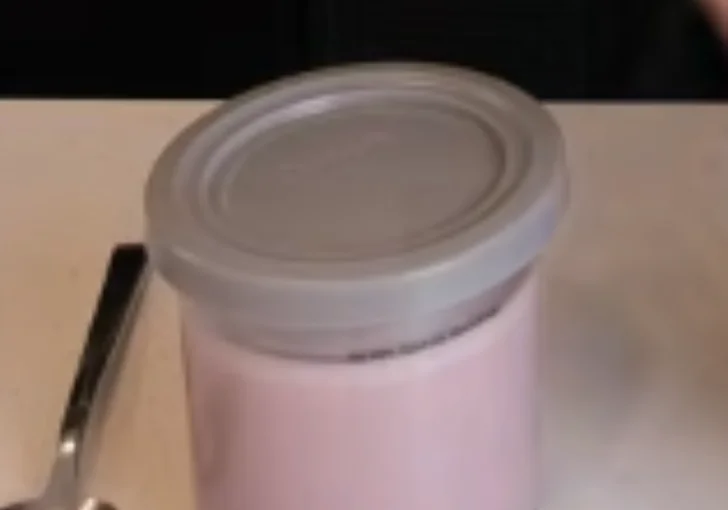
Once it has cooled, place the cherries and syrup in a covered container. Put it in the refrigerator for several hours or overnight.
Keeping the cherries in the allulose syrup helps them stay softer once they are frozen.
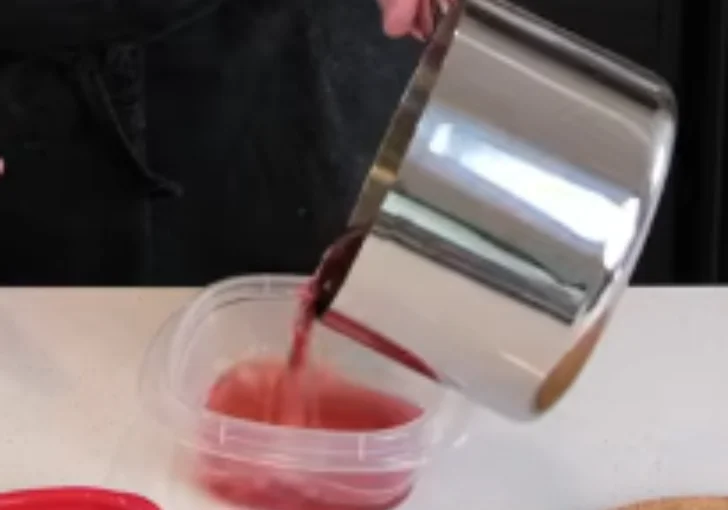
When you are ready to use them, take the cherries out of the syrup and cut them into quarters.
Step 8 | Make the Chocolate Fudge
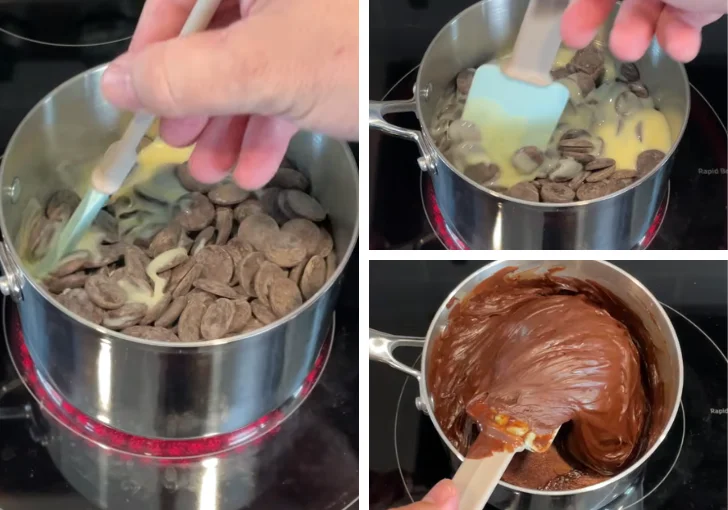
Place 390 g sweetened condensed milk and 350 g dark chocolate in a saucepan.
Set the pan over low heat. Stir constantly as the chocolate melts.
Keep the heat gentle. You only need enough heat to melt the chocolate and combine it with the condensed milk.
When the mixture looks smooth and silky, remove it from the heat.
I like dark chocolate around 70% cacao because the strong chocolate taste balances the sweet cherry base really well.
Step 9 | Set the Fudge
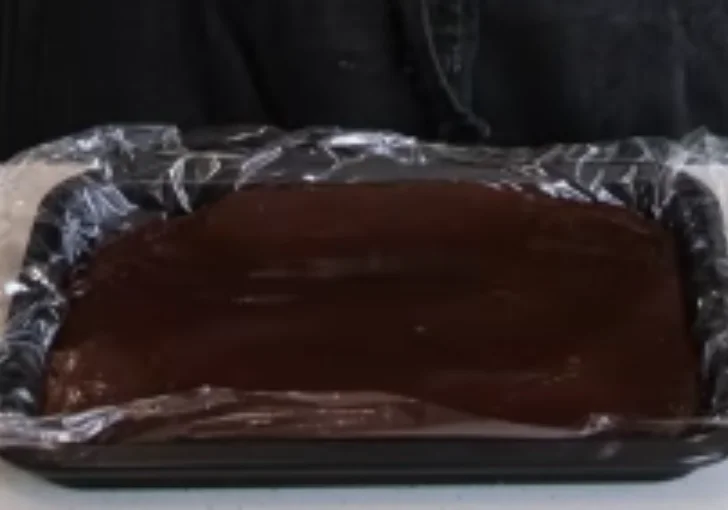
Line a 12 x 8-inch baking tray with parchment paper.
Pour the warm fudge mixture into the tray. Spread it into an even layer with a spatula.
Leave it at room temperature until it becomes firm. If you need it to set faster, place it in the refrigerator or freezer.
Once firm, cut the fudge into small pieces about ½ cm wide.
Keep the pieces small. Big chunks can be rough on the Ninja Creami and can make the final scoop harder to eat.
Step 10 | Freeze the Cherry Base
Make sure your cherry ice cream base is completely cold before freezing.
Place the Ninja Creami containers in the freezer. Freeze them until the base is fully solid, following the normal freezing instructions for your machine.
Do not rush this part. The center needs to be frozen solid before you spin it.
I usually prepare the base ahead of time so I don’t have to wait around when I am ready for ice cream.
Step 11 | Spin the Ice Cream
Take one frozen pint from the freezer.
Place it into your Ninja Creami according to the machine instructions. Select the Ice Cream setting.
After the first spin, check the texture.
The cherry base should look smooth and creamy. It should also have a soft pink color from the cherries.
If the texture looks crumbly, don’t worry. A re-spin can help bring it together. Add a very small amount of liquid only if your machine’s instructions allow it and the texture needs it.
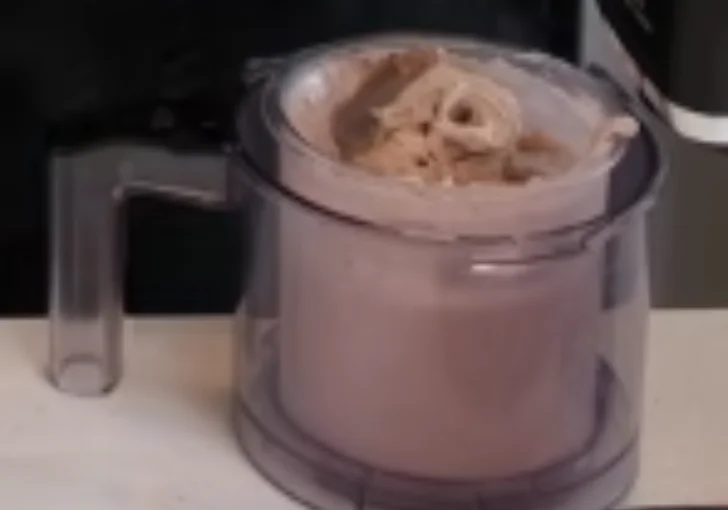
Step 12 | Add the Cherry and Fudge Pieces
Use a spoon to make a hole down the center of the spun ice cream. Make the hole deep enough to reach close to the bottom.
Add some quartered cherry pieces and small chocolate fudge pieces.
Put the pint back into the Ninja Creami and use the Mix-In setting.
This gently spreads the pieces through the ice cream. I like using the Mix-In setting here because I still want to see and taste the cherry and chocolate pieces.
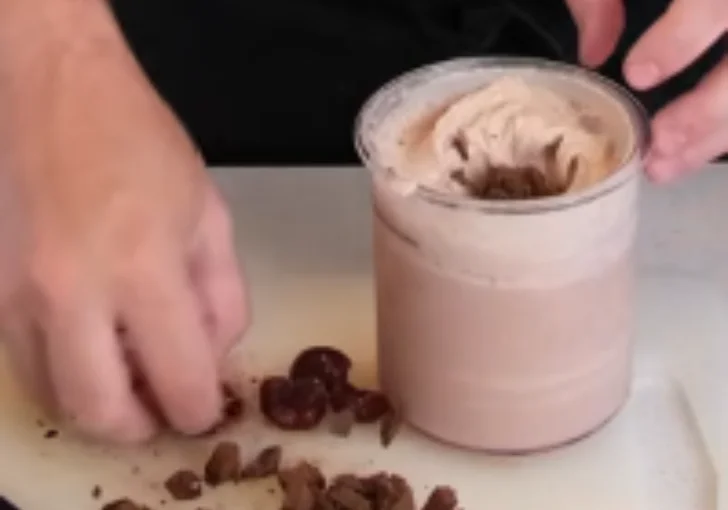
Step 13 | Serve the Cherry Ice Cream
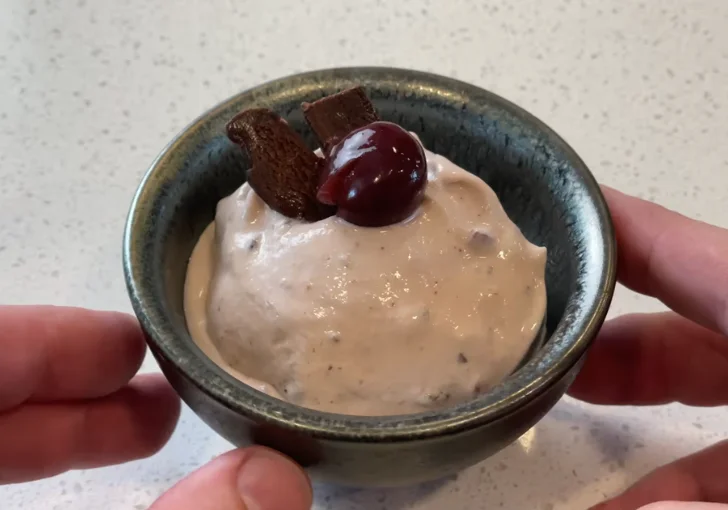
Scoop the finished ice cream into a bowl.
Add a few extra cherry pieces and tiny fudge pieces on top if you like.
The finished Ninja Creami Ben And Jerry’s Ice Cream Recipe should have a creamy cherry base with soft fruit pieces and rich chocolate fudge throughout.
Serve it right away for the softest texture. If you want a firmer scoop, let it sit in the freezer for a short time before serving.
Simple Tricks To Make The Best Ninja Creami Ben And Jerry’s Ice Cream
Keep the cherry syrup gentle – I keep the heat low so the cherries soften without turning into a thick, sticky mess.
Watch the base temperature – Aim for about 85°C (185°F). I don’t push it much past 90°C because the cherry acid can make the dairy split.
Chill before freezing – The base needs to be cold before it goes into the freezer. This gives me a better texture after spinning.
Cut the fudge very small – Pieces around ½ cm work well. Large chunks can be hard for the Mix-In setting to handle.
Use dark chocolate – I prefer chocolate around 70% cacao. It cuts through the sweetness and makes the cherry flavor stand out.
Don’t skip the syrup for the cherries – The allulose syrup helps the fruit stay softer. Plain frozen cherries can become very hard.
Give the Creami time to work – If the first spin looks dry or crumbly, a re-spin can help make the ice cream smooth again.
Creative Variations And Adaptations To Try
Fresh cherry version – When cherries are in season, I use fresh pitted cherries instead of frozen ones. The flavor tastes bright and juicy, and the color can be a little more lively.
Extra chocolate version – I add a few more tiny dark chocolate fudge pieces during the Mix-In step. This works great when I want a stronger chocolate bite in every spoonful.
Almond cherry version – I add a small splash of almond extract to the cooled base. The almond taste pairs nicely with cherries, but I keep it light so it doesn’t cover the fruit.
Less sweet version – I use a slightly darker chocolate and reduce the sweetness only with care. The base still needs enough sugar for a good frozen texture.
Cherry cheesecake style – I serve the finished scoop with crushed graham crackers and a small spoonful of softened cream cheese mixture. It gives the bowl a fun cheesecake feel.
Common Mistakes To Avoid When Making Ninja Creami Ben And Jerry’s Ice Cream
Heating the dairy too much – I keep the base close to 85°C (185°F). Too much heat can cause the dairy to curdle, and the texture won’t be as smooth.
Freezing a warm base – I always cool the base first. Putting it into the freezer while warm can lead to uneven freezing and a rougher final texture.
Using big fudge chunks – I learned this one the hard way. Big pieces don’t mix as nicely, so I keep mine close to ½ cm.
Skipping the cherry syrup – Plain frozen cherries can turn very hard. The allulose syrup helps give the fruit a softer bite after freezing.
Overheating the chocolate – I melt the chocolate slowly. High heat can make the fudge greasy or cause the chocolate to lose its smooth texture.
Adding mix-ins before the first spin – I always spin the ice cream first. Then I add the cherry and fudge pieces with the Mix-In setting.
Stopping after a crumbly first spin – Sometimes the first spin looks dry. I simply use a re-spin when needed. It often turns into a creamy scoop.
Fresh Serving Ideas For Ninja Creami Ben And Jerry’s Ice Cream
Classic ice cream bowl – I scoop it into a chilled bowl and add a few extra cherries on top. It keeps the serving simple and lets the cherry flavor shine.
Chocolate drizzle bowl – I warm a little chocolate sauce and drizzle it over the scoop. I like this when I want an extra rich chocolate taste.
Cherry sundae – I add cherries, chocolate fudge bits, and a small spoonful of whipped cream. It feels like a real ice cream shop treat at home.
Waffle cone – I serve a big scoop in a crisp waffle cone. The crunchy cone gives a nice contrast to the soft Creami texture.
Brownie bowl – I place the ice cream over a warm brownie. The hot brownie and cold cherry ice cream make a great bite together.
Graham cracker crunch – I sprinkle crushed graham crackers over the top. The little crunch works really well with the creamy cherry base.
Store Leftovers & Freezing This Ice Cream
I keep leftover Ninja Creami ice cream in the Ninja Creami pint with the lid on. It should stay in the freezer until I am ready for another serving.
If the ice cream freezes very firm after sitting for a while, I don’t try to scoop it straight away. I let the pint sit out briefly so the surface can soften a little, then I process it again according to my Ninja Creami instructions if needed.
Keep the cherry and fudge mix-ins stored in covered containers in the refrigerator or freezer as appropriate. The homemade chocolate fudge can stay frozen for a long time when wrapped well.
For the best taste and texture, I prefer eating the ice cream sooner rather than letting it sit in the freezer for weeks. The cherry pieces and creamy base are at their best when fresh.
Ninja Creami Ben And Jerry’s Ice Cream Recipe FAQs
Can I use whole milk instead of 2% milk?
Yes, you can use whole milk. I find whole milk makes the base taste richer and a little fuller. The recipe already has plenty of heavy cream, so 2% milk works well too. If you use whole milk, keep the other ingredients the same and make sure the finished base is chilled well before freezing.
Can I use 36% heavy cream?
Yes. A 36% cream can work, but it is richer than the 33% cream used here. I would reduce the amount by about 50 g as suggested in the recipe. This keeps the overall balance closer to the original mixture and helps prevent the ice cream from becoming too heavy.
Do I have to use frozen cherries for this Ninja Creami recipe?
Frozen cherries are the easiest choice because they are available all year and save prep time. You can use fresh cherries if you pit them first. If using fresh fruit, keep the same basic amounts and make sure the cherries are prepared before adding them to the base or syrup.
What does allulose do in the cherry mixture?
Allulose helps the cherry pieces stay softer after freezing. Regular sugar can sweeten the fruit, but allulose is useful here because it can help reduce the hard, icy texture that frozen fruit sometimes gets. A monk fruit and allulose blend can also work if it contains a good amount of allulose.
Can I use another sweetener instead of allulose?
You can use other sweeteners, but the result may change. Xylitol or pure stevia can work for sweetness, but they don’t always behave the same way as allulose. For this recipe, allulose is helpful because the goal is not just sweetness. It also helps with the frozen texture of the cherry pieces.
Why does my Ninja Creami ice cream look crumbly after the first spin?
A crumbly first spin can happen with frozen Creami bases. It doesn’t always mean the recipe went wrong. I check the texture and use a re-spin when needed. Make sure the base was frozen solid and level before processing. A good re-spin often changes the texture from dry and crumbly to smooth and creamy.
Can I use milk chocolate instead of dark chocolate?
Yes, but I prefer dark chocolate for this cherry ice cream. Milk chocolate makes the fudge sweeter and softer in flavor. Dark chocolate around 70% cacao gives a stronger chocolate taste that balances the sweet cherries and creamy base. If you love sweeter chocolate, milk chocolate is still an option.
Why do I need to heat the cherry ice cream base to 85°C?
Heating the base helps activate the stabilizer and allows the ingredients to come together properly. It also helps break down the cherries so their flavor spreads through the base. I aim for about 85°C (185°F) and avoid going much above 90°C because the acidic cherries can increase the chance of dairy curdling.
Can I make the chocolate fudge ahead of time?
Yes, and I actually like doing that. The fudge needs time to become firm enough to cut into small pieces. Once it is set, cut it into small pieces and keep them covered in the freezer for later. Having the fudge ready makes the final Creami step much quicker.
How small should I cut the chocolate fudge?
I cut the fudge into pieces around ½ cm. Small pieces spread through the pint much better than large chunks. They are also easier for the Ninja Creami Mix-In setting to handle. If the pieces are too large, they may not spread evenly and can make each scoop feel a bit awkward.
Can I make this Ninja Creami Ben And Jerry’s Ice Cream Recipe without a blender?
Yes. A blender makes the cherry base very smooth, but it isn’t the only way. You can mash the warm cherries thoroughly with a fork or potato masher. Then pass the mixture through a fine-mesh strainer to remove larger pieces. The texture may be slightly different, but the cherry flavor will still be there.
How long should I freeze the Ninja Creami base?
Freeze the base until it is completely solid and follow the freezing time recommended for your specific Ninja Creami model. The important part is that the center is frozen solid before spinning. I usually prepare the base the day before so it has plenty of time to freeze all the way through.
Can I make several pints at once?
Yes, you can prepare multiple pints if you have enough Ninja Creami containers and freezer space. I like making several because the cherry base takes some prep time. Freeze each pint properly, then process them one at a time when you’re ready to eat them.
Can I leave the cherry pieces in the syrup overnight?
Yes. I actually recommend chilling the prepared cherry mixture for several hours or overnight. Keeping the cherries in the allulose syrup gives the fruit time to soak up the sweet mixture. It also helps the cherries stay softer when they later become part of the frozen ice cream.
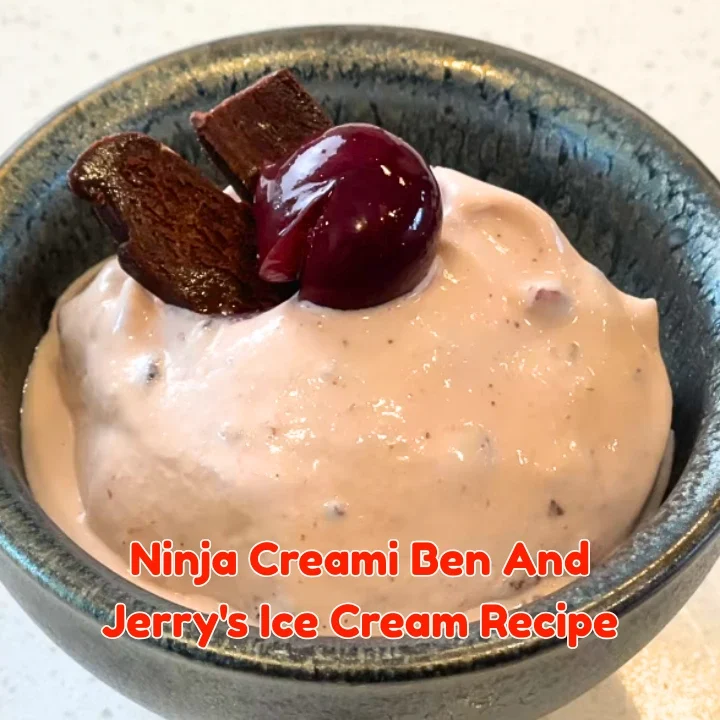
Ninja Creami Ben And Jerry's Ice Cream Recipe
My Ninja Creami Ben And Jerry's Ice Cream Recipe brings sweet cherry ice cream, soft cherry pieces, and rich dark chocolate fudge together in one creamy pint. I make the cherry base with milk, heavy cream, cherries, sugar, and a little allulose, then freeze it before using my Ninja Creami ice cream maker. Prep takes about 35 minutes, with extra chilling and freezing time needed. The recipe is easy to follow but needs some patience. Serve your homemade cherry chocolate ice cream in a bowl, waffle cone, or over a warm brownie for an extra good treat.
Ingredients
For the Cherry Mixture
- 100 g frozen cherries, for the mix-in
- 150 g water
- 60 g allulose
- A monk fruit/allulose blend can also be used, but the important part is the allulose.
- Xylitol or pure stevia can also work as mentioned in the transcript.
For the Cherry Ice Cream Base
- 375 g 2% milk
- 600 g heavy whipping cream, 33% fat
- 36% cream can be used, but reduce the amount by about 50 g.
- 190 g granulated sugar
- 110 g skim milk powder
- 30 g corn syrup or invert sugar
- 200 g frozen cherries
- 1 portion ice cream stabilizer, according to the manufacturer's amount for approximately 1.5 L of ice cream
For the Chocolate Fudge
- 390 g can sweetened condensed milk
- 350 g dark chocolate, preferably around 70% cacao
For the Final Mix-In
- Prepared cherry pieces, cut into quarters
- Prepared chocolate fudge, cut into approximately ½ cm pieces
Instructions
- Start with 100 g frozen cherries in a small saucepan. Add 150 g water and 60 g allulose. Stir everything gently.Set the pan over low heat. Let the cherries warm for about 20 minutes. Keep the heat low. You do not want the mixture to boil hard.The goal is to let the sweetener syrup soak into the cherries. This small step makes a big difference later. The cherries stay softer instead of turning into hard, icy fruit pieces. Once the cherries are done, take the pan off the heat. Let the mixture cool fully.
- Place 190 g sugar in a large saucepan. Add the ice cream stabilizer based on the amount recommended by the product maker. Mix the stabilizer into the sugar first. I always do this before adding liquid. It helps spread the stabilizer through the base instead of leaving little clumps. Add 110 g skim milk powder. Stir again until the dry ingredients are mixed well.
- Pour 375 g 2% milk into the saucepan. Add 600 g heavy whipping cream and 30 g corn syrup or invert sugar.Stir the mixture until the milk powder and sugar are well mixed. Scrape around the bottom and sides of the pan so nothing is sitting there dry.
- Add 200 g frozen cherries to the milk and cream mixture. Place the saucepan over medium heat and stir often as it warms. Use a kitchen thermometer and slowly bring the mixture to about 85°C (185°F). Try not to let the mixture go much over 90°C. Cherries are acidic, and too much heat can make dairy curdle. I keep my eye on the thermometer and take my time here.
- Once the base reaches about 85°C, remove it from the heat. Carefully pour the hot mixture into a blender, being careful with the hot liquid and avoiding overfilling the blender. Start on low speed for about 20 seconds, then use short 5- to 10-second bursts at medium or high speed. Blend until the cherries break down and the base looks smooth. If you don't have a blender, mash the cherries very well with a potato masher or fork, then pour the mixture through a fine-mesh strainer to remove larger pieces.
- Pour the warm cherry base into your Ninja Creami containers. Do not put the hot containers straight into the freezer. Let them cool first, then place the containers in the refrigerator and chill the base for several hours. I like to give it plenty of time to get cold before freezing. A fully chilled base freezes better and gives the Ninja Creami a better starting point.
- Go back to the first cherry mixture. Once it has cooled, place the cherries and syrup in a covered container and put it in the refrigerator for several hours or overnight. Keeping the cherries in the allulose syrup helps them stay softer once they are frozen. When you are ready to use them, take the cherries out of the syrup and cut them into quarters.
- Place 390 g sweetened condensed milk and 350 g dark chocolate in a saucepan. Set the pan over low heat and stir constantly as the chocolate melts. Keep the heat gentle because you only need enough heat to melt the chocolate and combine it with the condensed milk. When the mixture looks smooth and silky, remove it from the heat. I like dark chocolate around 70% cacao because the strong chocolate taste balances the sweet cherry base really well.
- Line a 12 x 8-inch baking tray with parchment paper. Pour the warm fudge mixture into the tray and spread it into an even layer with a spatula. Leave it at room temperature until it becomes firm. If you need it to set faster, place it in the refrigerator or freezer. Once firm, cut the fudge into small pieces about ½ cm wide. Keep the pieces small because big chunks can be rough on the Ninja Creami and can make the final scoop harder to eat.
- Make sure your cherry ice cream base is completely cold before freezing. Place the Ninja Creami containers in the freezer and freeze them until the base is fully solid, following the normal freezing instructions for your machine. Do not rush this part because the center needs to be frozen solid before you spin it. I usually prepare the base ahead of time so I don't have to wait around when I am ready for ice cream.
- Take one frozen pint from the freezer and place it into your Ninja Creami according to the machine instructions. Select the Ice Cream setting. After the first spin, check the texture. The cherry base should look smooth and creamy with a soft pink color from the cherries. If the texture looks crumbly, don't worry because a re-spin can help bring it together. Add a very small amount of liquid only if your machine's instructions allow it and the texture needs it.
- Use a spoon to make a hole down the center of the spun ice cream, making the hole deep enough to reach close to the bottom. Add some quartered cherry pieces and small chocolate fudge pieces. Put the pint back into the Ninja Creami and use the Mix-In setting. This gently spreads the pieces through the ice cream. I like using the Mix-In setting here because I still want to see and taste the cherry and chocolate pieces.
- Scoop the finished Ninja Creami Ben And Jerry's Ice Cream into a bowl. Add a few extra cherry pieces and tiny fudge pieces on top if you like. The finished ice cream should have a creamy cherry base with soft fruit pieces and rich chocolate fudge throughout. Serve it right away for the softest texture, or let it sit in the freezer for a short time if you prefer a firmer scoop.
Nutrition Information:
Serving Size: About 1 cupAmount Per Serving: Calories: 720Total Fat: 43gSaturated Fat: 25gCholesterol: 105mgSodium: 185mgCarbohydrates: 78gFiber: 4gSugar: 68gProtein: 13g
I really enjoy making this Ninja Creami Ben And Jerry’s Ice Cream Recipe because every scoop has something good going on.
The cherry base is creamy, the fruit stays soft, and the dark chocolate fudge adds a rich little bite. It takes some prep, but I think the final scoop is worth it.