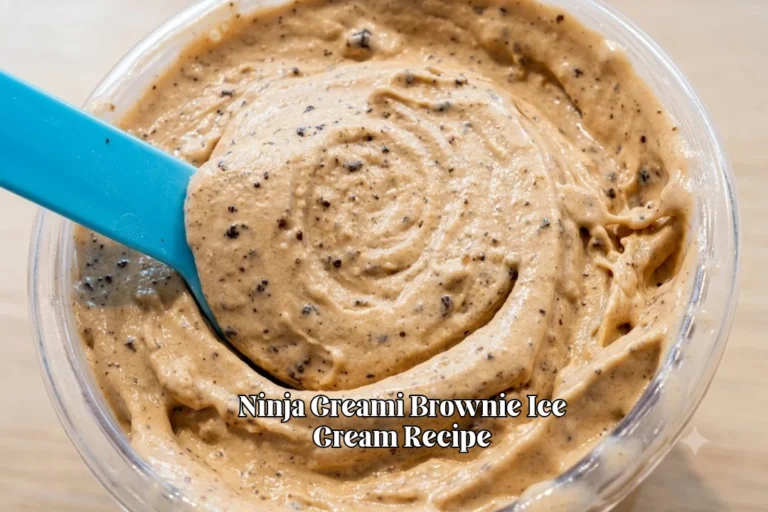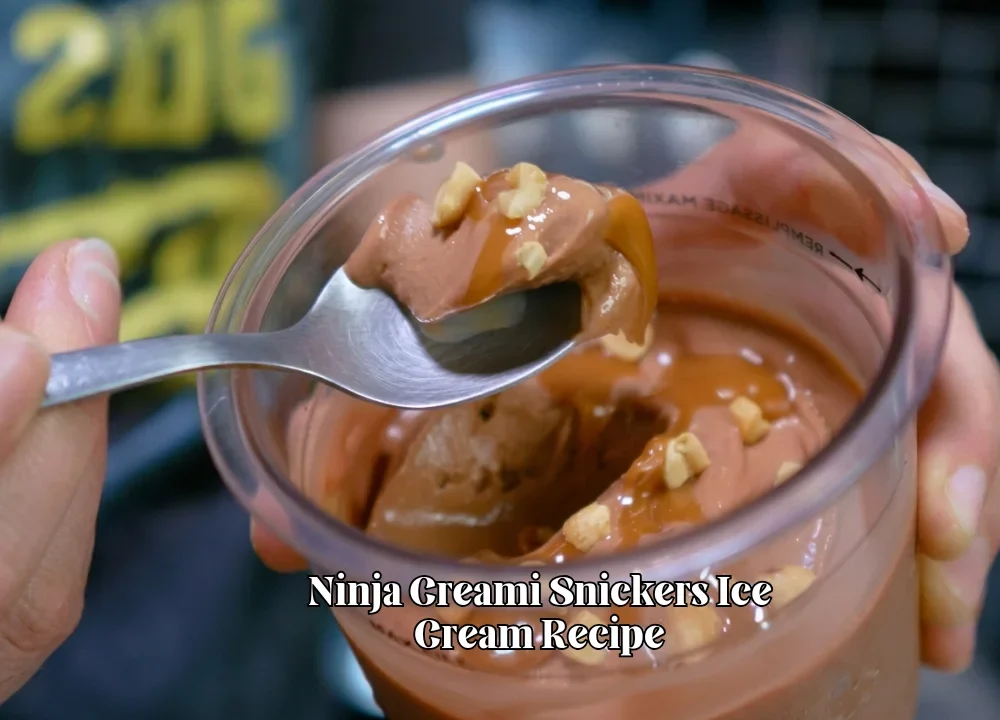
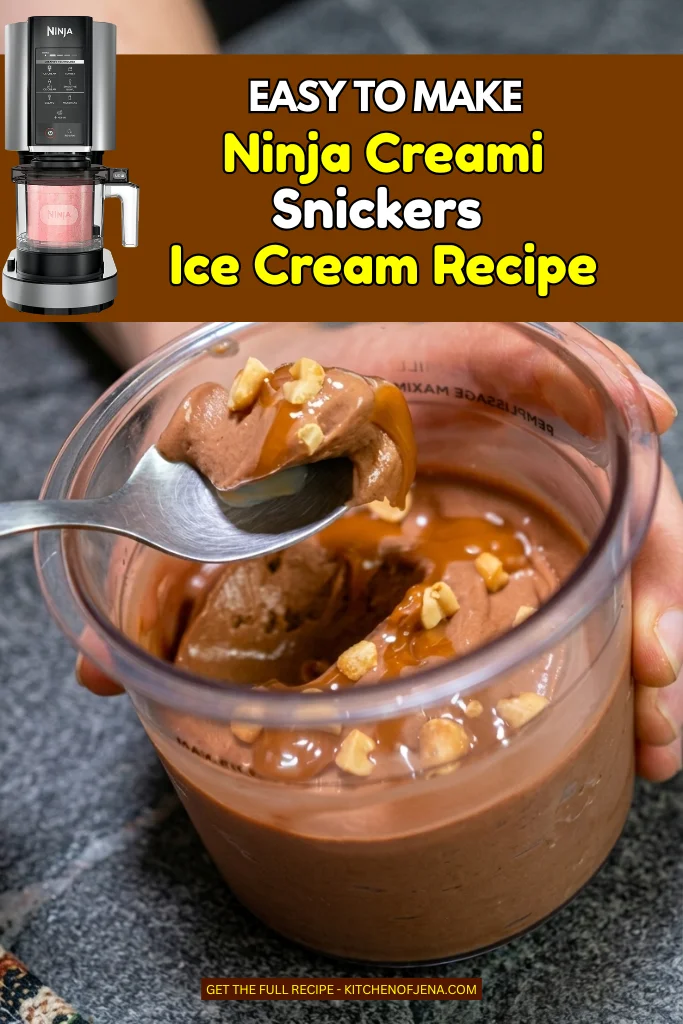
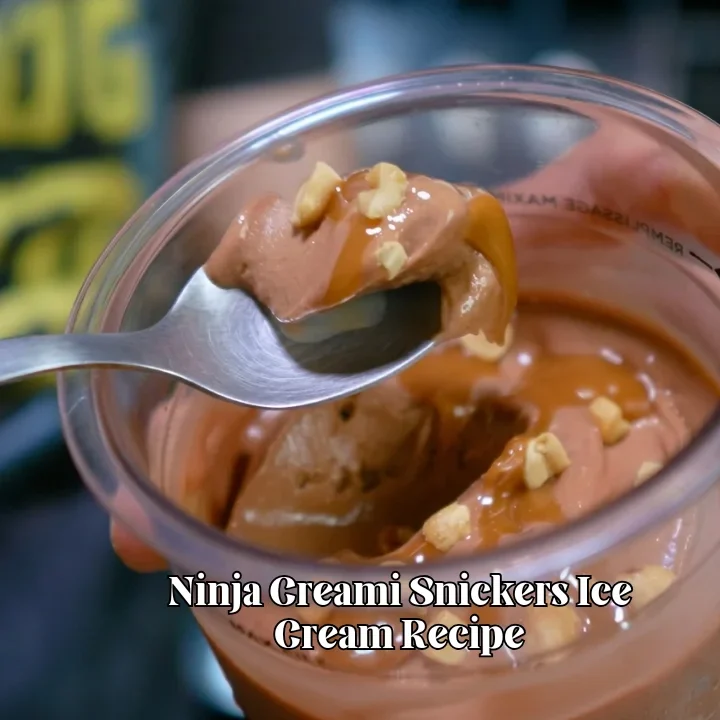
Ninja Creami Snickers Ice Cream Recipe (Creamy & Wow Delicious)
I avoided Snickers for a long time. I think I had it mixed up with another chocolate bar that had that odd malted layer… just not my thing.
But one day, I finally gave Snickers a try. Not sure if it was curiosity or just craving something sweet, but wow… I was wrong. It quickly became one of those treats I keep thinking about.
That got me thinking about making something fun at home. So I came up with this Ninja Creami Snickers Ice Cream Recipe.
It has that same mix of chocolate, caramel, and peanut flavor, but in a smooth, creamy scoop. And the best part, it’s lighter and easy to make.
I use simple ingredients I already have in my kitchen. After one bite, it felt like a real dessert, not a shortcut.
You can top it with caramel and peanuts, or scoop it into a cone for a fun treat.
Why Ninja Creami Snickers Ice Cream Recipe is a Game-Changer
This recipe changed how I think about ice cream at home. I don’t feel like I’m missing out anymore.
- It tastes like a dessert you’d buy, but made at home
- It’s low calorie compared to regular ice cream
- You still get chocolate, caramel, and peanut flavor
- It’s easy to adjust sweetness or toppings
- You don’t need many ingredients
Ninja Creami Snickers Ice Cream is Perfect For
You want a creamy treat without the usual heavy dessert feeling. This base comes out thick and smooth, so it feels like real ice cream.
You love Snickers but don’t want extra sugar. Sugar-free pudding and sweetener help keep it lighter.
You need an easy “weeknight dessert”. Spin, top, and serve. No baking and no stove time.
You like make-ahead desserts. Freeze overnight, spin the next day, done.
You cook for guests who like low-mess desserts. Everyone gets the same scoop because the base is already mixed.
You have a Ninja Creami and want to use it creatively. This is a fun flavor that isn’t just strawberry or vanilla.
You want that chocolate-caramel-peanut combo in one bowl. This recipe makes that flavor loud and clear.
Ninja Creami Snickers Ice Cream Ingredients
1 cup fat-free milk (Fairlife recommended) – I use Fairlife because it’s thicker and has more protein. It helps the ice cream turn creamy without adding cream. Regular fat-free milk works too, but this one gives better texture.
1 egg yolk – I add this for richness. It helps the mix feel smooth and not icy. It’s a small amount, but it really makes a difference in texture after freezing.
1/4 teaspoon xanthan gum – This helps thicken the base. I use a small pinch so it doesn’t turn gummy. It keeps the ice cream creamy and stops ice crystals from forming.
2 tablespoons zero-calorie sweetener (monk fruit + erythritol) – I use a monk fruit blend for sweetness without extra calories. You can use your favorite sweetener, just adjust to your taste.
Slightly less than 1/8 teaspoon salt – Just a tiny pinch. It helps balance the sweetness and makes the flavors stand out more.
10 grams sugar-free chocolate fudge pudding mix – This gives the chocolate flavor. I like using sugar-free so it stays light but still tastes rich.
6 grams sugar-free butterscotch pudding mix – This adds that caramel-like taste. It really helps give that Snickers feel.
10 grams peanut butter powder – I use this for the peanut flavor without adding too much fat. It blends smooth and tastes just right.
4 grams sugar-free caramel syrup – I drizzle this on top for extra caramel flavor. It adds a nice finish without adding many calories.
3.5 grams peanuts – I sprinkle these for crunch. It gives that classic Snickers texture that I love.
Kitchen Appliances
- Blender
- Ninja Creami machine
- Ninja Creami pint
- container
- Freezer
- poon or spatula
How To Make Ninja Creami Snickers Ice Cream Recipe
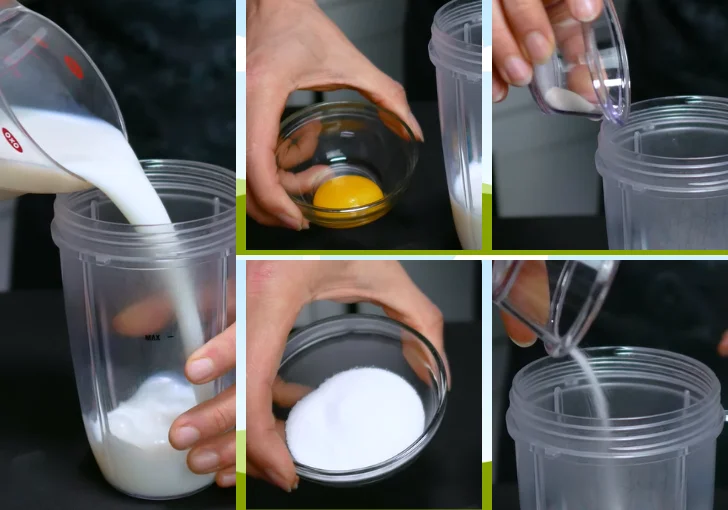
Step 1 | Prepare the Ice Cream Base
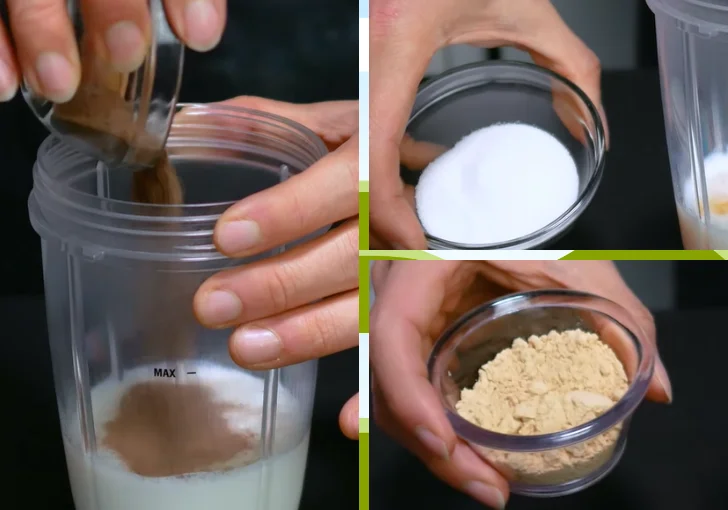
Add the fat-free milk into a blender container, then include the egg yolk to introduce richness and improve texture. Sprinkle in the xanthan gum to help thicken the mixture and prevent ice crystals.
Add the zero-calorie sweetener along with a small pinch of salt to balance the sweetness and enhance overall flavor.
Step 2 | Add the Snickers Flavor Components
Add the chocolate pudding mix and butterscotch pudding mix into the blender to build the chocolate and caramel-like flavor. Follow with the peanut butter powder to bring in the nutty element that gives the mixture its Snickers-style taste.
Step 3 | Blend Until Thick and Smooth
Blend the mixture until fully combined and smooth. The consistency should become thick, similar to a milkshake, with no visible lumps remaining. This texture is important for achieving a creamy result after freezing.
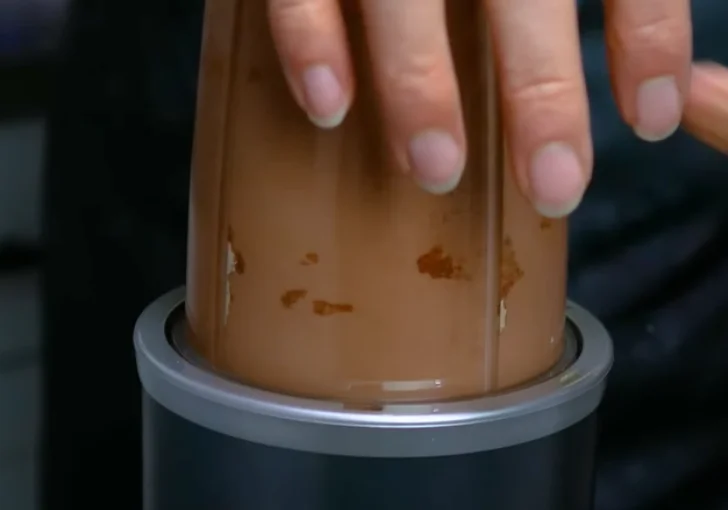
Step 4 | Transfer to Pint and Freeze
Pour the blended mixture into a Ninja Creami pint container and level the surface. Place the container in the freezer and allow it to freeze completely for about 24 hours to ensure proper texture during processing.
Step 5 | Prepare the Frozen Pint
Remove the frozen pint from the freezer and run the outside under hot water briefly or let it sit at room temperature for 10–15 minutes. This slightly softens the edges and helps the machine process it more evenly.
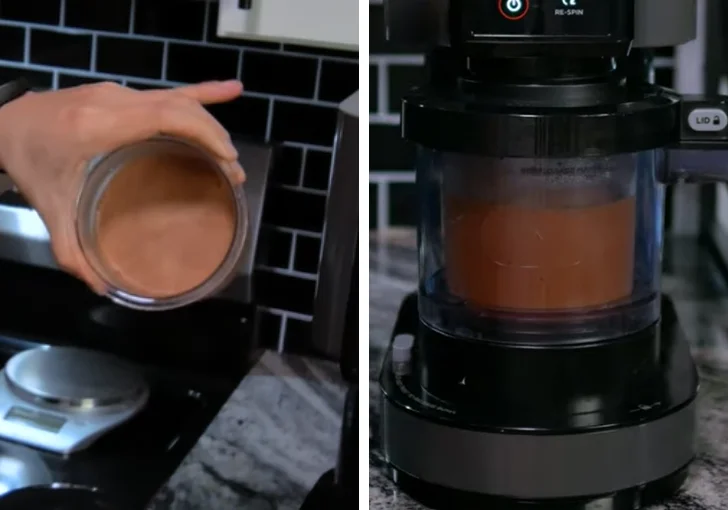
Step 6 | Spin in the Ninja Creami
Insert the pint into the machine and run it on the Light Ice Cream setting. After the first spin, check the consistency. If it is already smooth and soft, no additional spin is needed. If it appears slightly crumbly, run one re-spin cycle until it reaches a creamy texture.
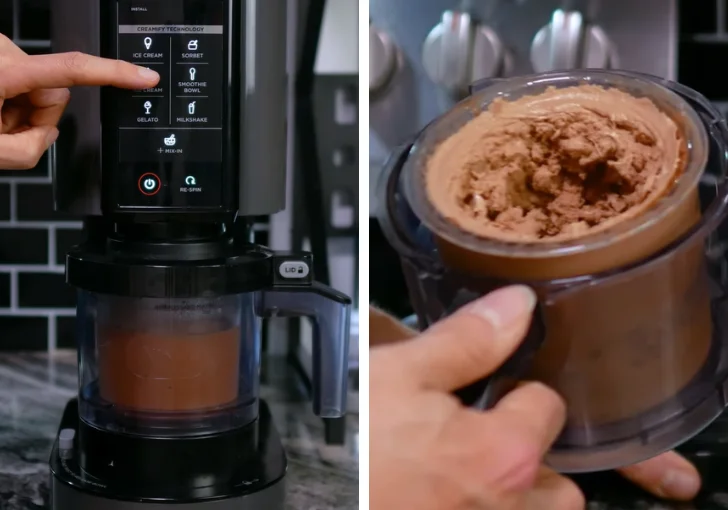
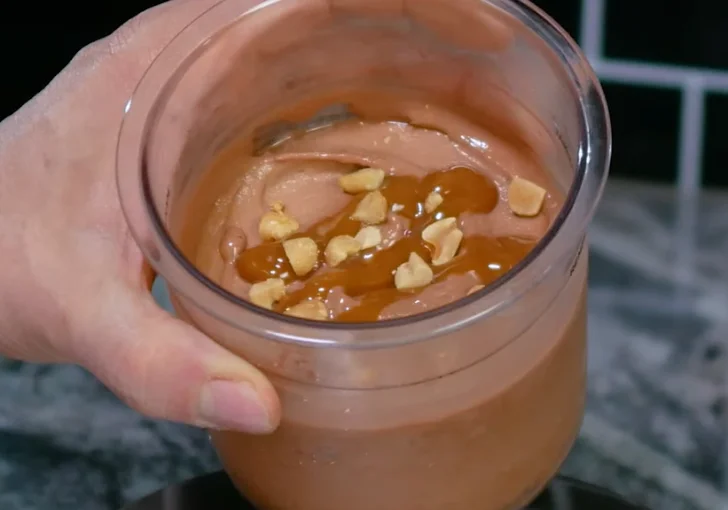
Step 7 | Add Toppings and Finish
Once the ice cream is smooth, drizzle the sugar-free caramel syrup over the top and sprinkle the peanuts evenly. This adds texture and completes the Snickers-inspired flavor.
Tips & Notes for the Best Ninja Creami Snickers Ice Cream Recipe
Give it a full freeze. I freeze 24 hours because it helps the spin turn smoother. If it’s under-frozen, it can come out grainy.
Blend until thick, not just “mixed.” I keep blending until the base looks like a thick shake. That texture helps your final scoop hold together.
Don’t add caramel syrup before spinning. I wait until the end. If you mix it in early, the sweetness can make the base soften faster.
Use xanthan gum for a reason. I’ve skipped it once, and it got icy. Xanthan helps the bite feel rich and stable.
If it’s too crumbly, re-spin once. One extra spin is usually enough. More than that can start to feel too soft and messy.
Let it sit 1–2 minutes before scooping. It helps the top layer soften, especially if your freezer runs cold.
Taste the base carefully if you want. You can check sweetness before freezing. If you like it a bit sweeter, add tiny sweetener later next time.
Variations and Adaptations
Chocolate Lovers Version – Add extra chocolate pudding mix or a few cocoa powder grams. It makes the flavor deeper and richer, almost like a chocolate candy bar ice cream.
Higher Protein Version – Use a high-protein milk like Fairlife or add a scoop of protein powder. It keeps the texture thick and adds more protein per serving.
Crunch Boost Version – Add crushed peanuts or sugar-free chocolate chips after spinning. It gives more texture and makes every bite more fun.
Caramel Heavy Version – Add more sugar-free caramel syrup inside before spinning. This spreads the caramel flavor all through the ice cream.
Dairy-Free Option – Use almond or oat milk. The texture may change a bit, but it still tastes good and keeps it dairy-free.
Mistakes To Avoid While Making Ninja Creami Snickers Ice Cream
Freezing Too Short.
If You Only Freeze 8 To 12 Hours, The Base May Not Spin Right. You’ll Taste Icey Bits, And The Caramel Note Feels Dull.
Skipping The Xanthan Gum.
Without It, The Ice Cream Can Feel Grainy. I Learned This Fast—No Gum Equals A Rough Texture That Ruins The Candy Vibe.
Over-Blending Too Fast.
If Your Blender Heats The Base, It May Soften Before Freezing. I Blend Until Smooth, Then Stop. No Extra Minutes.
Not Letting The Pint Warm At The Edges.
If The Outside Is Too Hard, Your Machine Struggles. I Aim For 10 To 15 Minutes At Room Temp So It Spins Evenly.
Adding Toppings Too Early.
Caramel Syrup Loses Shine If Mixed In Early. It Tastes Fine, But The Top Looks Flat, And Peanuts Soften.
Using Too Much Sweetener.
More Sweetener Can Taste Harsh. I Like The Balance Where Chocolate And Caramel Feel Warm, Not Sugary.
Not Re-Spinning When Needed.
If You See Crumbs After The First Spin, Re-Spin Once. Skipping It Gives You A “Sandwich Spread” Texture Instead Of Ice Cream.
Serving Ideas and Mix-ins
Classic Bowl with Extra Drizzle – Serve in a Bowl with More Caramel on Top
You Get A Smooth Base And Sweet Topping In Every Bite, Which Feels Just Right For A Simple Dessert Night.
Ice Cream Cone Style – Scoop Into A Cone For A Fun Treat
The Crunch Of The Cone With The Creamy Texture Makes It Feel Like A Store-Bought Dessert.
Chocolate Drizzle Add-On – Add A Light Chocolate Syrup Drizzle
It Boosts The Chocolate Taste And Pairs Well With The Peanut Flavor.
Peanut Crunch Mix – Mix In Extra Crushed Peanuts Before Serving
It Adds A Strong Crunch And Makes Each Spoon Feel More Like A Candy Bar.
Layered Dessert Cup – Layer Ice Cream With Caramel And Peanuts In A Cup
You Get Different Textures In Each Layer, Which Makes It More Fun To Eat.
Leftover Storing
I store any leftover right in the Ninja Creami pint. I press the top flat and cover it tight. It goes back into the freezer. When I want it again, I take it out, let it sit a bit, then re-spin. It comes back creamy almost like fresh.
If it sits too long, it can get harder, but the re-spin usually fixes it. I try to eat within a few days for best tast
Ninja Creami Snickers Ice Cream Recipe FAQs
Can I Make Ninja Creami Snickers Ice Cream Recipe Without Pudding Mix?
I wouldn’t swap it out completely. The pudding mix is what gives the deep chocolate and butterscotch flavor and helps thicken the BASE. You can try other thickening options, but the taste won’t land on that snickers vibe the same way.
How Long Does The Base Need To Freeze Before Spinning?
Plan for about 24 hours. This full freeze helps the ninja creami break down the BASE into a smooth texture. If you freeze less time, you may get a crumbly texture or uneven processing, and it won’t taste as creamy.
What Is The Best Ninja Creami Setting For This Recipe?
I use light ice cream for the ninja creami snickers ice cream recipe. That setting works well with a pudding-based BASE and xanthan gum. After the first spin, check texture. If you see crumbs, run one re-spin cycle.
Do I Need Xanthan Gum For A Smooth Scoop?
Yes, if you want that classic creamy bite. Xanthan gum helps the base stay thick and smooth after freezing. Without it, ice crystals can show up more. Your ice cream may still taste good, but the texture can feel off.
Are These Ingredients Meant To Be Keto-Friendly?
This recipe is built with sugar-free products and low-calorie sweetener. That can fit a low-sugar routine, but everyone’s diet goals are different. Check your exact pudding mix and caramel syrup labels for carbs, and choose ingredients that match your plan.
Can I Use Whole Milk Instead Of Fat-Free Milk?
You can, but the texture might get a little richer. Fat-free milk keeps the dessert lighter and helps the calories stay close to the estimate. Whole milk can still work, but you may need to watch sweetness balance and texture.
What If My Ice Cream Comes Out Too Hard After Freezing?
Let it sit at room temperature for 10 to 15 minutes before spinning. If it’s already hard to scoop, Rest it briefly on the counter. The edges should soften enough for the machine to process evenly.
How Should I Add Toppings For The Best Taste?
I add caramel syrup and peanuts after spinning. That keeps the caramel glossy and keeps peanuts crunchy. If you add them earlier, the peanuts soften and the topping flavor blends into the base more than you want.
Can I Make This Recipe In Advance?
Yes. I make it the day before because freezing takes the longest. Once it’s in the freezer, you’re basically set. On serving day, you only spin, top, and enjoy. It’s great for planning.
Why Does The Texture Sometimes Look Crumbly?
Crumbs usually come from two things: the pint wasn’t frozen long enough, or the edges were too hard when you loaded it. Another reason is the base not blending thick enough. A re-spin fixes most crumb issues.
How Many Servings Does One Pint Make?
This recipe makes about 4 servings, roughly 1/2 cup each. The exact count depends on how big your scoops are and how much topping you add. I measure servings when I’m tracking calories.
Is The Calorie Count Exact?
No, it’s an estimate. I base it on the full pint using standard topping amounts. Different brands of sweetener, pudding mix, and caramel syrup can change the total. Your calorie count may shift a bit.
Ninja Creami Snickers Ice Cream Recipe
This Ninja Creami Snickers Ice Cream Recipe is a simple and light dessert made with milk, pudding mix, and peanut butter powder. I made this using my Ninja Creami, and it turned creamy with rich chocolate and caramel flavor. It takes about 10 minutes prep and 24 hours freeze, and it’s very easy to follow. You get a low-calorie treat that still feels like a real dessert. Perfect for anyone who loves candy-style ice cream at home. You can serve it with caramel drizzle, peanuts, or even scoop it into a cone.
Ingredients
Base Mixture
- 1 cup fat-free milk (Fairlife recommended)
- 1 egg yolk
- 1/4 teaspoon xanthan gum
- 2 tablespoons zero-calorie sweetener (monk fruit + erythritol or preferred)
- Slightly less than 1/8 teaspoon salt
Flavor Components
- 10 grams sugar-free chocolate fudge pudding mix
- 6 grams sugar-free butterscotch pudding mix
- 10 grams peanut butter powder
Toppings
- 4 grams sugar-free caramel syrup
- 3.5 grams peanuts
Instructions
- Add the fat-free milk into a blender container, then include the egg yolk to introduce richness and improve texture. Sprinkle in the xanthan gum to help thicken the mixture and prevent ice crystals. Add the zero-calorie sweetener along with a small pinch of salt to balance the sweetness and enhance overall flavor.
- Add the chocolate pudding mix and butterscotch pudding mix into the blender to build the chocolate and caramel-like flavor. Follow with the peanut butter powder to bring in the nutty element that gives the mixture its Snickers-style taste.
- Blend the mixture until fully combined and smooth. The consistency should become thick, similar to a milkshake, with no visible lumps remaining. This texture is important for achieving a creamy result after freezing.
- Pour the blended mixture into a Ninja Creami pint container and level the surface. Place the container in the freezer and allow it to freeze completely for about 24 hours to ensure proper texture during processing.
- Remove the frozen pint from the freezer and run the outside under hot water briefly or let it sit at room temperature for 10–15 minutes. This slightly softens the edges and helps the machine process it more evenly.
- Insert the pint into the machine and run it on the Light Ice Cream setting. After the first spin, check the consistency. If it is already smooth and soft, no additional spin is needed. If it appears slightly crumbly, run one re-spin cycle until it reaches a creamy texture.
- Once the ice cream is smooth, drizzle the sugar-free caramel syrup over the top and sprinkle the peanuts evenly. This adds texture and completes the Snickers-inspired flavor.
Nutrition Information:
Amount Per Serving: Calories: 260Total Fat: 6gCarbohydrates: 30gProtein: 15g
This Ninja Creami Snickers Ice Cream Recipe is one of those recipes I keep making again and again. It’s simple, light, and still feels like a real dessert.
I like how it brings chocolate, caramel, and peanut flavor together without being heavy.
If you try this at home, you’ll see how easy it is to make something this good. Play with toppings, adjust sweetness, make it your own. I hope you give it a try and enjoy it as much as I do.
Share how it turned out for you and don’t forget to follow us on Pinterest for more ideas.