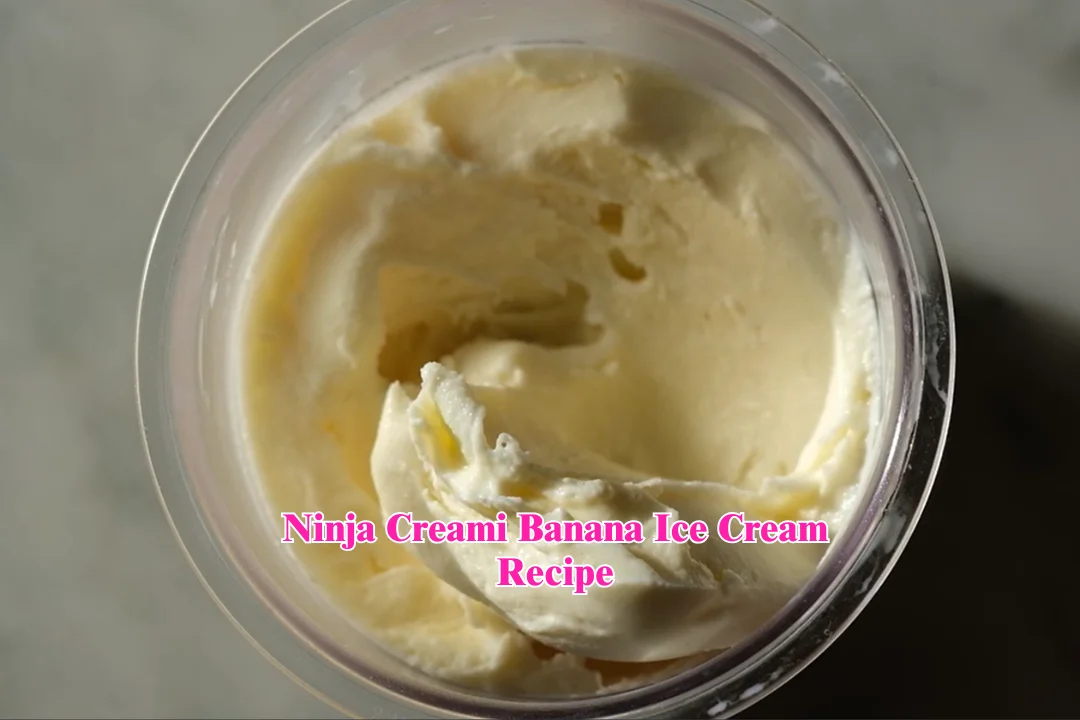
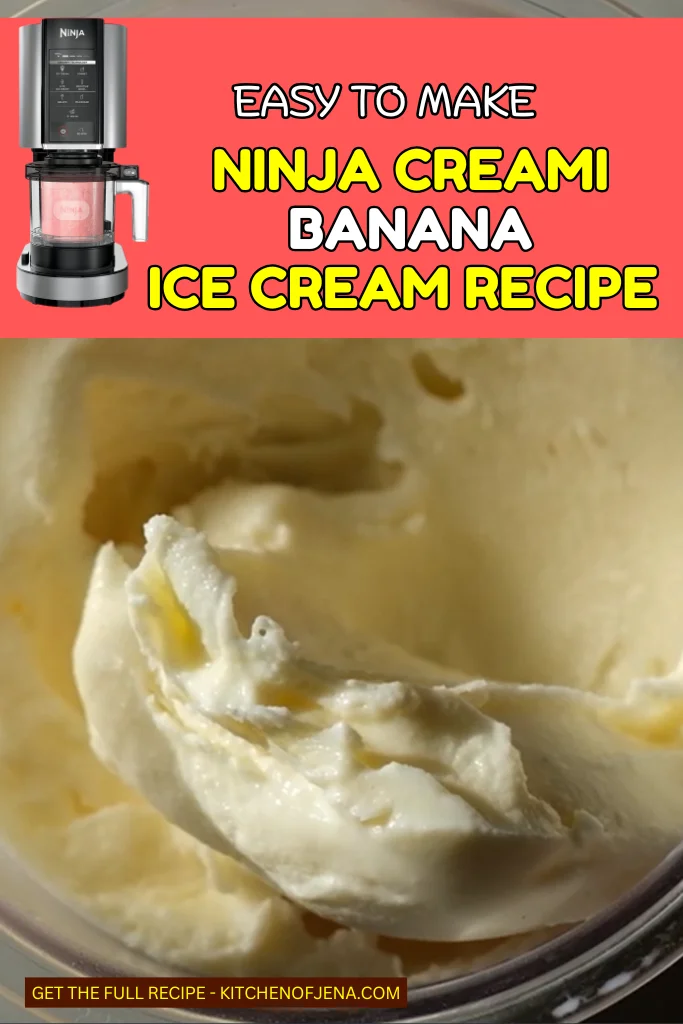
Ninja Creami Banana Ice Cream Recipe (Smooth & Creamy Frozen Dessert)
I love to make fresh banana ice cream, especially using my Ninja Creami machine. This Ninja Creami Banana Ice Cream Recipe started when I had a few very ripe bananas on the kitchen counter and wanted something cold and sweet without much work.
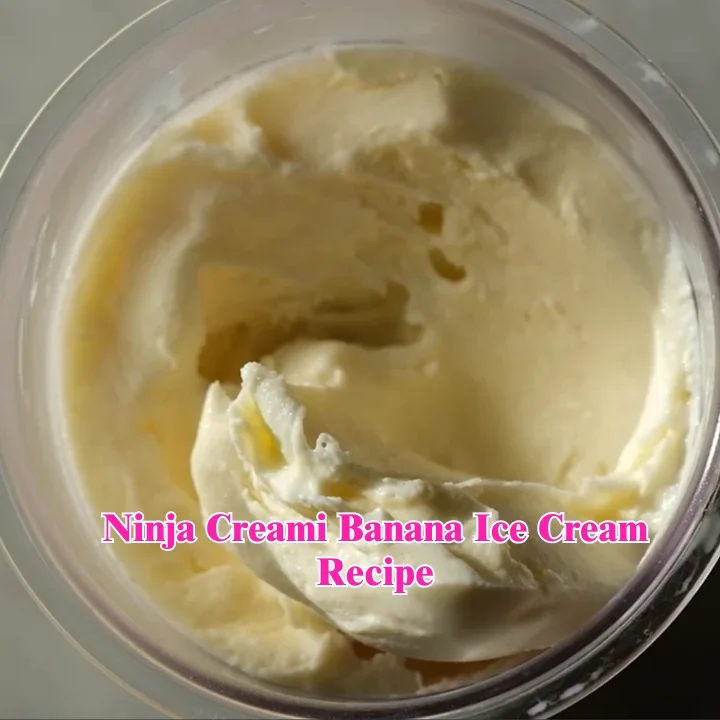
I mashed the bananas, added a little vanilla and almond milk, then froze the mix. After one spin in the Ninja Creami, the texture turned soft and creamy, almost like a scoop from an ice cream shop.
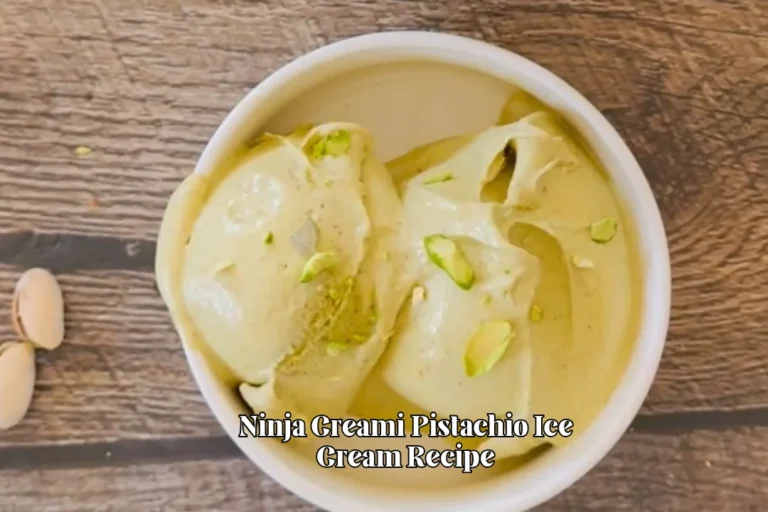
The flavor reminds me a little of banana pudding ice cream because both have that sweet banana dessert taste. But this one feels lighter and more natural since the bananas do most of the work for sweetness and creaminess.
I like how simple the ingredients are and how smooth the ice cream comes out after spinning. You can drizzle a little date syrup on top and sprinkle chopped pecans for a richer bowl. You can also add sliced bananas or a handful of granola to give your scoop some crunch.
Why Ninja Creami is Perfect To Make This Banana Ice Cream?
I tried making banana ice cream many ways before. Blender, food processor, even hand mixing. They worked, but the texture was never the same.
When I started using my Ninja Creami, everything changed. The machine turns frozen fruit into a creamy scoop that feels like real ice cream.
Here is why I like using it for this recipe.
It Creates a Smooth Texture
Frozen fruit usually turns icy. The Ninja Creami blade breaks the ice crystals and spins everything together. The result is smooth and creamy banana ice cream.
Easy to Control Sweetness
I like that I can taste the banana mix before freezing. If the bananas are sweet, I skip extra sugar. If not, I add a little maple syrup. It gives full control over flavor.
Perfect for Small Batches
Sometimes I only want one pint of ice cream. The Ninja Creami pint container is just right for that. No waste, no big containers.
Works Great With Fruit
Fruit based ice creams can be tricky. But the Ninja Creami sorbet or smoothie bowl setting handles frozen fruit very well.
Simple Process
Most of the work is just freezing the mixture. After that, the machine does the heavy work. I just press the button and wait a few minutes.
Perfect For
This banana ice cream fits many situations. I make it often because it is simple and people like it.
- Hot summer days
A cold bowl of banana ice cream feels great when the weather is warm. - Quick dessert after dinner
If the mixture is already frozen, I spin it and dessert is ready fast. - People who like fruit desserts
The banana taste stays strong and natural. - Kids snack
Kids enjoy the creamy texture and sweet banana flavor. - Light dessert option
It feels lighter than many store ice creams. - Trying something new with Ninja Creami
A great first recipe if you just bought the machine.
Ninja Creami Banana Ice Cream Ingredients
ripe bananas – I always use very ripe bananas with brown spots because they taste naturally sweet and mash easily. They create the creamy base for this ice cream. I usually grab regular Cavendish bananas from my local grocery store.
½ to 1 teaspoon vanilla extract – Vanilla gives the banana ice cream a warm dessert flavor. I normally use McCormick vanilla extract, but any pure vanilla works fine. Even a small amount makes the ice cream smell and taste better.
½ tablespoon maple syrup (optional) – I add this only when the bananas are not very sweet. A little maple syrup balances the flavor. I like using 365 by Whole Foods Market organic maple syrup, but any real maple syrup works.
Unsweetened almond milk – I pour just a small splash to help the banana mixture blend smoothly. Too much makes the ice cream icy. I usually use Silk unsweetened almond milk, but any plain almond milk works well.
Date syrup (optional topping) – I sometimes drizzle a little date syrup on top after scooping. It adds a deep caramel-like sweetness. I often keep Date Lady date syrup in my pantry for desserts like this.
Chopped pecans (optional topping) – A handful of chopped pecans adds a crunchy bite that pairs nicely with the soft banana ice cream. I usually use raw pecans from Fisher because they have a fresh nutty taste.
How To Make Ninja Creami Banana Ice Cream
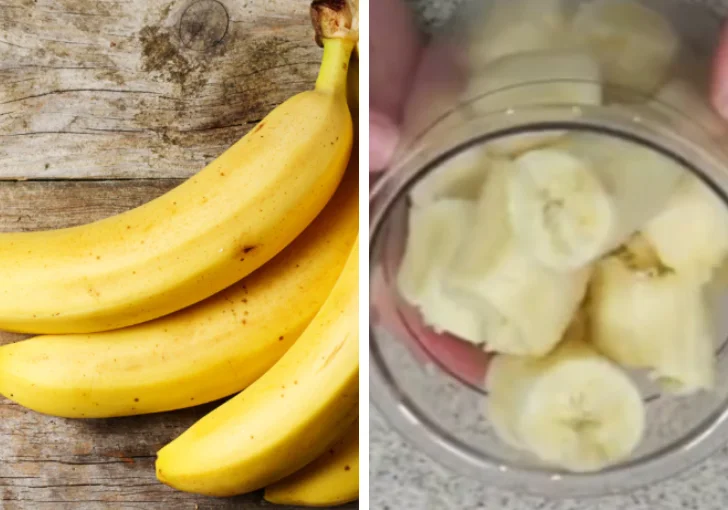
Step 1 | Prepare the Bananas
Peel the ripe bananas and break them into manageable chunks directly into a Ninja Creami pint container. Bananas that are very ripe naturally create a sweeter and creamier ice cream, so additional sweetener may not be necessary.
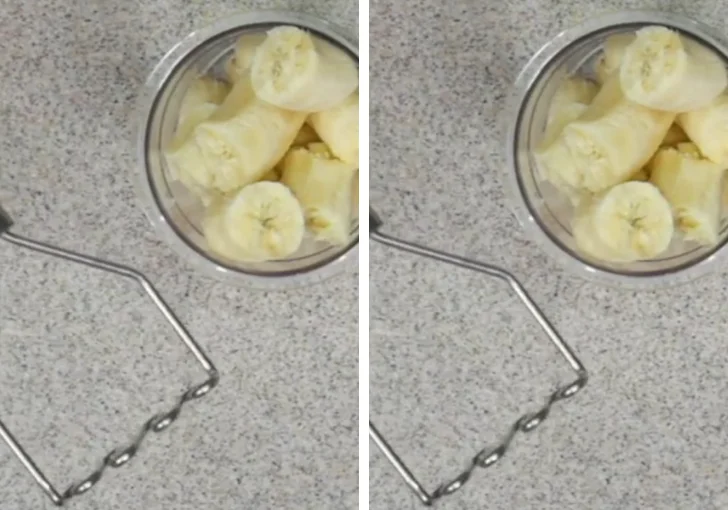
Step 2 | Mash the Bananas
Use a small masher or a fork to mash the banana pieces inside the container. The bananas do not need to be perfectly smooth because the Ninja Creami blade will process the mixture later. Mash until the fruit becomes a thick, chunky mash.
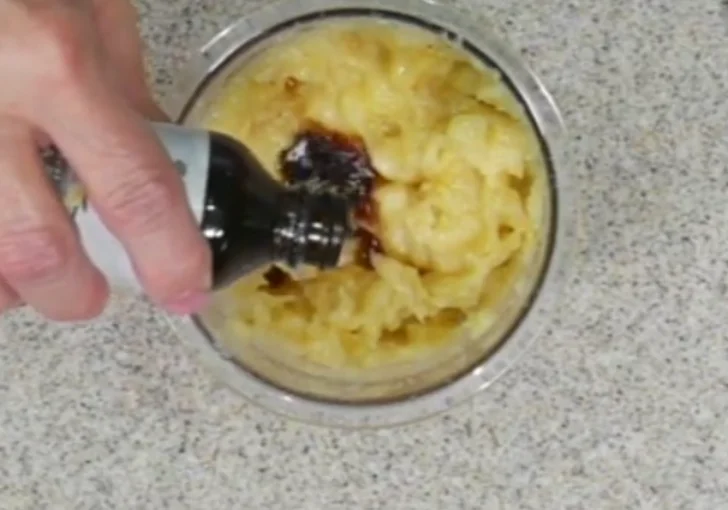
Step 3 | Add Flavoring
Pour in ½ to 1 teaspoon of vanilla extract. Adjust the amount based on personal preference.
Step 4 | Adjust Sweetness (Optional)
Taste the mashed banana mixture. If the bananas are not very sweet, add about ½ tablespoon maple syrup. Stir it into the mash so it distributes evenly.
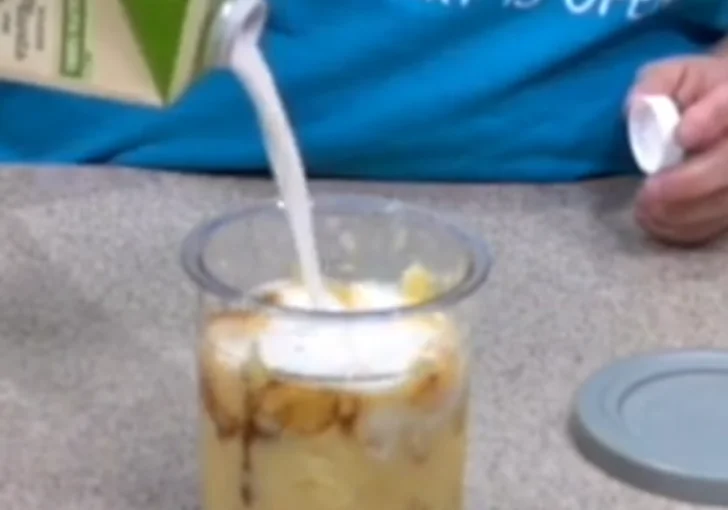
Step 5 | Add Non-Dairy Milk
Pour a small amount of unsweetened almond milk into the container. Stir the mixture gently with a spoon to combine the banana, vanilla, sweetener, and milk. Add only enough liquid to help it mix smoothly while staying below the Ninja Creami pint fill line.
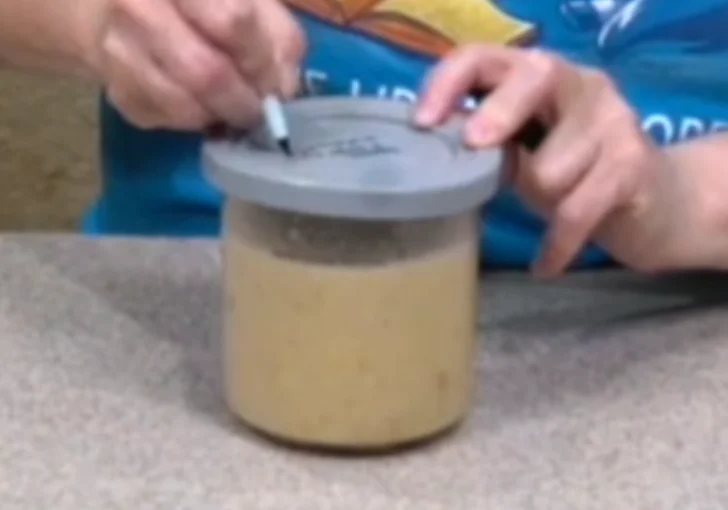
Step 6 | Freeze the Mixture
Place the lid on the container and set it in the freezer on a level surface. Freeze for at least 24 hours so the mixture becomes completely solid.
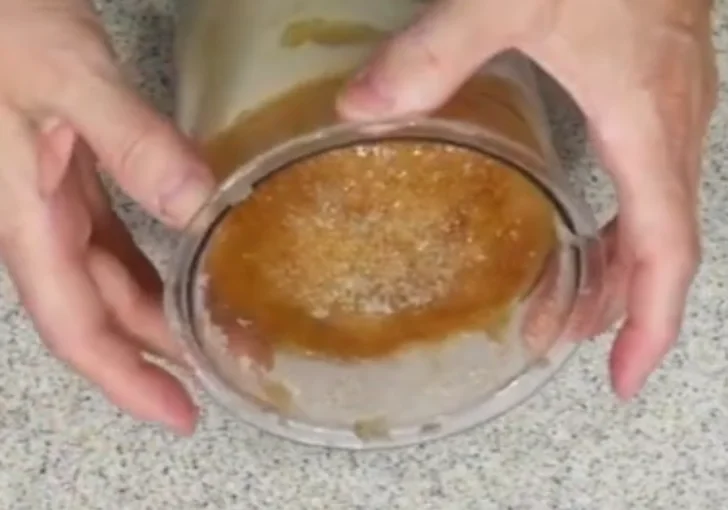
Step 7 | Check and Level the Frozen Surface
After freezing, remove the lid and inspect the surface. Freezing sometimes causes the center to rise unevenly. If the surface is not level, scrape it gently with a spoon until it looks mostly flat. This step prevents the blade from hitting a raised section during processing.
If the mixture is extremely hard and cannot be scraped, let it sit at room temperature for 5–10 minutes to soften slightly.
Step 8 | Install the Paddle and Container
Insert the Creami blade paddle into the outer bowl lid and secure it in place. Place the frozen pint into the outer container, making sure the bottom grooves align properly so it locks into position.

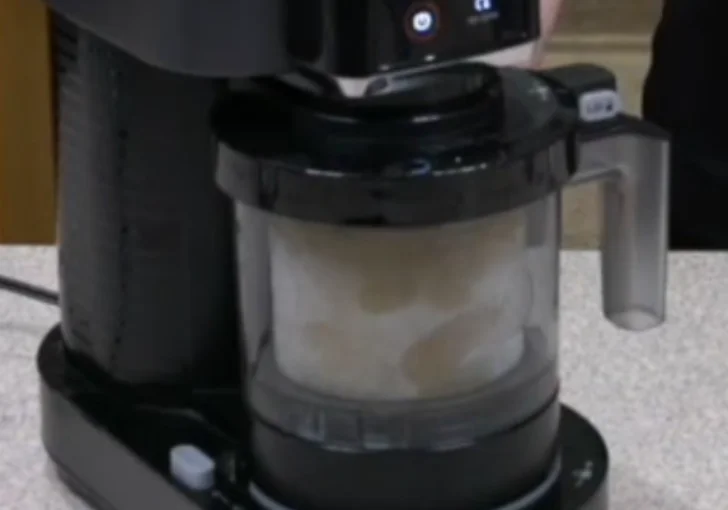
Step 9 | Process the Ice Cream
Attach the outer bowl to the Ninja Creami machine and lock it in. Select the Smoothie Bowl or Sorbet setting, which works well for thick fruit-based mixtures. The machine will spin the blade through the frozen base and transform it into a creamy texture within a few minutes.
Step 10 | Check the Texture
Once the cycle finishes, open the container and examine the ice cream. If the texture looks slightly powdery or has small ice crystals, run the Re-Spin function once to smooth it out. If it appears very crumbly, run the Smoothie Bowl cycle again.
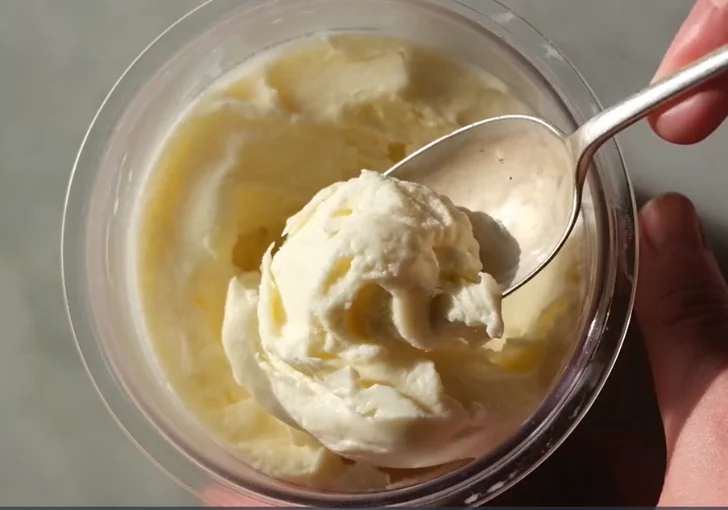
Step 11 | Scoop and Serve
Scoop the banana ice cream into bowls. The texture should be soft, creamy, and easy to scoop.
Step 12 | Add Optional Toppings
Drizzle a little date syrup over the scoops and sprinkle chopped pecans on top for extra flavor and texture if desired.
Step 13 | Refreezing Leftovers
If not all the ice cream is eaten, level the remaining mixture in the container and return it to the freezer. When ready to eat again, simply run another spin cycle to restore the creamy texture.
Tips & Notes for the Best Ninja Creami Banana Ice Cream
- Use very ripe bananas for better sweetness.
- Freeze the mixture fully for at least 24 hours.
- Do not add too much milk. The mixture should stay thick.
- If texture feels powdery, run the Re-Spin cycle.
- Scrape the frozen top before spinning to protect the blade.
- Let the pint sit 5 minutes if frozen too hard.
- Taste the banana mash before freezing to adjust sweetness.
Variations and Adaptations
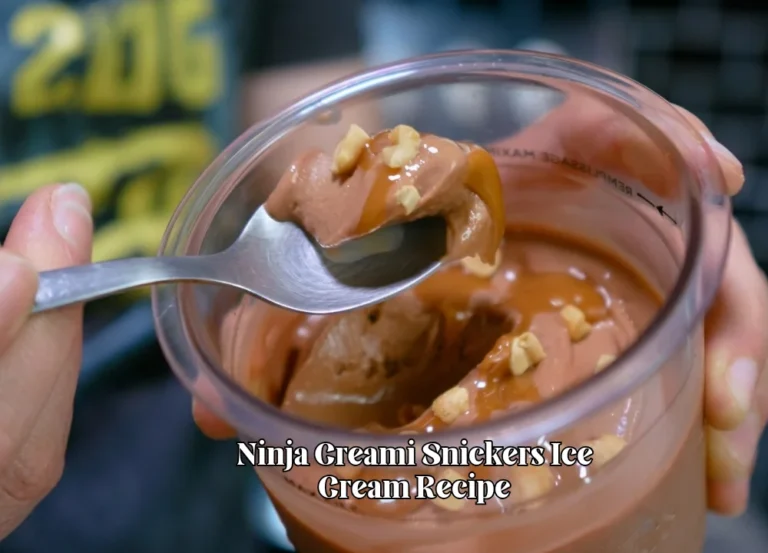
Chocolate Banana Ice Cream
Add one tablespoon cocoa powder before freezing. The result is a creamy chocolate banana flavor that tastes rich but still light.
Peanut Butter Banana Ice Cream
Mix one tablespoon peanut butter into the mashed banana. It creates a creamy nutty flavor and pairs perfectly with banana.
Strawberry Banana Version
Blend in a few chopped strawberries with the banana mash. The flavor becomes fruity and fresh.
Coconut Banana Ice Cream
Use coconut milk instead of almond milk. The ice cream gets a mild tropical flavor and extra creaminess.
Protein Banana Ice Cream
Add one scoop vanilla protein powder into the mixture. It makes the ice cream thicker and adds extra nutrition.
Mistakes To Avoid While Making Ninja Creami Banana Ice Cream Recipe
I made a few mistakes when I first tried this recipe. Learning these helps get a better result.
- Using unripe bananas
Green or firm bananas taste plain. The ice cream becomes less sweet and less creamy. - Adding too much milk
When the mixture gets too thin, the ice cream freezes very hard and icy. - Not freezing long enough
If the base is not fully frozen, the machine cannot spin it properly. - Skipping the re-spin
Sometimes the first spin looks crumbly. One re-spin makes it smooth again. - Overfilling the container
Going above the fill line may affect the machine spinning correctly.
Serving Ideas and Mix-ins
I like serving this banana ice cream in different ways.
With chopped pecans
I add pecans because the crunchy texture feels great with the smooth ice cream.
With date syrup drizzle
A little date syrup adds deep sweetness that pairs nicely with banana.
With sliced fresh bananas
I place a few fresh banana slices on top. It adds extra fruit flavor.
With granola
Granola adds crunch and turns the ice cream into a small dessert bowl.
With dark chocolate chips
Chocolate chips melt slightly in the cold ice cream and taste amazing.
Leftover Storing
Sometimes I do not finish the whole pint in one sitting. Storing it is easy.
I level the surface of the remaining ice cream inside the container. Then I close the lid and place it back in the freezer. The ice cream becomes solid again.
When I want to eat it later, I place the container back into the Ninja Creami and run the Re-Spin or Sorbet cycle. The machine brings the creamy texture back.
Try not to leave it uncovered in the freezer. Ice crystals may form on top.
Ninja Creami Banana Ice Cream Recipe FAQs
Can I make this banana ice cream without maple syrup?
Yes, you can. If your bananas are very ripe, they already contain enough natural sweetness. I often skip maple syrup when my bananas have dark spots. Taste the mash before freezing and decide if extra sweetness is needed.
What type of milk works best for this recipe?
Unsweetened almond milk works well because it keeps the flavor light. You can also use oat milk, coconut milk, or regular dairy milk. Just add a small amount so the mixture stays thick.
Why does my ice cream look crumbly after spinning?
That usually happens when the frozen mixture is very cold and dry. Simply run the Re-Spin cycle once. It helps the machine blend the ice crystals and create a smooth creamy texture.
Can I use frozen bananas instead of fresh ones?
Fresh bananas work best because they mash easily and mix well with the other ingredients. Frozen bananas can be used, but they are harder to mash and mix inside the pint container.
How long should the mixture freeze?
Freeze the mixture at least 24 hours. This makes sure the base becomes fully solid. If it is not frozen enough, the Ninja Creami will not process the mixture correctly.
Can I add mix-ins after spinning?
Yes. After the first spin, you can create a small hole in the center and add mix-ins like chocolate chips, nuts, or granola. Then run the mix-in cycle or a quick spin.
Is this banana ice cream dairy free?
Yes, if you use almond milk or another plant milk. The recipe already uses simple plant based ingredients, which makes it naturally dairy free.
Can I reduce the banana amount?
The recipe works best with three bananas because it fills the pint container correctly. Using less may create a thinner mixture that does not spin as well.
What toppings taste good with banana ice cream?
Many toppings work well. I like pecans, date syrup, chocolate chips, granola, or even fresh berries. Banana pairs nicely with many sweet flavors.
Can I store this ice cream for several days?
Yes, you can keep it in the freezer for a few days. The texture becomes solid again, but the Ninja Creami can restore the creamy texture by running another spin cycle.
Ninja Creami Banana Ice Cream Recipe
I make this ninja creami banana ice cream recipe whenever I have ripe bananas on the counter and want a quick frozen dessert. The texture comes out creamy and smooth thanks to the Ninja Creami ice cream maker, and the flavor stays naturally sweet from the fruit. This banana ice cream takes only a few minutes to prepare before freezing, and the steps are very simple even for beginners. The recipe uses bananas, vanilla, almond milk, and a small touch of maple syrup if needed. It’s an easy dessert with low effort. You can scoop it into bowls and top it with pecans, date syrup, or fresh banana slices.
Ingredients
- 3 ripe bananas, peeled and broken into chunks
- ½ to 1 teaspoon vanilla extract
- ½ tablespoon maple syrup (optional, only if bananas are not very sweet)
- Unsweetened almond milk (or another non-dairy milk), enough to help mix and reach a creamy consistency but not exceeding the Ninja Creami pint fill line
Instructions
- Peel the ripe bananas and break them into manageable chunks directly into a Ninja Creami pint container. Bananas that are very ripe naturally create a sweeter and creamier ice cream, so additional sweetener may not be necessary.
- Use a small masher or a fork to mash the banana pieces inside the container. The bananas do not need to be perfectly smooth because the Ninja Creami blade will process the mixture later. Mash until the fruit becomes a thick, chunky mash.
- Pour in ½ to 1 teaspoon of vanilla extract. Adjust the amount based on personal preference.
- Taste the mashed banana mixture. If the bananas are not very sweet, add about ½ tablespoon maple syrup. Stir it into the mash so it distributes evenly.
- Pour a small amount of unsweetened almond milk into the container. Stir the mixture gently with a spoon to combine the banana, vanilla, sweetener, and milk. Add only enough liquid to help it mix smoothly while staying below the Ninja Creami pint fill line.
- Place the lid on the container and set it in the freezer on a level surface. Freeze for at least 24 hours so the mixture becomes completely solid.
- After freezing, remove the lid and inspect the surface. Freezing sometimes causes the center to rise unevenly. If the surface is not level, scrape it gently with a spoon until it looks mostly flat. This step prevents the blade from hitting a raised section during processing.
If the mixture is extremely hard and cannot be scraped, let it sit at room temperature for 5–10 minutes to soften slightly. - Insert the Creami blade paddle into the outer bowl lid and secure it in place. Place the frozen pint into the outer container, making sure the bottom grooves align properly so it locks into position.
- Attach the outer bowl to the Ninja Creami machine and lock it in. Select the Smoothie Bowl or Sorbet setting, which works well for thick fruit-based mixtures. The machine will spin the blade through the frozen base and transform it into a creamy texture within a few minutes.
- Once the cycle finishes, open the container and examine the ice cream. If the texture looks slightly powdery or has small ice crystals, run the Re-Spin function once to smooth it out. If it appears very crumbly, run the Smoothie Bowl cycle again.
- Scoop the banana ice cream into bowls. The texture should be soft, creamy, and easy to scoop.
- Drizzle a little date syrup over the scoops and sprinkle chopped pecans on top for extra flavor and texture if desired.
- If not all the ice cream is eaten, level the remaining mixture in the container and return it to the freezer. When ready to eat again, simply run another spin cycle to restore the creamy texture.
Nutrition Information:
Serving Size: About ½ pint per servingAmount Per Serving: Calories: 160Total Fat: 2gCarbohydrates: 34gFiber: 4gSugar: 18gProtein: 2g
This ninja creami banana ice cream recipe is one of the easiest desserts I make at home. It uses simple ingredients and the flavor comes out rich and natural. Every time I spin a fresh pint in my Ninja Creami, the texture surprises me again. Smooth, creamy, and full banana taste.
If you enjoy simple homemade desserts, give this recipe a try. It does not take much work, and the result feels special. Try it in your kitchen and see how good it tastes. I hope you enjoy making it as much as I do.
And if you make it, share your cooking experience with us. Also don’t forget to follow us on Pinterest for more easy recipes like this.