Ninja Creami Pina Colada Ice Cream Recipe
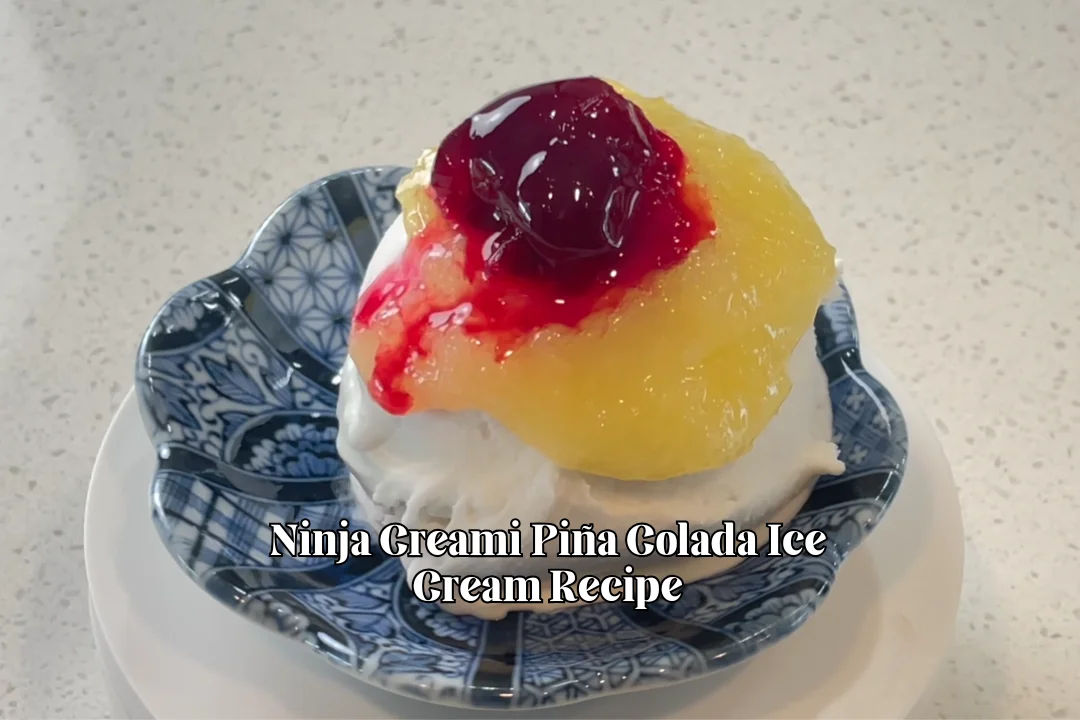
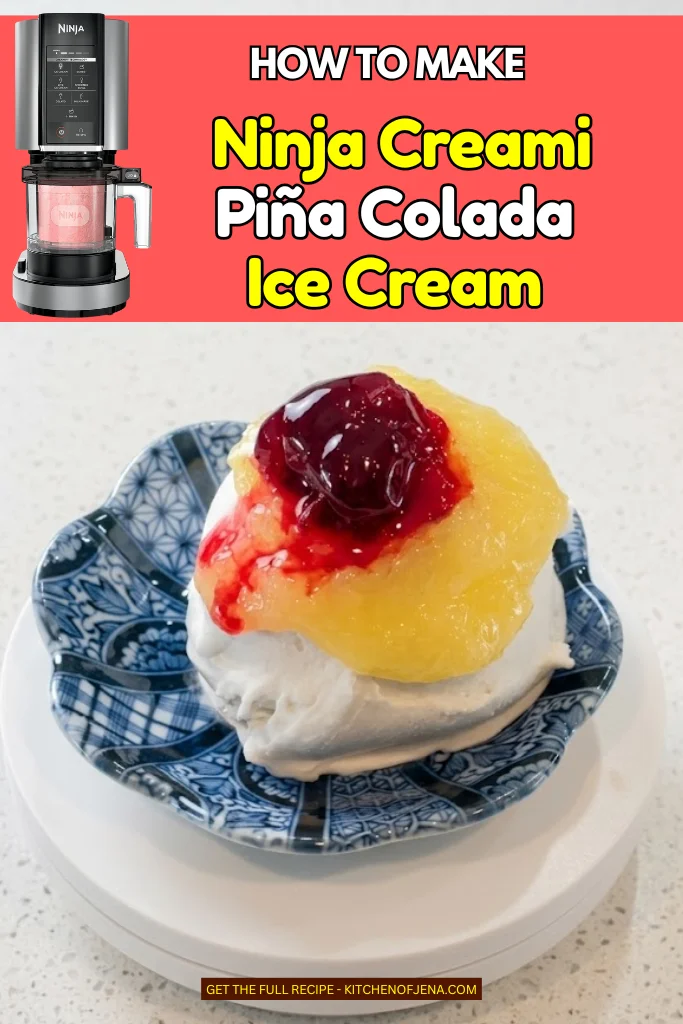
One spoon of this Ninja Creami Pina Colada Ice Cream and you’ll feel like you’re sitting somewhere warm with the ocean breeze nearby. The creamy coconut, sweet pineapple, and smooth tropical flavors come together in a way that makes every bite feel like a little escape from the everyday.
I wanted to make a Piña Colada ice cream that tasted special but didn’t require a long list of hard-to-find ingredients.
After trying different versions, I found that a simple coconut-based mixture with a homemade pineapple sauce creates the perfect balance of flavor and texture.
The best part? Your Ninja Creami does most of the work. After a quick prep and a night in the freezer, you get a rich, creamy homemade dessert that tastes like a frozen tropical drink.
If you love coconut desserts or want an easy tropical ice cream, this Ninja Creami Pina Colada Recipe deserves a spot in your freezer.
How This Ninja Creami Pina Colada Ice Cream Gets Its Tropical Flavor
The tropical flavor in this Ninja Creami Pina Colada Ice Cream comes from the simple balance of coconut, pineapple, and a touch of rum flavor. I use coconut cream and coconut milk as the base because they create a richer texture than regular milk-based ice cream.
The pineapple sauce adds a bright, fruity taste that cuts through the creamy coconut and keeps each bite fresh.
I also love adding the rum pineapple swirl because it gives this dessert the same feeling as a classic Piña Colada drink, but in a smooth frozen form. Compared to store-bought tropical ice creams, this homemade version has a more natural coconut flavor and real pineapple taste.
The Ninja Creami brings everything together by turning the frozen base into a soft, creamy scoop that feels like a special treat made right in your kitchen.
Why You’ll Love This Ninja Creami Piña Colada Ice Cream
- Rich and creamy coconut texture in every scoop.
- Bright pineapple flavor made with homemade sauce.
- Easy to prepare with simple pantry ingredients.
- Great for summer desserts or anytime you want something tropical.
- You can make it with or without rum.
- Easy to customize with your favorite mix-ins and toppings.
- Tastes better than many store-bought tropical ice creams.
- Made fresh at home with ingredients you can control.
Ninja Creami Piña Colada Ice Cream Ingredients
165 g coconut cream
I use full-fat coconut cream because it gives the ice cream a rich, creamy texture and a strong coconut flavor.
439 g coconut milk
I like canned full-fat coconut milk since it blends smoothly with the coconut cream and makes every scoop extra creamy.
20 g water
I add a little water to bring the ice cream base to the right consistency before freezing.
37 g inulin
I use inulin to help create a fuller body and a smoother texture without making the ice cream heavy.
12 g erythritol monk fruit sweetener
I measure this carefully because it helps the ice cream freeze softer while adding light sweetness.
90 g allulose
I use allulose because it keeps the finished ice cream smooth and scoopable after spinning.
2½ g xanthan gum
I mix in xanthan gum to help stabilize the base and give the ice cream a creamy finish.
For the Rum Pineapple Sauce
1 (540 ml) can pineapple chunks in pineapple juice
I use the whole can with the juice because reducing it creates a rich pineapple flavor.
3 g xanthan gum
I add a small amount to thicken the pineapple sauce without changing the flavor.
75 g rum
I like using light rum, but dark rum or a mix of both also gives great flavor.
Optional Candied Cherries
400 g sweet cherries
Fresh sweet cherries make a colorful topping with a sweet, fruity taste.
200 g granulated sugar
I use regular sugar to make the cherries sweet and preserve them longer.
Small splash of water
Just enough water helps dissolve the sugar while cooking.
Invert sugar (optional)
I add a little invert sugar when I have it because it helps keep the cherries soft without forming sugar crystals.
How To Make Ninja Creami Piña Colada Ice Cream At Home
Step 1 | Reduce the Pineapple
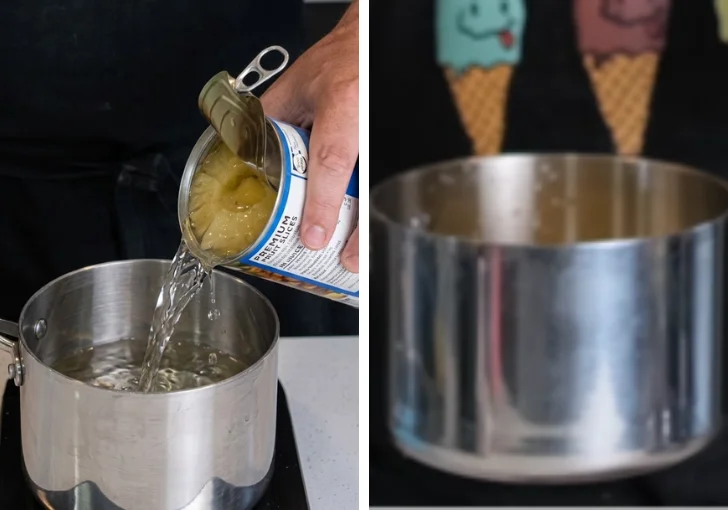
Pour the entire can of pineapple chunks and all of the juice into a medium saucepan. Place it over medium heat and bring it to a gentle boil. Let it cook until the liquid reduces and becomes a thick pineapple sauce with a stronger flavor.
Remove the pan from the heat and let it cool for about 2 hours. Make sure it is almost at room temperature before adding the rum so the alcohol keeps its flavor.
Step 2 | Make the Rum Pineapple Sauce
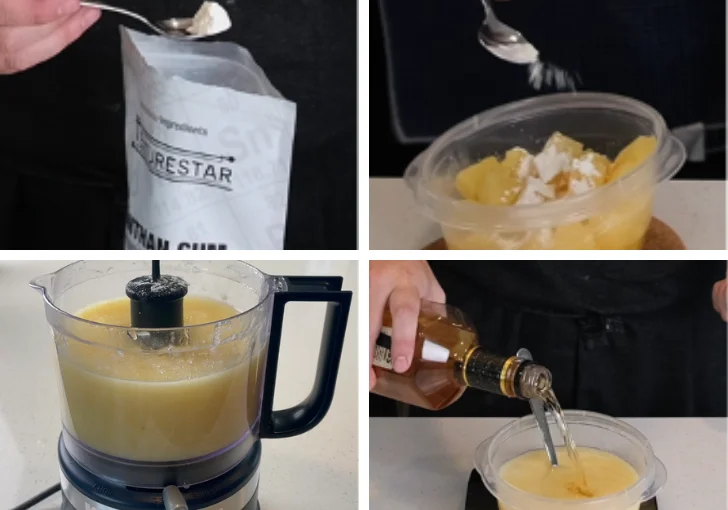
Sprinkle the xanthan gum over the cooled pineapple mixture. Blend until mostly smooth. I like leaving a few small pineapple pieces because they add a little texture. If you want a smoother sauce, strain it through a fine-mesh strainer after blending. Stir in the rum until everything is well mixed. Cover the sauce and refrigerate it overnight.
Step 3 | Prepare the Candied Cherries
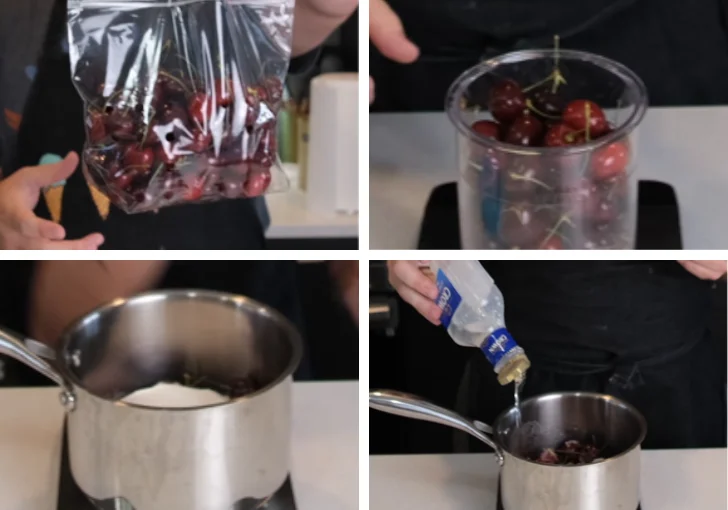
Remove the pits from the cherries and place them into a saucepan. Add the granulated sugar, a small splash of water, and the invert sugar if you are using it. Heat over medium heat until the mixture reaches about 235°F (113°C). Remove the pan from the heat and let the cherries cool completely. Transfer them to a container and refrigerate until you are ready to use them.
Step 4 | Prepare the Coconut Ice Cream Base
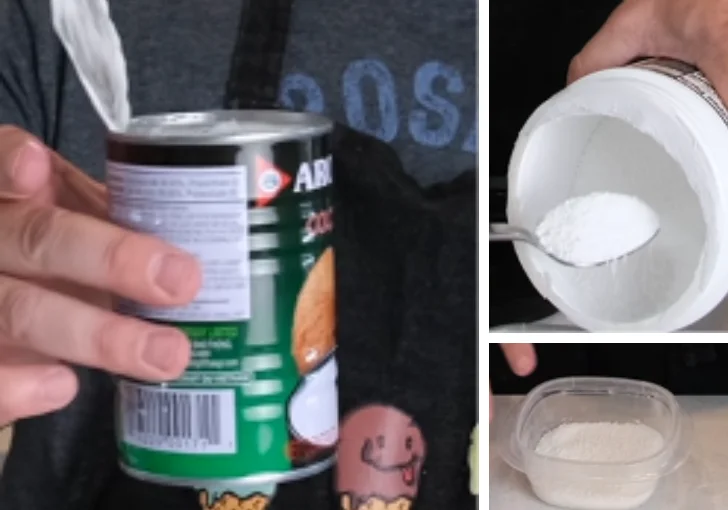
Add the coconut cream, coconut milk, water, inulin, erythritol monk fruit sweetener, allulose, and xanthan gum to a saucepan. Blend or whisk everything well until the xanthan gum is fully mixed and there are no small lumps. A smooth base gives the best finished texture.
Step 5 | Warm the Base
Place the saucepan over medium-low heat. Warm the mixture for about 5 minutes until it reaches around 104°F to 122°F (40°C to 50°C). There is no need to boil it. Gentle heat helps the sweeteners dissolve and the coconut fat blend smoothly into the mixture.
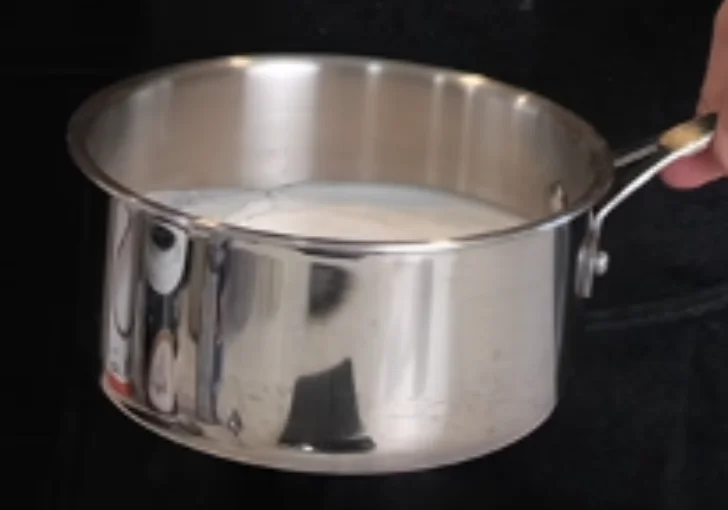
Step 6 | Freeze the Ice Cream Base
Pour the finished mixture into a Ninja Creami Deluxe pint container. The total weight should be close to 750 grams. Place the lid on the container and freeze it on a flat surface for at least 24 hours. The base must be completely frozen before spinning.
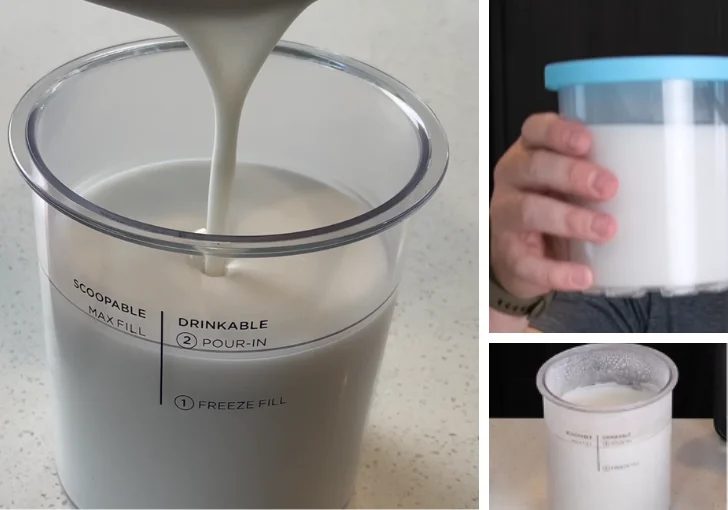
Step 7 | Spin the Ice Cream
Remove the frozen pint from the freezer and place it into your Ninja Creami Deluxe. Process it using the Ice Cream setting until the texture becomes smooth and creamy. If it looks a little crumbly after the first spin, simply use the Re-Spin function once.
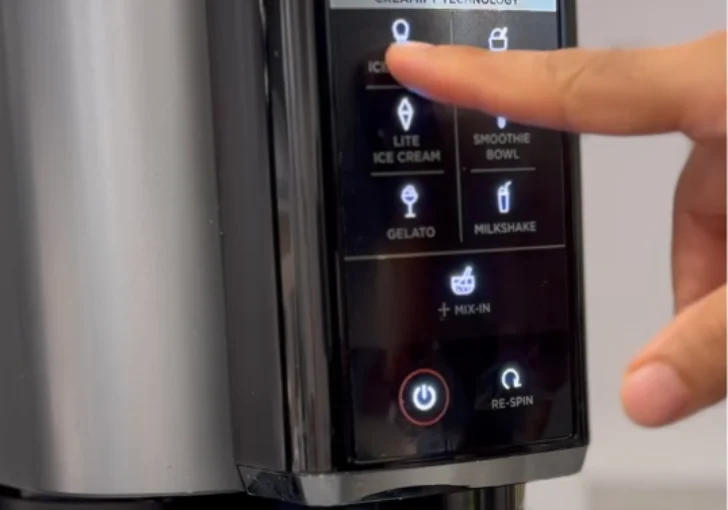
Step 8 | Add the Pineapple Sauce and Cherries
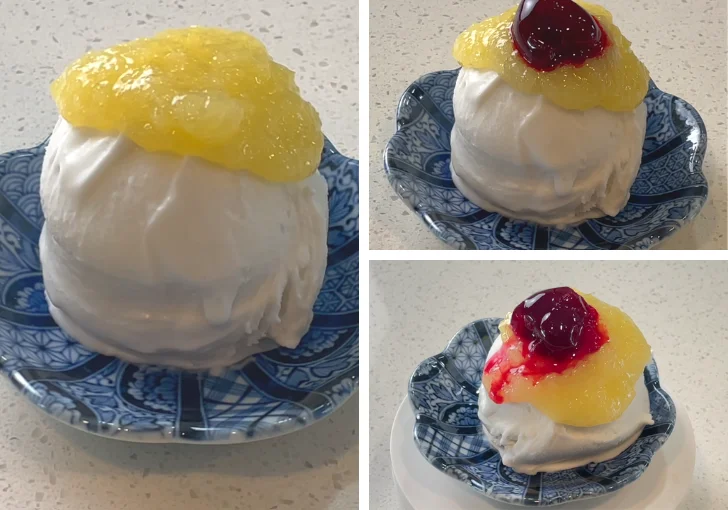
Spoon the chilled rum pineapple sauce over the freshly spun ice cream. Add a few candied cherries. Gently fold everything together instead of mixing completely. I like seeing ribbons of pineapple sauce throughout each scoop because it gives every bite extra flavor.
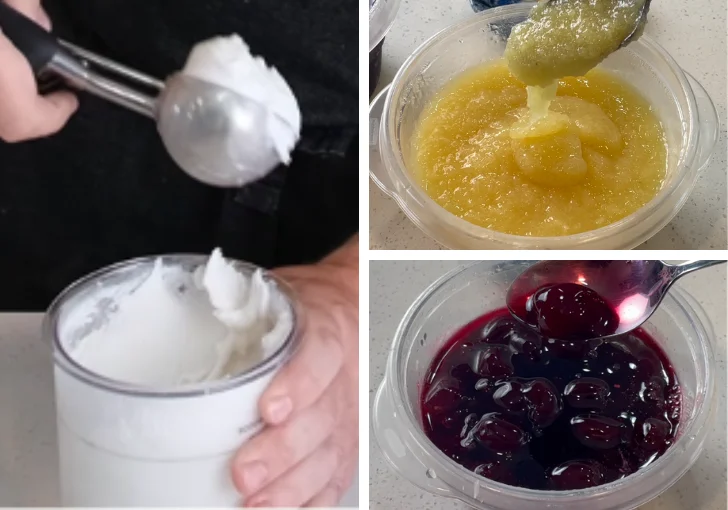
Step 9 | Garnish and Serve
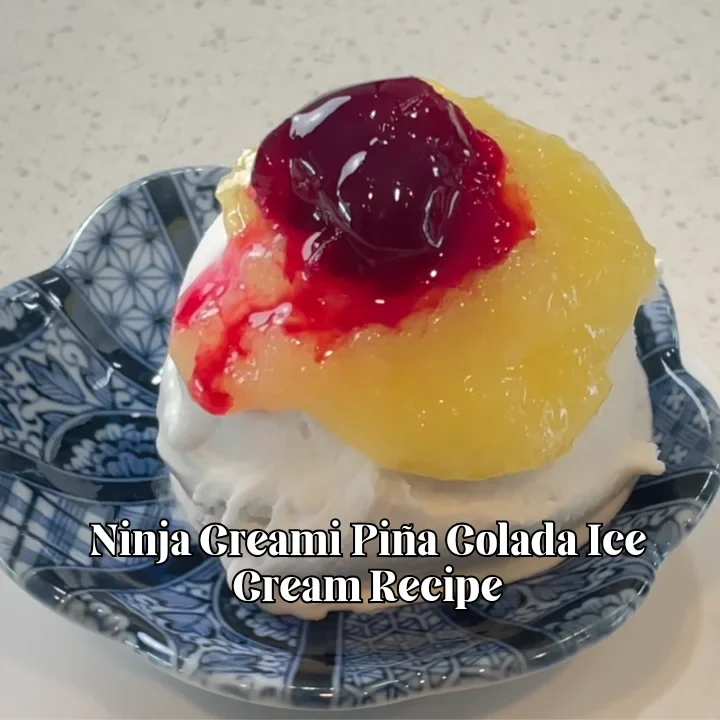
Serve the ice cream right away while it is soft and creamy. I like topping each bowl with a few extra candied cherries, a maraschino cherry, a pineapple wedge, or both. The coconut, pineapple, and rum flavors come together to create a classic Piña Colada taste that feels fresh and refreshing.
Expert Tips To Make The Best Ninja Creami Piña Colada Ice Cream
Cool the pineapple before adding rum – I always wait until the pineapple mixture is cool so the rum keeps its full flavor.
Whisk the xanthan gum well – Mixing it completely helps prevent tiny lumps in the ice cream base.
Use full-fat coconut products – They give a richer texture and make every scoop creamier.
Freeze on a flat shelf – A level surface helps the base freeze evenly, which gives better results after spinning.
Measure sweeteners carefully – Too much can keep the ice cream from freezing as it should.
Don’t skip the Re-Spin – If the first spin looks dry, one Re-Spin usually makes it smooth and creamy.
Fold in the sauce gently – I don’t fully stir the pineapple sauce because the ribbons make every bite taste better.
Serve right after spinning – I always enjoy it fresh because the texture is at its creamiest and smoothest.
Chill the pineapple sauce overnight – A cold sauce blends into the ice cream much better and keeps the texture firm.
Use a digital kitchen scale – I find weighing the ingredients gives the most consistent results every time.
Creative Variations And Adaptations To Try
Make It Alcohol-Free – I skip the rum and use a teaspoon of rum extract instead. You still get that classic Piña Colada flavor, and everyone can enjoy it without alcohol.
Add Toasted Coconut – I like folding in a handful of toasted coconut flakes after spinning. They add a light crunch and make the coconut flavor even richer without changing the creamy texture.
Mix In White Chocolate – I sometimes add chopped white chocolate during the Mix-In cycle. The sweet chocolate melts slightly into the ice cream and pairs really well with the pineapple.
Use Fresh Pineapple – When fresh pineapple is in season, I cook it with a little pineapple juice to make the sauce. The flavor tastes brighter and a little less sweet than canned pineapple.
Add Macadamia Nuts – I enjoy mixing in chopped roasted macadamia nuts for a buttery crunch. They give each scoop extra texture and work perfectly with the tropical flavors.
Common Mistakes To Avoid When Making Ninja Creami Piña Colada Ice Cream
Adding the rum too early – I never pour the rum into hot pineapple sauce. The heat can cook off much of the alcohol and leave the flavor less noticeable.
Not freezing the pint long enough – I always freeze the base for a full 24 hours. A soft center can keep the Ninja Creami from creating a smooth texture.
Boiling the coconut base – I only warm the mixture gently. Boiling can change the texture and make the finished ice cream less creamy.
Using too much sweetener – I measure every sweetener with a kitchen scale. Adding extra may stop the base from freezing as firmly as it should.
Skipping the Re-Spin – If my first spin looks powdery, I always use the Re-Spin setting. It usually turns the texture into smooth, creamy ice cream.
Mixing the pineapple sauce completely – I gently fold it into the ice cream instead of stirring everything together. Those pineapple ribbons make every scoop look and taste much better.
Using low-fat coconut products – I always choose full-fat coconut cream and coconut milk. They give the rich texture that makes this recipe taste like a real dessert.
Creative Serving Ideas For Ninja Creami Piña Colada Ice Cream
Serve in a chilled coconut bowl – I love serving this ice cream in a cold coconut shell because it keeps every scoop colder a little longer and looks fun on the table.
Top with toasted coconut – I sprinkle toasted coconut flakes over each serving. The light crunch makes every bite more interesting.
Add fresh pineapple pieces – I like adding a few fresh pineapple chunks for extra juicy flavor and a bright tropical look.
Finish with a maraschino cherry – I always place one cherry on top because it gives the ice cream that classic Piña Colada dessert style.
Drizzle extra pineapple sauce – I save a little homemade sauce for serving. A small drizzle adds more pineapple flavor without making the dessert too sweet.
Pair with coconut cookies – I enjoy serving a couple of crisp coconut cookies on the side. They are perfect for scooping up the creamy ice cream.
Store Leftovers
I usually enjoy this ice cream right after spinning because the texture is at its best. If I have leftovers, I transfer them to the Ninja Creami pint or another airtight freezer-safe container and smooth the top before covering it tightly. This helps reduce ice crystals.
I keep the ice cream in the freezer for up to two weeks for the best flavor and texture. Before serving again, I let the pint sit on the counter for about 10 minutes if it feels very hard. Then I process it with the Re-Spin setting until it becomes smooth and creamy again.
I also keep the leftover pineapple sauce in a sealed container in the refrigerator for up to one week, so it’s ready for the next batch.
Ninja Creami Piña Colada Ice Cream Recipe FAQs
Can I make Ninja Creami Piña Colada Ice Cream without rum?
Yes. I often leave out the rum when I want an alcohol-free version. You can replace it with a small amount of rum extract if you still want that classic Piña Colada taste. The pineapple and coconut flavors are still rich and delicious even without alcohol.
Can I use light coconut milk instead of full-fat coconut milk?
You can, but I don’t recommend it if you want the creamiest texture. Full-fat coconut milk and coconut cream give this recipe its rich body. Light coconut milk makes the finished ice cream less creamy and slightly icy.
Why is my ice cream crumbly after spinning?
This usually happens when the base is very cold or needs another spin. I simply use the Re-Spin setting once, and the texture becomes much smoother. If needed, you can add a tablespoon of coconut milk before re-spinning.
Can I make this recipe ahead of time?
Yes. I usually prepare the ice cream base and pineapple sauce a day before I plan to serve it. After freezing the base for at least 24 hours, everything is ready for a quick spin whenever I want fresh homemade ice cream.
Can I replace allulose with another sweetener?
Yes, but the texture may change. Allulose helps keep homemade ice cream soft after freezing. If I use xylitol, I reduce the amount because it sweetens differently. Always measure carefully to avoid changing the freezing texture.
Do I have to make the candied cherries?
No. They are completely optional. I enjoy adding them because they match the tropical flavors, but the ice cream still tastes wonderful with only the pineapple sauce or even fresh cherries.
Can I use fresh pineapple instead of canned pineapple?
Yes. I have made this recipe with fresh pineapple many times. I simply cook it with a little pineapple juice until it reduces into a thick sauce. Fresh pineapple gives the dessert a brighter and slightly fresher taste.
How long does the pineapple sauce last?
I store the pineapple sauce in an airtight container in the refrigerator for about one week. It stays thick and flavorful, making it easy to use on another batch of ice cream or even spoon over yogurt.
Can I freeze the pineapple sauce?
Yes. I freeze extra sauce in a small freezer-safe container for up to three months. I thaw it overnight in the refrigerator before using it so it blends easily into the freshly spun ice cream.
What is the best way to serve Ninja Creami Piña Colada Ice Cream?
I think this ice cream tastes best right after spinning while it’s soft and creamy. I top it with extra pineapple sauce, toasted coconut, and a maraschino cherry for a classic tropical dessert that looks just as good as it tastes.
Ninja Creami Piña Colada Ice Cream Recipe
Make this Ninja Creami Piña Colada Ice Cream for a rich, creamy dessert with coconut, pineapple, and a homemade rum sauce. I love how the flavors come together after one spin in my Ninja Creami ice cream maker, and the texture turns out smooth every time. This homemade Piña Colada ice cream recipe takes a little planning, but the easy steps are worth it. It's a medium-difficulty recipe with big tropical flavor. Serve it with toasted coconut, fresh pineapple, or a maraschino cherry, and you'll have a dessert everyone will remember.
Ingredients
For the Coconut Ice Cream Base
- 165 g coconut cream
- 439 g coconut milk
- 20 g water (to bring the total base to 750 g)
- 37 g inulin – Adds body and improves texture. Another plant-based fiber can be used, but some fibers may create a gummy texture.
- 12 g erythritol monk fruit sweetener – Helps adjust the freezing point. Measure accurately because using too much can prevent the ice cream from freezing properly.
- 90 g allulose – Sweetens the ice cream while keeping it smooth. If using xylitol instead, reduce the amount to about 55 g.
- 2½ g xanthan gum – Stabilizes the mixture and creates a creamy texture.
For the Rum Pineapple Sauce
- 1 (540 ml) can pineapple chunks in pineapple juice
- 3 g xanthan gum (about ½ teaspoon) – Thickens the acidic pineapple mixture.
- 75 g rum – Light rum, dark rum, or a combination can be used.
Optional Homemade Candied Cherries
- 400 g sweet cherries (weight before removing pits)
- 200 g granulated sugar
- A small splash of water
- Invert sugar (amount not provided in the transcript) – Helps prevent the sugar from crystallizing so the cherries keep well for months.
Instructions
- Pour the entire can of pineapple chunks and all of the juice into a medium saucepan. Place it over medium heat and bring it to a gentle boil. Let it cook until the liquid reduces and becomes a thick pineapple sauce with a stronger flavor. Remove the pan from the heat and let it cool for about 2 hours. Make sure it is almost at room temperature before adding the rum so the alcohol keeps its flavor.
- Sprinkle the xanthan gum over the cooled pineapple mixture. Blend until mostly smooth. I like leaving a few small pineapple pieces because they add a little texture. If you want a smoother sauce, strain it through a fine-mesh strainer after blending. Stir in the rum until everything is well mixed. Cover the sauce and refrigerate it overnight.
- Remove the pits from the cherries and place them into a saucepan. Add the granulated sugar, a small splash of water, and the invert sugar if you are using it. Heat over medium heat until the mixture reaches about 235°F (113°C). Remove the pan from the heat and let the cherries cool completely. Transfer them to a container and refrigerate until you are ready to use them.
- Add the coconut cream, coconut milk, water, inulin, erythritol monk fruit sweetener, allulose, and xanthan gum to a saucepan. Blend or whisk everything well until the xanthan gum is fully mixed and there are no small lumps. A smooth base gives the best finished texture.
- Place the saucepan over medium-low heat. Warm the mixture for about 5 minutes until it reaches around 104°F to 122°F (40°C to 50°C). There is no need to boil it. Gentle heat helps the sweeteners dissolve and the coconut fat blend smoothly into the mixture.
- Pour the finished mixture into a Ninja Creami Deluxe pint container. The total weight should be close to 750 grams. Place the lid on the container and freeze it on a flat surface for at least 24 hours. The base must be completely frozen before spinning.
- Remove the frozen pint from the freezer and place it into your Ninja Creami Deluxe. Process it using the Ice Cream setting until the texture becomes smooth and creamy. If it looks a little crumbly after the first spin, simply use the Re-Spin function once.
- Spoon the chilled rum pineapple sauce over the freshly spun ice cream. Add a few candied cherries. Gently fold everything together instead of mixing completely. I like seeing ribbons of pineapple sauce throughout each scoop because it gives every bite extra flavor.
- Serve the ice cream right away while it is soft and creamy. I like topping each bowl with a few extra candied cherries, a maraschino cherry, a pineapple wedge, or both. The coconut, pineapple, and rum flavors come together to create a classic Piña Colada taste that feels fresh and refreshing.
Nutrition Information:
Serving Size: 1 servingAmount Per Serving: Calories: 225Total Fat: 18gSaturated Fat: 15gCholesterol: 0mgSodium: 28mgCarbohydrates: 24gFiber: 3gSugar: 16gProtein: 2g
This Ninja Creami Piña Colada Ice Cream has become one of my favorite homemade treats because every scoop tastes rich, creamy, and full of tropical flavor. If you’ve been looking for a Piña Colada ice cream recipe, I really think this one is worth making.