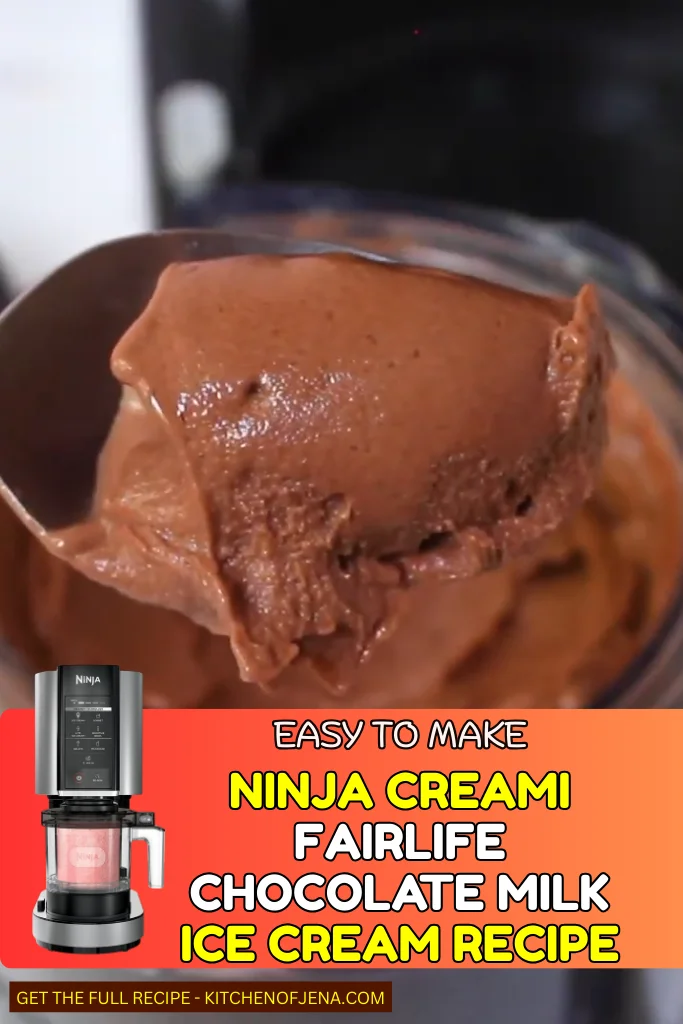
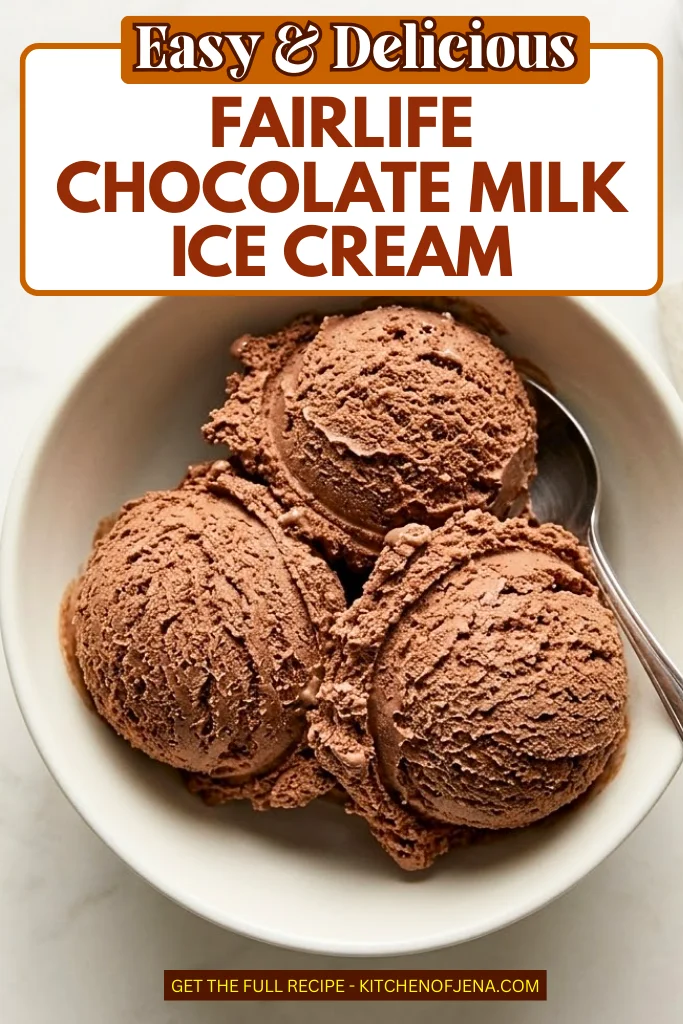
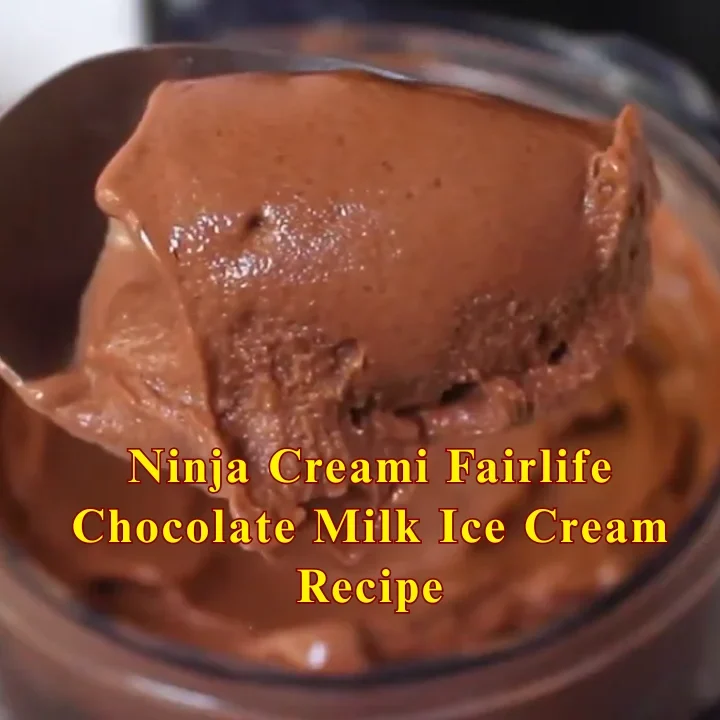
Ninja Creami Fairlife Chocolate Milk Ice Cream Recipe
The ninja creami fairlife chocolate milk ice cream recipe is something I made right after sharing my coconut milk ice cream. I wanted to try another simple flavor using the Ninja Creami, but this time with chocolate.
I had a bottle of Fairlife chocolate milk in my fridge, so I thought… why not test it.
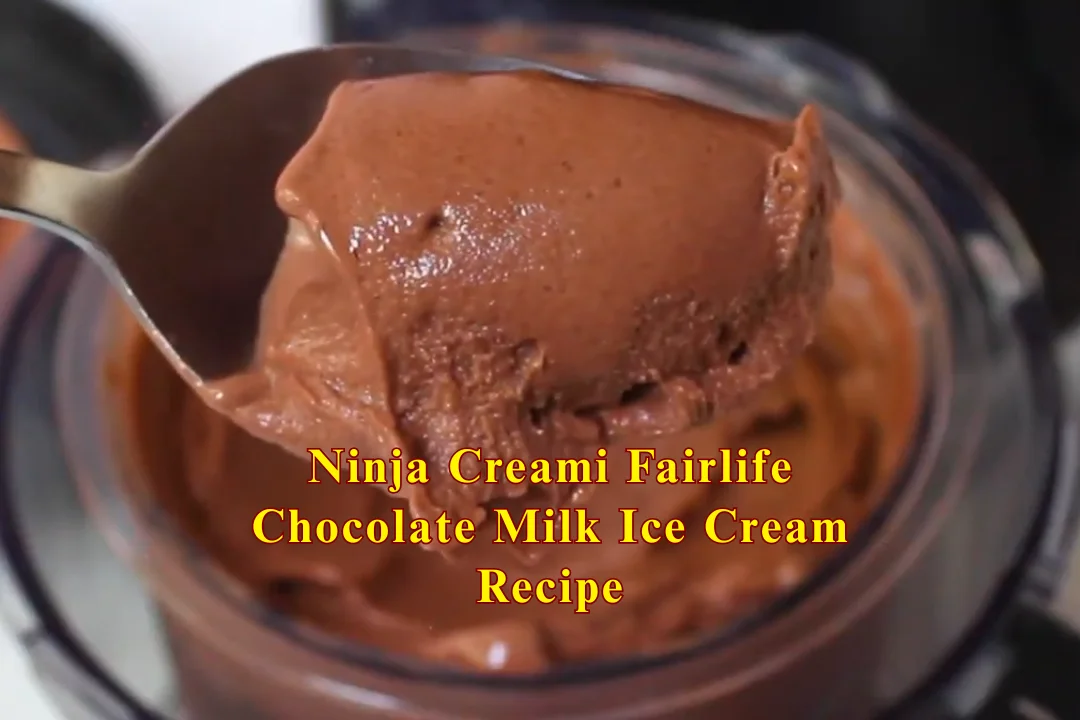
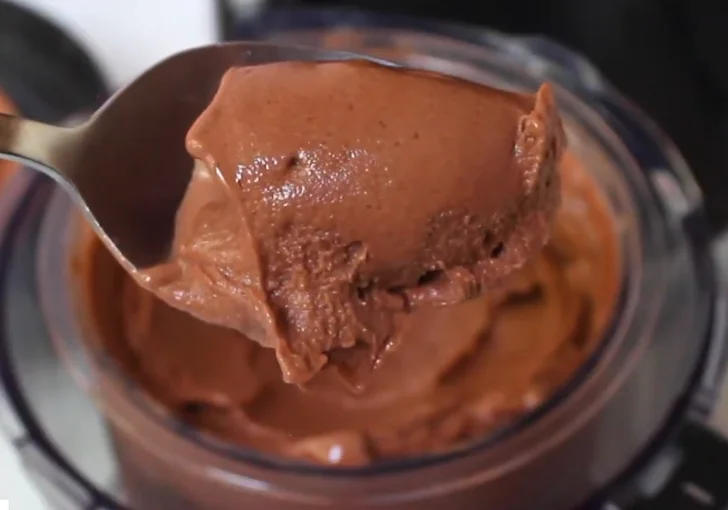
I froze the milk, spun it in the machine, and the result really surprised me. The texture came out smooth, creamy, and rich like real chocolate ice cream.
A few days later some friends came to my home. I served them a scoop and asked them to taste my new ice cream. They looked surprised after the first bite. Everyone said it tasted amazing.
When I told them the recipe only used chocolate milk and took very little time, they were honestly shocked. That moment made me think I should share it here too.
You can serve it with crushed cookies or chocolate chips for a fun topping. You can also add peanut butter drizzle or fresh banana slices to make your own simple ice cream bowl.
Why Ninja Creami is Perfect To Make This Fairlife Chocolate Milk Ice Cream?
Even though I make many ice cream flavors, I keep coming back to the Ninja Creami for recipes like this.
The machine works very different from a regular ice cream maker. Instead of churning liquid, it shaves and blends frozen blocks into creamy ice cream.
That small difference makes a big impact.
When I first tested the ninja creami fairlife chocolate milk ice cream recipe, I noticed how the machine fixed the texture after spinning. Even simple milk became thick and scoopable.
Here are a few reasons I like using the Ninja Creami:
- Perfect texture every time – The Creami’s spinning blade breaks down the frozen base into tiny ice crystals, creating a smooth, creamy consistency.
- Turns frozen milk into real ice cream
The machine breaks tiny ice crystals and blends everything smooth. This is why milk alone works. - No heavy cream needed
Many recipes require cream, eggs, or sugar. Here the chocolate milk already has balance. - Easy to fix texture
If the ice cream looks dry after the first spin, I just add a little milk and spin again. - Great for small batches
One pint at a time. Perfect when you want fresh ice cream without making a huge container. - Consistent results
Once you learn the spin and respin method, the texture comes out great almost every time.
I like recipes that are simple but still taste like something from an ice cream shop. This one does exactly that.
This Fairlife Chocolate Milk Ice Cream is Perfect For
This ice cream fits many moments. I make it often because it works for everyday cravings.
- Quick dessert after dinner
Sometimes I just want something sweet but not heavy. One scoop of this chocolate ice cream hits the spot. - High protein treat
Fairlife milk has extra protein, so this ice cream feels more balanced than most desserts. - Late night snack
When the freezer already has a frozen pint ready, it takes only a couple spins. - Beginner Ninja Creami users
If you just bought the machine, this recipe is the easiest place to start. - Chocolate lovers
The flavor is simple but rich. It tastes like frozen chocolate milk. - Small households
One pint makes just enough for two servings.
Ninja Creami Fairlife Chocolate Milk Ice Cream Ingredients
2 cups Fairlife Chocolate Milk – I use Fairlife Chocolate Milk as the full base for this recipe because it already has a rich chocolate taste, natural sweetness, and extra protein. Two cups fill the Ninja Creami pint container perfectly and freeze into a strong base that spins into creamy ice cream.
¼ teaspoon xanthan gum – This small amount works as a stabilizer. I sometimes add it when I want a smoother texture. Xanthan gum helps reduce ice crystals while freezing, so after spinning in the Ninja Creami the ice cream turns softer, creamier, and less icy.
2–3 tablespoons milk – I add this during the re-spin step to improve the texture. I usually use a little more Fairlife chocolate milk to keep the flavor strong, but regular milk or almond milk works too. This extra liquid helps the ice cream turn smooth and scoopable.
Kitchen Appliances You’ll Need
Making this recipe is simple. You only need a few kitchen tools.
- Ninja Creami machine
- Ninja Creami pint container
- Spoon or small whisk
- Butter knife
- Freezer
- Measuring spoons
How To Make Ninja Creami Fairlife Chocolate Milk Ice Cream
Step 1 | Fill the Pint Container
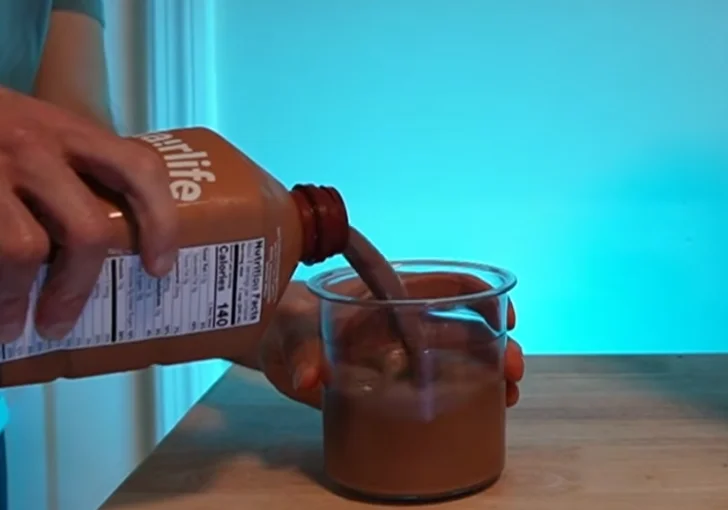
Pour 2 cups of chocolate Fairlife milk into a Ninja Creami pint container. This amount fills the container close to the max fill line and forms the entire ice cream base. The milk already contains a good balance of sweetness and protein, so no additional sweetener is needed.
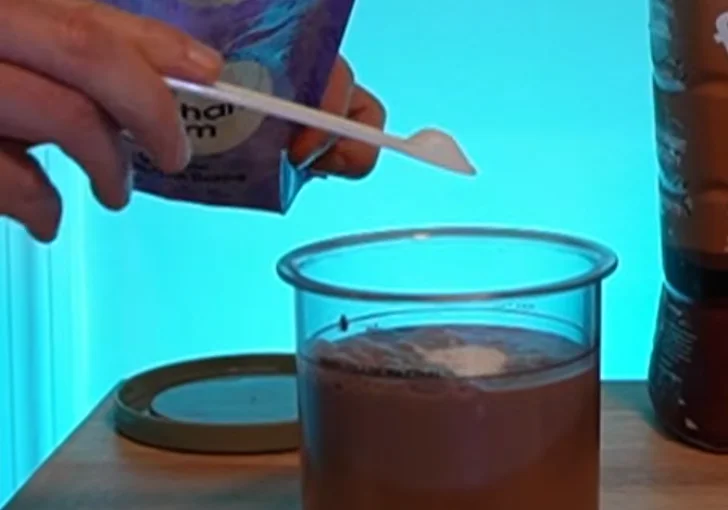
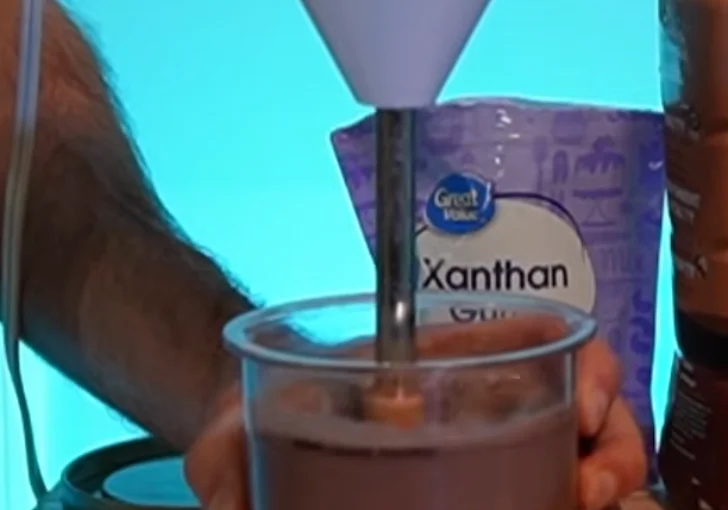
Step 2 | Add Stabilizer (Optional but Recommended)
For a smoother texture, sprinkle ¼ teaspoon xanthan gum into the milk and stir or blend until fully dissolved. This stabilizer thickens the mixture and helps create smaller ice crystals during freezing, which results in a creamier ice cream instead of an icy texture.
Step 3 | Freeze the Base
Place the pint container in the freezer and freeze until completely solid. Since the milk is already cold before freezing, the mixture usually sets in about 8 hours, though freezing up to 24 hours works as well.
Step 4| Slightly Defrost Before Spinning
Remove the frozen pint from the freezer and let it sit at room temperature for up to 15 minutes. This short defrost helps reduce the hard icy layer that can form around the outer edge of the container.
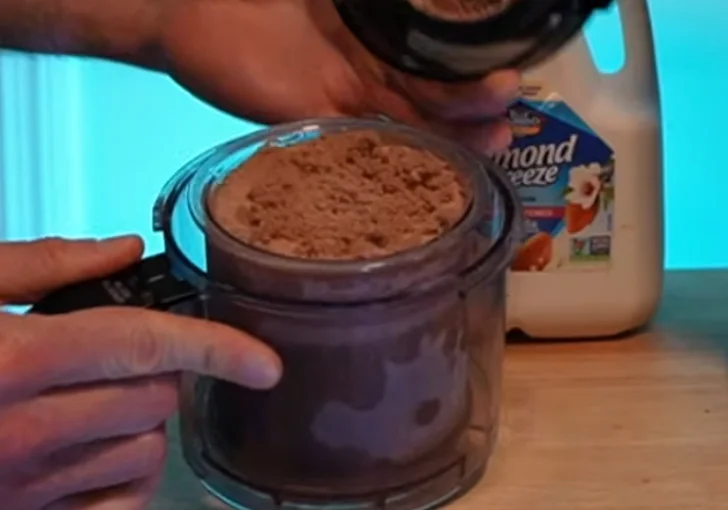
Step 5 | First Spin
Place the frozen pint into the Ninja Creami machine and run the Light Ice Cream cycle once. When the cycle finishes, open the container. The mixture will look dry and powdery with a snowy texture, which is normal after the first spin.
Step 6 | Break the Frozen Edges
Run a knife around the inside edge of the container to break up any solid ice forming along the perimeter. This helps the machine blend everything evenly in the next spin.
Step 7 | Add Liquid for Creaminess
Pour 2–3 tablespoons of milk into the center of the mixture. Chocolate milk keeps the flavor richer, though almond milk or regular milk can also be used. The added liquid helps smooth the texture during the next spin.
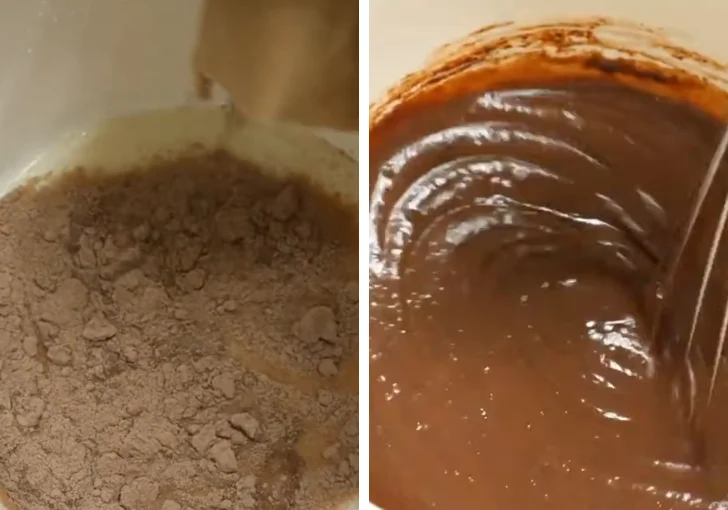
Step 8 | Second Spin
Return the pint to the machine and run the Light Ice Cream cycle again. After this second spin, the mixture turns into soft, scoopable ice cream with a fluffy texture.

Step 9 |Serve the Ice Cream
Open the container and serve immediately. The ice cream has a rich chocolate flavor with balanced sweetness and a light, creamy consistency. Using the stabilizer method keeps the texture smoother while maintaining the simple base.
Step 10 | Leftover Storing
If there is leftover ice cream, smooth the surface inside the pint container and cover it with the lid before placing it back in the freezer. When ready to eat again, remove the pint from the freezer and let it sit for about 10–15 minutes to soften slightly. Run the Re-Spin or Light Ice Cream cycle in the Ninja Creami to bring the texture back to a creamy consistency before serving.
Tips & Notes for Perfect Ninja Creami Fairlife Chocolate Milk Ice Cream
Start with very cold chocolate milk
I always pour the milk straight from the fridge before freezing. Cold milk freezes more evenly in the pint and helps the Ninja Creami spin the base smoother later.
Freeze the pint completely solid
This is important. I once tried spinning a half-frozen base and it turned slushy. Let the pint freeze at least 8 hours so the machine can shave it properly.
Do not panic after the first spin
The first spin almost always looks dry and powdery. That’s normal with milk bases. I just add a little milk and run the cycle again.
Use xanthan gum only if you want extra creaminess
I like adding a small pinch when I want a softer texture. It keeps the ice crystals smaller so the ice cream tastes smoother after spinning.
Break the frozen edges before the second spin
I run a butter knife around the sides of the pint. The outer ring can stay hard, and breaking it helps the machine blend everything evenly.
Let the frozen pint sit a few minutes
I usually leave the pint on the counter about 10 minutes. This softens the outer layer slightly and helps the Ninja Creami spin easier.
Variations and Adaptations
Chocolate Almond Version
Replace the re-spin milk with almond milk. This creates a slightly nutty flavor and keeps the ice cream lighter while still creamy after the second spin.
Protein Boost Version
Add one tablespoon chocolate protein powder to the base before freezing. Mix well so it dissolves. The ice cream becomes thicker and adds extra protein.
Mocha Chocolate Ice Cream
Mix ½ teaspoon instant espresso powder into the chocolate milk. The coffee deepens the chocolate flavor and makes the ice cream taste like mocha dessert.
Chocolate Peanut Butter Style
After the second spin, swirl in a spoon of peanut butter. The warm peanut butter melts slightly and creates creamy ribbons through the ice cream.
Chocolate Chip Mix-In
Add a small handful of mini chocolate chips after spinning. Stir gently so they spread through the ice cream.
Mistakes To Avoid While Making Ninja Creami Fairlife Chocolate Milk Ice Cream Recipe
I made a few mistakes when I first tested this recipe. Avoiding these will help your ice cream come out better.
- Spinning before the base is fully frozen
If the milk is not frozen solid, the texture turns slushy instead of creamy. - Skipping the re-spin liquid
The first spin often looks powdery. Adding milk helps turn that dry mix into smooth ice cream. - Overusing xanthan gum
Too much can make the ice cream gummy. I stick to ¼ teaspoon. - Ignoring the frozen edge ring
Breaking the edges with a knife helps the machine mix everything evenly. - Overfilling the pint
Stay close to the max fill line or the machine may struggle during spinning.
Serving Ideas and Mix-ins
Chocolate Ice Cream Bowl – A simple way I like serving this ice cream is in a chilled bowl with a little shaved dark chocolate on top. The thin chocolate pieces soften slowly and give each bite a deeper chocolate taste. You will notice how it melts gently while you eat.
Chocolate Cookie Crumble – Break one chocolate sandwich cookie or any crunchy chocolate cookie over the scoop. The cookie bits stay crisp against the creamy ice cream. You get small chocolate crunch pieces in every spoon, which makes the dessert feel more fun and satisfying.
Chocolate Almond Crunch – Sprinkle a small handful of sliced or chopped almonds over the ice cream. The light nut crunch balances the soft texture. If you enjoy contrast in desserts, this simple topping adds a nice bite without changing the chocolate flavor too much.
Chocolate Strawberry Pair – Add a few sliced fresh strawberries beside the scoop. The berries bring a fresh taste that cuts through the sweet chocolate. You will notice the balance right away, and it turns a simple scoop into a bright dessert.
Chocolate Peanut Butter Swirl – Warm a spoon of peanut butter for a few seconds and drizzle it over the ice cream. The peanut butter melts slightly and creates soft ribbons through the scoop. This small addition gives the chocolate ice cream a rich candy-style flavor.
Leftover Storing
I store leftovers right in the Ninja Creami pint container. After serving, I smooth the surface so the ice cream freezes evenly again. Then I place the lid on the container and return it to the freezer.
When I want to eat it again, I take the pint out and let it sit about 10–15 minutes. The ice cream softens slightly. After that I run the Re-Spin cycle in the Ninja Creami. This step brings the texture back to creamy and scoopable again.
Doing this keeps the ice cream from turning hard or icy. I often keep one frozen pint ready like this for later.
Ninja Creami Fairlife Chocolate Milk Ice Cream Recipe FAQs
Can I make this recipe without xanthan gum?
Yes, you can. The recipe works with only chocolate Fairlife milk. Xanthan gum simply improves the texture by reducing ice crystals. Without it, the ice cream may feel slightly icy after the first spin, but a second spin with extra milk usually fixes the texture.
Why does the ice cream look powdery after the first spin?
This happens because the frozen milk breaks into tiny frozen flakes during the first spin. It may look dry and crumbly at first. Adding a small amount of milk and running another spin blends those flakes into creamy ice cream.
Can I use regular chocolate milk instead of Fairlife?
Yes, but the texture may be slightly different. Fairlife milk contains more protein and less sugar, which helps create a thicker ice cream base. Regular chocolate milk still works, though it may need an extra re-spin for better texture.
How long should I freeze the base?
The base should freeze until completely solid. For most freezers this takes about 8 hours. I usually freeze it overnight to make sure the center is fully frozen before spinning.
Can I use the regular Ice Cream cycle instead of Light Ice Cream?
Yes you can try it. I prefer the Light Ice Cream cycle because the base is made with milk and lower fat. The machine processes it better with that setting.
What milk works best for the re-spin stage?
Chocolate milk works best because it keeps the chocolate flavor strong. Almond milk, regular milk, or oat milk also work. The goal is simply to add moisture so the mixture becomes creamy.
How many servings does this recipe make?
One Ninja Creami pint usually makes about two servings. The recipe yields roughly one pint of ice cream, which is enough for two medium scoops or one large dessert.
Can I add mix-ins like cookies or candy?
Yes. After the second spin, you can stir in crushed cookies, chocolate chips, or candy pieces. Add them gently so they mix without melting the ice cream too much.
Why does my ice cream turn icy in the freezer?
Ice crystals form when the ice cream sits frozen for a long time. Running the Re-Spin cycle fixes this. The Ninja Creami breaks those crystals and makes the texture smooth again.
Is this recipe high in protein?
Yes. Fairlife chocolate milk contains more protein than regular milk. One pint of this ice cream has around 26 grams of protein, which makes it a satisfying dessert.
Ninja Creami Fairlife Chocolate Milk Ice Cream Recipe
I made this ninja creami fairlife chocolate milk ice cream recipe after testing a few simple Ninja Creami desserts at home, and this one stayed in my freezer rotation. Using Fairlife chocolate milk as the base makes the ice cream naturally sweet, creamy, and high in protein without extra sugar or heavy cream. I spin it in my Ninja Creami ice cream maker, and the texture comes out smooth and scoopable every time. If you are searching for a Ninja Creami chocolate milk ice cream or an easy Fairlife milk ice cream recipe, this method works great. You can serve it in a bowl, add cookie crumbles, or top your scoop with almonds or strawberries.
Ingredients
Base Ice Cream
- 2 cups Fairlife Chocolate Milk (fills one Ninja Creami pint container)
Stabilizer Method (For Creamier Texture)
- 2 cups Fairlife Chocolate Milk
- ¼ teaspoon xanthan gum (helps reduce ice crystals and improves creaminess)
For Re-Spin Adjustment
- 2–3 tablespoons milk
- Chocolate milk (best for keeping the rich chocolate flavor)
Instructions
- I start by pouring 2 cups of Fairlife chocolate milk into the Ninja Creami pint container. The milk reaches close to the max fill line. This becomes the whole ice cream base.
Fairlife milk already has sweetness and protein, so I don’t add sugar. - Sometimes I sprinkle ¼ teaspoon xanthan gum into the milk. Then I stir or blend it until it fully dissolves.
This small step helps keep the ice cream smooth. It reduces ice crystals and improves texture after freezing. - Next I place the pint container in the freezer. The mixture needs to freeze completely solid.
Usually it takes about 8 hours, but leaving it overnight works great too. - When the base is frozen, I remove the pint from the freezer.
I let it sit on the counter for 10–15 minutes. This softens the outer layer and helps the machine spin more evenly. - Now I place the pint into the Ninja Creami machine.
I select the Light Ice Cream cycle and let the machine run once.
After the cycle finishes, the mixture looks powdery and dry. That’s normal. Almost every Creami recipe looks like that after the first spin. - Sometimes ice forms along the outer wall of the container.
I run a butter knife around the inside edge to loosen those frozen parts. This step helps the next spin mix everything better. - I pour 2 to 3 tablespoons of milk into the center of the mixture.
Chocolate milk works best because it keeps the flavor strong. Almond milk also works if that’s what I have at home. - I place the pint back into the machine.
Then I run the Light Ice Cream cycle again.
After this second spin, the mixture changes completely. It becomes soft, fluffy, and creamy like real ice cream. - Once spinning finishes, I open the lid and scoop the ice cream.
The texture is smooth and the chocolate taste is rich but not too sweet. One pint makes the perfect single batch dessert.
Nutrition Information:
Serving Size: About 2 servings per pintAmount Per Serving: Calories: 280Total Fat: 6gCarbohydrates: 30gSugar: 24gProtein: 26g
The ninja creami fairlife chocolate milk ice cream recipe is one of the easiest homemade ice creams I keep making again and again. It uses simple ingredients, almost no prep, and the Ninja Creami does the hard work. The result tastes creamy, chocolatey, and smooth even though it starts with just milk.
I really enjoy recipes like this because they prove good ice cream does not need a long ingredient list. If you own a Ninja Creami, give this recipe a try soon. I think you will be surprised how good it turns out.
When you make it, share how it came out for you. And don’t forget to follow us on Pinterest for more easy homemade ice cream ideas.