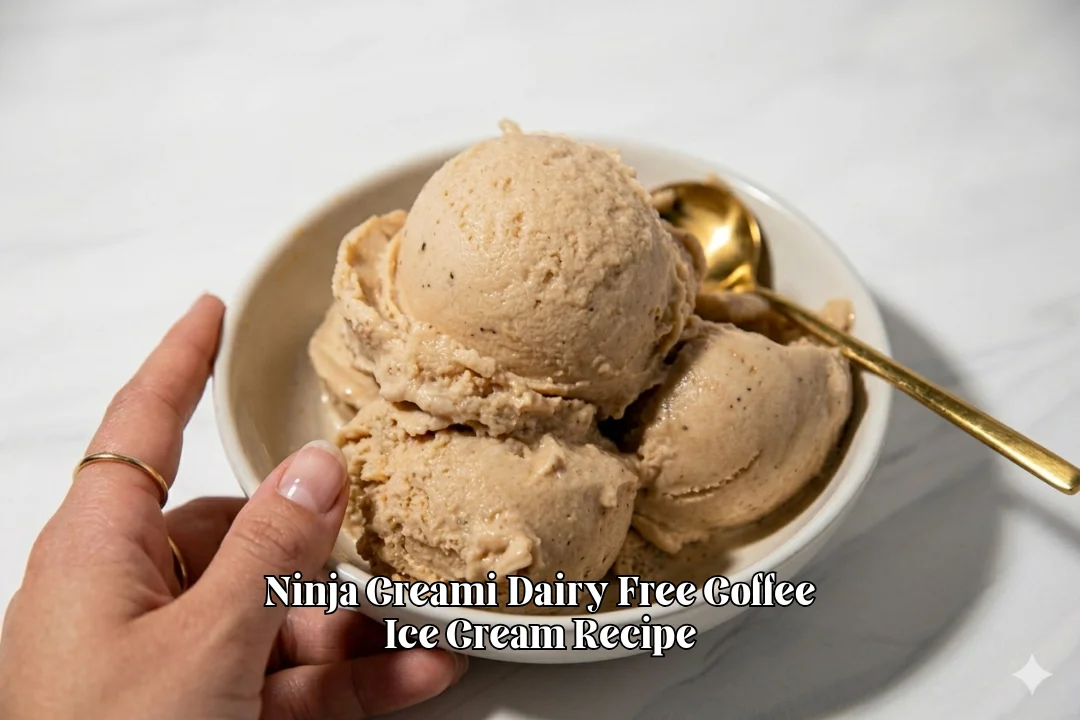
Ninja Creami Dairy Free Coffee Ice Cream Recipe (Better Than Store-Bought)
If you’re Coffee lover and looking for a Ninja Creami Dairy Free Coffee Ice Cream Recipe that actually feels smooth, rich, and full of real coffee taste, this one is for you.
I made this at home when I wanted something cold and creamy without dairy, and it surprised me in the best way.
The flavor comes out bold from the coffee, while coconut cream gives that soft, creamy bite that melts nicely on the tongue.
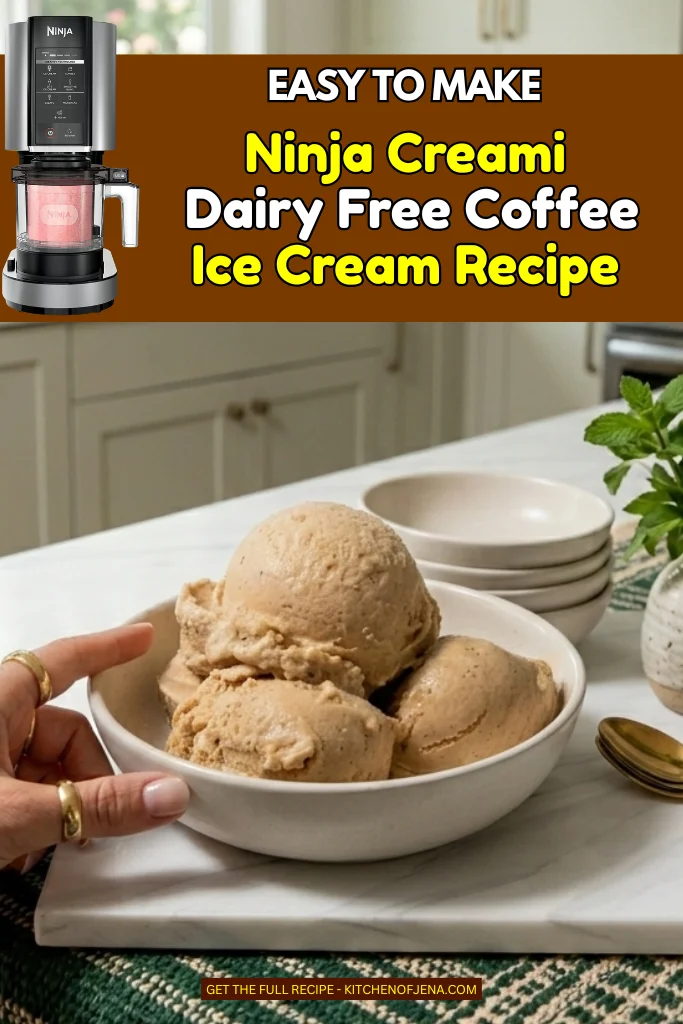
This recipe feels simple, but the result tastes like something from a café. No long steps, no complicated prep, just mix, freeze, and spin. That’s what I liked most about it.
I often make this when I want a quick sweet fix that still feels light. It’s not too heavy, not too sweet, just balanced coffee flavor in every spoon.
You can enjoy it plain or add chocolate chips, caramel drizzle, or even a little crushed biscuit on top for extra texture.
What Makes This Dairy Free Coffee Ice Cream So Special
Smooth texture
The coconut cream gives a rich and creamy feel without using dairy. I was surprised how soft it turns after spinning in the Ninja Creami.
Real coffee taste
The instant coffee blends well and gives a deep flavor. It doesn’t taste fake or too light. It actually feels like you’re eating frozen coffee.
Easy process
No cooking needed. I just mix everything in one container, freeze, and spin. It saves time and effort, which I really like on busy days.
Light on stomach
Since there’s no dairy, it feels lighter after eating. I don’t feel heavy or too full after a scoop or two.
Custom friendly
I can change sweetness, coffee strength, or add mix-ins. It works well with small changes, so I never get bored of it.
This Recipe is Ideal For
Quick
When you want a quick homemade dessert without much effort, this recipe is perfect because it takes minimal preparation and still gives you a rich, creamy coffee-flavored treat.
Dairy-Free
If you avoid dairy but still want creamy ice cream, this version uses plant-based ingredients that keep the texture smooth and satisfying without any milk or cream.
Craving
Late night sweet craving but not too heavy, this ice cream gives you a light dessert option that satisfies your sweet tooth without feeling overly rich or filling.
Coffee
Coffee lovers who want something cold and fun will enjoy this recipe because it combines bold coffee flavor with a refreshing frozen dessert experience.
Summer
Hot summer days when cold desserts feel best, this Ninja Creami ice cream becomes the perfect way to cool down while enjoying a delicious coffee treat.
Beginner
Anyone learning to use Ninja Creami for the first time will find this recipe simple and beginner-friendly, with easy steps and reliable results every time.
Dairy Free Coffee Ice Cream Recipe Ingredients
¾ cup unsweetened coconut cream – I use full-fat coconut cream because it makes the ice cream rich and smooth. I like the Thai Kitchen brand, but any thick coconut cream works fine.
½ cup granulated sugar – Regular white sugar works best here. It blends easy and balances the strong coffee taste. I tried reducing it once, but the texture got a bit icy.
1½ tablespoons instant coffee – I use Nescafé Classic. It gives a deep coffee flavor without needing brewing. You can adjust this if you like stronger or lighter taste.
1 cup rice milk – Rice milk keeps it light and smooth. I use unsweetened version so I can control sugar better. Almond milk can work too, but rice milk feels softer.
1 teaspoon vanilla extract – Just a little vanilla adds warmth and rounds the flavor. I always use pure vanilla extract because it tastes better than artificial ones.
Kitchen Appliances You’ll Need
- Ninja Creami machine
- Ninja Creami pint container
- Whisk or spoon
- Measuring cups and spoons
- Freezer
How To Make Ninja Creami Dairy Free Coffee Ice Cream Recipe
Step 1 | Add Ingredients to Container
Pour the unsweetened coconut cream into the Ninja Creami pint container. Add the granulated sugar, instant coffee, rice milk, and vanilla extract directly into the same container.
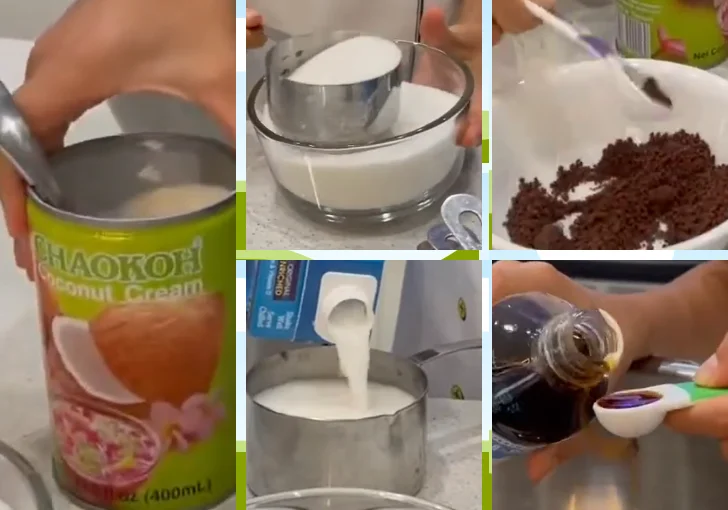
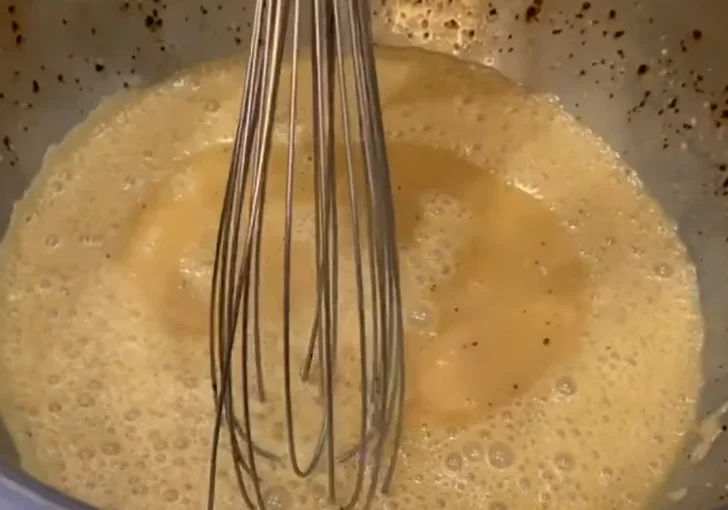
Step 2 | Whisk Until Smooth
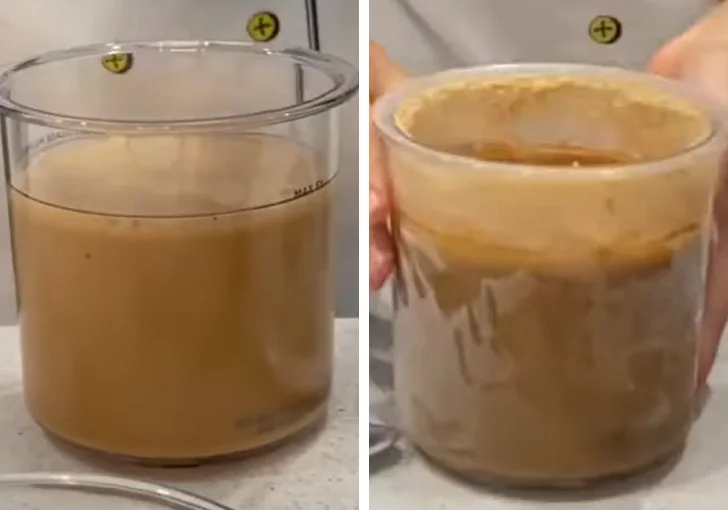
Whisk the mixture thoroughly inside the container until everything is fully combined and smooth. Make sure the instant coffee and sugar are completely dissolved and the mixture reaches an even consistency. The liquid should sit properly at or below the fill line.
Step 3 | Freeze for 24 Hours
Place the lid securely on the container. Set the container in the freezer on a flat, level surface to ensure even freezing. Leave it undisturbed for a full 24 hours until completely solid.
Step 4 | Insert into Ninja Creami
Remove the frozen container from the freezer and take off the lid. Place the pint into the Ninja Creami machine and lock it into position until it clicks securely.

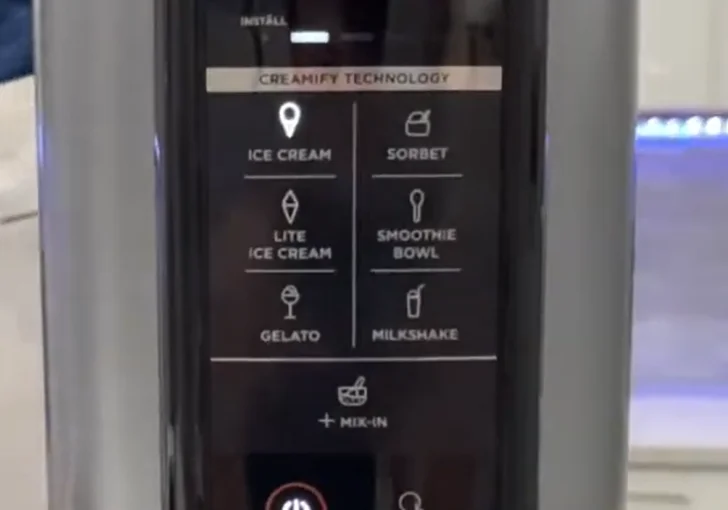
Step 5 | Run Ice Cream Function
Select the Ice Cream function on the Ninja Creami and allow the machine to process the frozen base. Let the cycle complete fully so the texture transforms from solid to creamy.
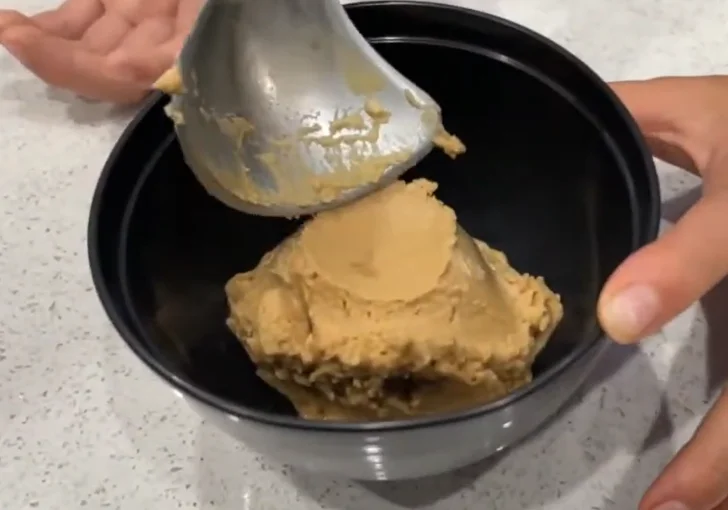
Step 6 | Scoop and Serve
Once processing is finished, remove the container from the machine and open it. Scoop out the ice cream and serve immediately. The final texture should be smooth and creamy with a strong coffee flavor.
Tips & Notes for the Best Ninja Creami Dairy Free Coffee Ice Cream Recipe Ice Cream
Use full-fat coconut cream
I tried using lighter versions before, but it didn’t give that creamy texture. Full-fat works best and makes a big difference in how soft and rich the final ice cream feels.
Dissolve everything properly
Make sure the sugar and coffee fully dissolve before freezing. If not, you may feel tiny grains in the ice cream, and that can ruin the smooth texture.
Freeze flat and still
Always place the container on a flat surface in the freezer. If it tilts or moves, the mixture won’t freeze evenly, and the spinning result may come out uneven.
Re-spin if needed
Sometimes the first spin looks crumbly. I just run the re-spin function once, and it turns perfectly creamy. Don’t worry if it’s not perfect on first try.
Adjust coffee strength carefully
Adding too much coffee can make it bitter. I tested a few times and found balance is key. Start with less, then adjust next time if needed.
Variations and Adaptations
Mocha version – Add one tablespoon cocoa powder before mixing. It gives a chocolate coffee flavor that feels richer and slightly dessert-like, almost like a frozen mocha drink.
Low sugar option – Reduce sugar and use a sugar substitute like monk fruit. I tried it once, and while texture changes a bit, it still tastes good.
Almond milk swap – You can replace rice milk with almond milk. It gives a slightly nutty taste and makes the ice cream feel a bit lighter.
Caramel touch – Add a swirl of dairy-free caramel after spinning. It adds sweetness and makes each bite more exciting and layered.
Protein boost – Mix in a scoop of vanilla protein powder before freezing. I did this once, and it turned into a nice post-workout treat.
Mistakes To Avoid While Making Ninja Creami Dairy Free Coffee Ice Cream Recipe
- Not mixing well – I once rushed the whisk step, and the sugar stayed at the bottom. The final ice cream tasted uneven, with sweet and bitter spots. Always mix until fully smooth.
- Using wrong coconut product – Coconut milk is too thin. I tried it, and the ice cream came out icy and weak. Coconut cream is what gives that rich texture.
- Skipping full freeze time – I once froze for only 12 hours. Big mistake. The center was soft, and the machine couldn’t fix it. It came out slushy instead of creamy.
- Expecting perfect texture first spin – Sometimes it looks dry after first run. That’s normal. Re-spin fixes it. I always keep that in mind now.
- Adding mix-ins too early – I added chocolate before freezing once. It sank and got hard. It’s always better to add after spinning for best texture and taste.
Serving Ideas and Mix-ins
Chocolate Chips Crunch – You can add dark chocolate chips after spinning. It gives small crunchy bites and pairs really well with the coffee flavor, making each scoop more fun to eat.
Crushed Cookies Mix – Try adding crushed Oreos or simple biscuits. It gives texture and makes it feel more like a dessert you’d order outside.
Espresso Pour Over – You can pour a shot of espresso on top. It melts slightly and turns into a rich coffee dessert, almost like affogato but dairy free.
Coconut Flakes Topping – Add toasted coconut flakes on top. It adds a light crunch and matches the coconut cream base nicely.
Peanut Butter Swirl – A small swirl of peanut butter gives a salty contrast. It balances the sweet and coffee taste in a simple but tasty way.
Leftover Storing
I usually store leftovers right in the same Ninja Creami container. I just smooth the top and close the lid tight. It goes back into the freezer.
When I want to eat again, I don’t scoop it hard. I run the re-spin function once, and it comes back creamy. If it feels too hard, I let it sit for 5 minutes, then spin.
Try to eat within a few days for best taste. After longer time, it may lose some smoothness, but still fine to eat.
Ninja Creami Dairy Free Coffee Ice Cream Recipe FAQs
Can I use almond milk instead of rice milk?
Yes, you can use almond milk instead of rice milk. I’ve tried it myself, and it works fine. The texture becomes slightly lighter, and the flavor gets a mild nutty taste. Just make sure to use unsweetened almond milk so the sweetness stays balanced.
Do I need to cook the mixture before freezing?
No, there is no need to cook anything in this recipe. That’s one of the reasons I like it so much. You just mix everything well and freeze it. It saves time and keeps the process very simple.
Why is my ice cream crumbly after first spin?
This happens sometimes, and it’s normal. I just use the re-spin option once or twice. It becomes smooth after that. The freezing process and ingredient balance can affect the first spin result.
Can I reduce the sugar amount?
Yes, you can reduce sugar, but it may change the texture. I tried lowering it, and it became a bit icy. Sugar helps keep the ice cream soft, so adjust slowly and test what works for you.
What type of coconut cream works best?
Full-fat coconut cream works best. I always go for thick ones like Thai Kitchen. Thin versions don’t give the same creamy texture, and the result may feel watery.
Can I use brewed coffee instead of instant coffee?
You can, but I don’t recommend it for this recipe. Brewed coffee adds extra liquid, which may affect texture. Instant coffee keeps the balance better and gives strong flavor.
How long should I freeze before spinning?
You need to freeze for a full 24 hours. I once tried less time, and it didn’t spin properly. Full freezing is important for the Ninja Creami to work right.
Can I make it without a Ninja Creami?
This recipe is made for Ninja Creami, so results may not be the same without it. You can try traditional freezing and stirring, but it won’t get that same creamy texture.
Is this recipe vegan?
Yes, this recipe is fully vegan since it uses no dairy products. Coconut cream and rice milk make it a good option for people avoiding animal products.
How strong is the coffee flavor?
The coffee flavor is medium to strong. I like it this way because it feels real. You can adjust the amount of instant coffee if you want it lighter or stronger.
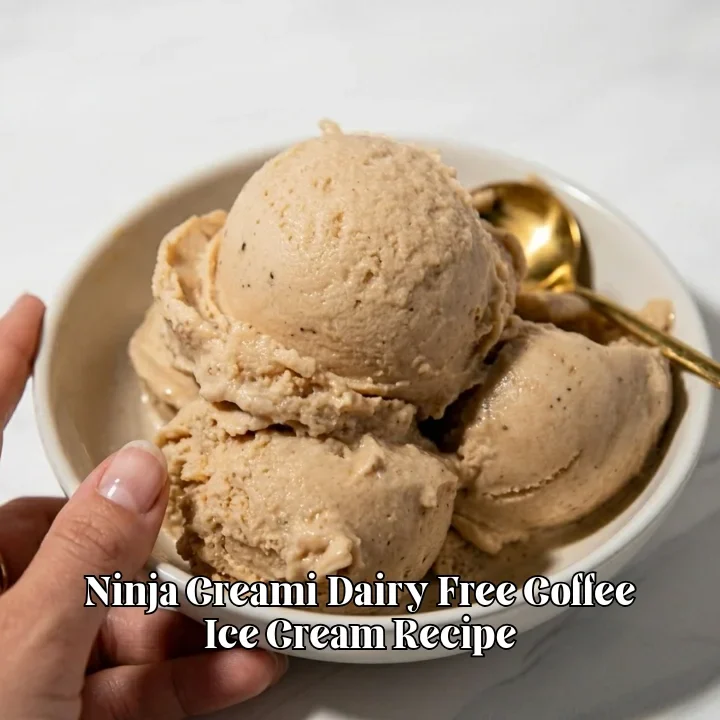
Ninja Creami Dairy Free Coffee Ice Cream Recipe
Ninja Creami Dairy Free Coffee Ice Cream Recipe is a simple homemade dessert with bold coffee flavor and smooth texture. I made this using coconut cream, rice milk, and instant coffee in my Ninja Creami, and it turned out rich without any dairy. This recipe takes just minutes to prepare, then freeze and spin. Perfect for beginners and coffee lovers who want easy dessert at home. You can enjoy it plain or add toppings like chocolate chips or syrup. Try it today and serve with your favorite toppings for extra flavor.
Ingredients
- ¾ cup unsweetened coconut cream
- ½ cup granulated sugar
- 1½ tablespoons instant coffee
- 1 cup rice milk
- 1 teaspoon vanilla extract
Instructions
- Pour the unsweetened coconut cream into the Ninja Creami pint container. Add the granulated sugar, instant coffee, rice milk, and vanilla extract directly into the same container.
- Whisk the mixture thoroughly inside the container until everything is fully combined and smooth. Make sure the instant coffee and sugar are completely dissolved and the mixture reaches an even consistency. The liquid should sit properly at or below the fill line.
- Place the lid securely on the container. Set the container in the freezer on a flat, level surface to ensure even freezing. Leave it undisturbed for a full 24 hours until completely solid.
- Remove the frozen container from the freezer and take off the lid. Place the pint into the Ninja Creami machine and lock it into position until it clicks securely.
- Select the Ice Cream function on the Ninja Creami and allow the machine to process the frozen base. Let the cycle complete fully so the texture transforms from solid to creamy.
- Once processing is finished, remove the container from the machine and open it. Scoop out the ice cream and serve immediately. The final texture should be smooth and creamy with a strong coffee flavor.
Nutrition Information:
Serving Size: 1 bowlAmount Per Serving: Calories: 220Total Fat: 12gCarbohydrates: 26gFiber: 0gSugar: 18gProtein: 1g
I keep going back to this Ninja Creami Dairy Free Coffee Ice Cream Recipe because it’s simple, tasty, and works every time.
It doesn’t need fancy steps, and the result feels like a treat I made with my own hands. That always feels good.
If you enjoy coffee and want a dairy free dessert, this one is worth trying. It’s easy to adjust and fun to make again and again. Give it a try, make your own version, and see how it turns out.
I’d love to hear how you liked it. Don’t forget to share your results and follow us on Pinterest for more ideas.