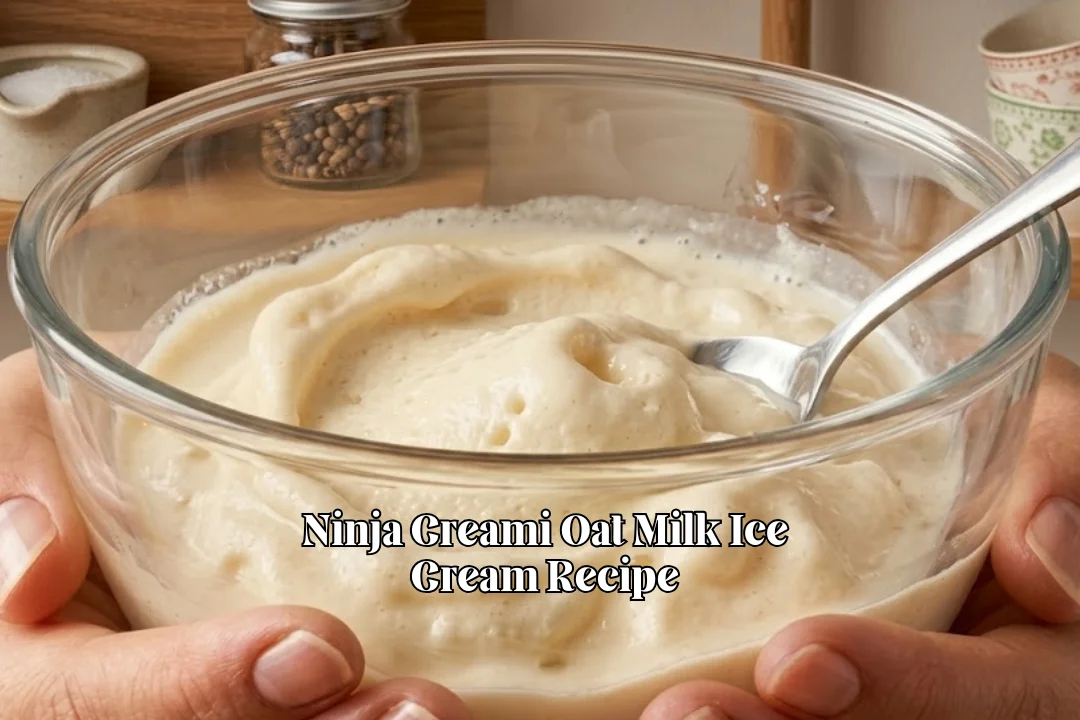
Ninja Creami Oat Milk Ice Cream Recipe (Dairy Free but Delicious)
The first spoonful of this Ninja Creami Oat Milk Ice Cream Recipe completely changed how I felt about dairy-free ice cream.
I expected something light, but I got a smooth, creamy scoop with a rich vanilla taste that honestly didn’t feel like it was missing anything.
Since then, I keep coming back to this recipe because it’s simple, dependable, and made with just four everyday ingredients.
I love that oat milk blends so well with sweetened condensed coconut milk, honey, and vanilla to create a homemade frozen dessert that’s creamy without being heavy.
The Ninja Creami does the hard work, and the result is a soft, scoopable ice cream that’s perfect any day of the week.
If you’re looking for an easy dairy-free oat milk ice cream, a homemade Ninja Creami dessert, or a simple frozen treat that tastes amazing, this recipe is worth making.
I hope you give this dairy free oat milk ice cream maker recipe a try because I think you’ll be reaching for another scoop before you know it.
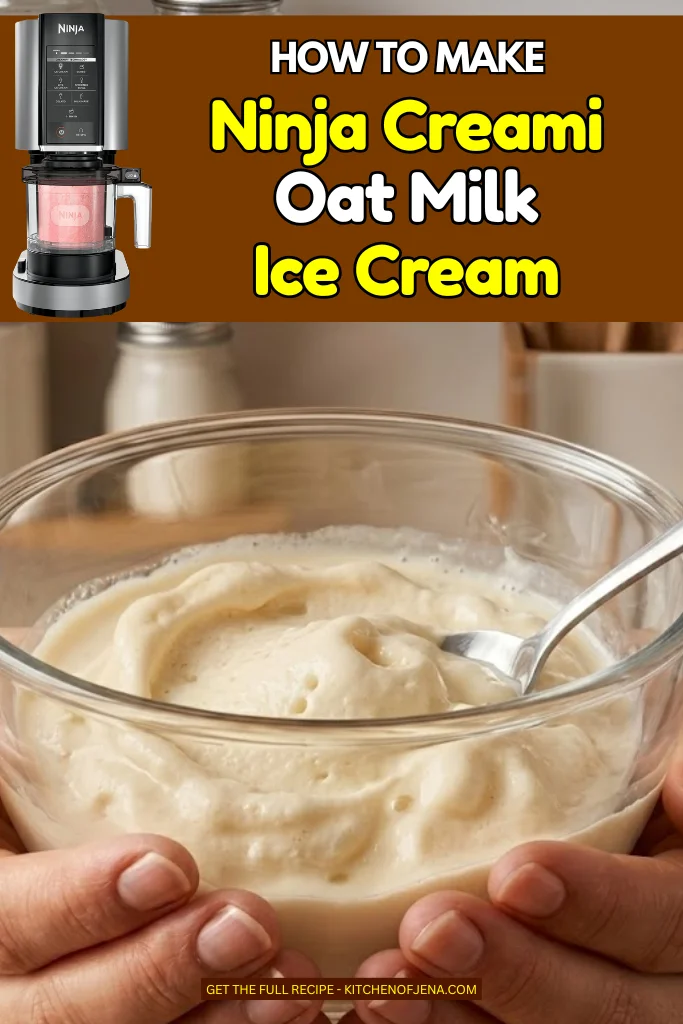
Why Oat Milk Works So Well in Ninja Creami Ice Cream
Oat milk has become one of my favorite choices for homemade dairy-free ice cream because it naturally gives a smooth and creamy texture.
Unlike some lighter plant-based milks, oat milk has a slightly thicker feel that helps the Ninja Creami create a better scoop.
When I combine it with sweetened condensed coconut milk, it adds richness without needing heavy cream or regular milk.
This makes Ninja Creami Oat Milk Ice Cream a great option if you want a simple dairy-free dessert that still feels like traditional ice cream. The mild oat flavor also pairs nicely with vanilla, chocolate, fruit, and warm spices, so you can easily change the flavor based on what you enjoy.
Ninja Creami Oat Milk Ice Cream Recipe vs Other Dairy-Free Versions
Many dairy-free ice cream recipes can freeze up a little too hard or turn icy because they don’t have enough fat or sweetness to stay smooth. That is one reason I like this version so much. The sweetened condensed coconut milk adds richness, and the honey helps the base stay softer after freezing, so the final texture feels much closer to real ice cream.
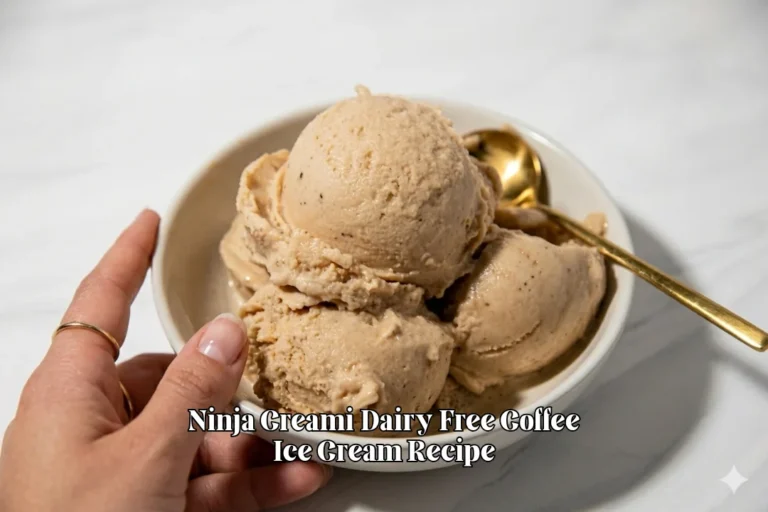
If you have tried dairy-free coffee ice cream before, you may have noticed that some versions taste great but still freeze a little firm. Coconut milk ice cream can be creamy too, but it often has a stronger coconut flavor that takes over the dessert.
This Ninja Creami oat milk ice cream has a milder taste and a lighter finish, which makes it a nice choice when you want something simple, creamy, and easy to enjoy.
Best of all, you only need four ingredients and a few minutes of hands-on work. After the base freezes, the Ninja Creami does the rest, giving you a homemade frozen dessert that feels easy enough for any day of the week.
Ninja Creami Oat Milk Ice Cream Ingredients
1¼ cups oat milk – Plain, unsweetened oat milk gives the ice cream a smooth, creamy base without making it overly sweet. Oatly and Planet Oat are both solid choices if a reliable store-bought brand is needed, and they blend well in the Ninja Creami.
⅓ cup sweetened condensed coconut milk – Sweetened condensed coconut milk adds richness, body, and a soft sweetness that helps the frozen base turn creamy instead of icy. It also keeps the recipe dairy free while giving the finished ice cream a fuller, more dessert-like flavor.
1 tablespoon honey – Honey adds natural sweetness and helps the ice cream stay a little softer after freezing. It mixes easily with the oat milk and coconut milk, giving the base a smooth, balanced flavor without tasting too heavy or overly sugary.
1 teaspoon vanilla extract – Vanilla extract brings in that classic ice cream flavor and ties the whole recipe together. A good-quality option like McCormick or Nielsen-Massey works well, adding a warm, familiar taste that makes the oat milk base taste more homemade.
How To Make Ninja Creami Oat Milk Ice Cream
Step 1 | Mix the Ice Cream Base
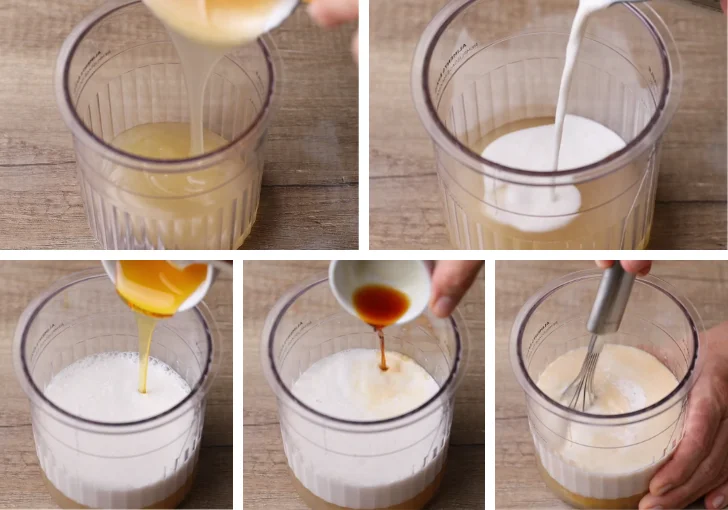
Pour the oat milk into a clean Ninja Creami pint container. Add the sweetened condensed coconut milk, honey, and vanilla extract. Stir well until everything is fully mixed. I make sure the honey is completely dissolved and no streaks of condensed coconut milk are left in the mixture.
Step 2 | Freeze the Mixture
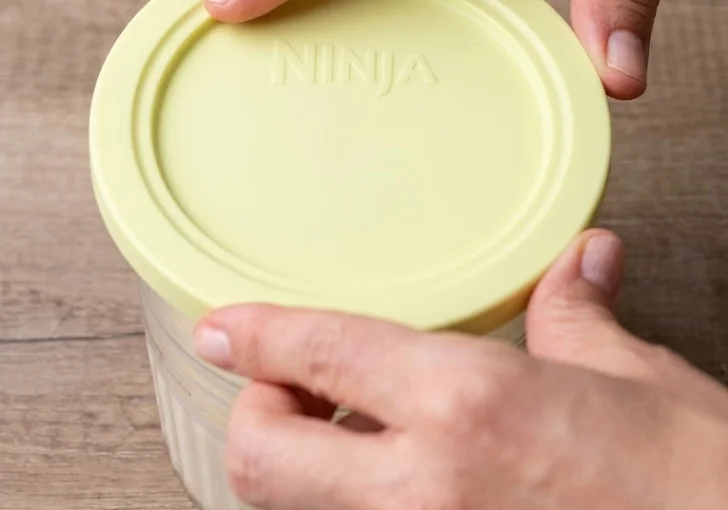
Place the lid tightly on the pint container and set it on a flat spot in the freezer. Freeze for a full 24 hours. The mixture must be completely solid before using the Ninja Creami or the texture will not turn out right.
Step 3 | Process on the Light Ice Cream Setting
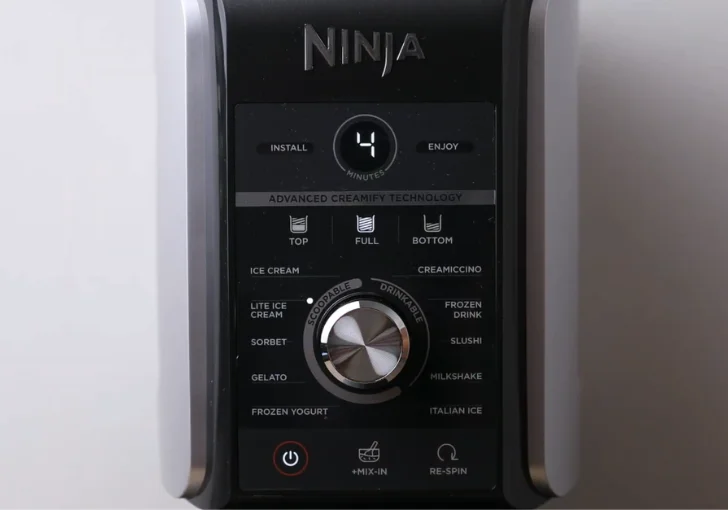
Take the frozen pint from the freezer and remove the lid. Place it into the Ninja Creami outer bowl and lock it into the machine. Select the Light Ice Cream setting and let the machine finish the full cycle without stopping it.
Step 4 | Respin if Needed
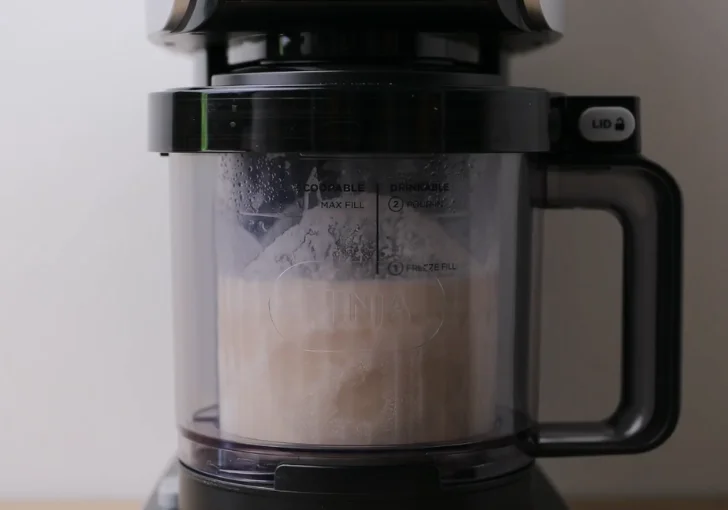
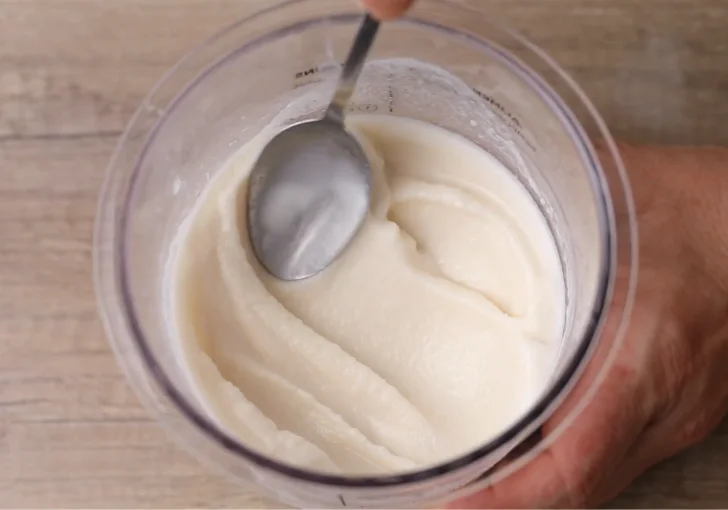
Open the pint and check the texture. Sometimes it looks dry or crumbly after the first spin. When that happens, I simply place it back into the machine and run one Respin cycle. It becomes much smoother and creamier without adding extra liquid.
Step 5 | Serve
Once the texture is soft and creamy, scoop the ice cream into bowls or cones and enjoy it right away. If I want firmer scoops, I place the finished ice cream back into the freezer for about 15 to 20 minutes before serving.
Pro Tips for the Perfect Oat Milk Ice Cream with Ninja Creami Ice Cream Maker
Freeze for the full 24 hours – A fully frozen base gives the Ninja Creami the best chance to create a smooth texture.
Use plain oat milk – Plain, unsweetened oat milk keeps the sweetness balanced and lets the vanilla flavor stand out.
Mix everything well – I always stir until the honey and coconut milk are completely blended before freezing.
Use the Light Ice Cream setting – This program works best for this dairy-free recipe and gives a creamier finish.
Run one Respin if needed – A second spin usually fixes a dry or crumbly texture without changing the flavor.
Freeze on a flat shelf – Keeping the pint level helps the base freeze evenly from top to bottom.
Variations and Adaptations To Try
Add cinnamon – I sometimes stir in ½ teaspoon of ground cinnamon before freezing. It gives the ice cream a warm flavor that tastes great with vanilla and honey.
Mix in chocolate chips – After spinning, I fold in a handful of mini dairy-free chocolate chips. They add a fun crunch without changing the creamy texture.
Try maple syrup – I replace the honey with pure maple syrup when I want a different kind of sweetness. It gives the ice cream a light maple flavor that pairs nicely with oat milk.
Add fresh fruit – I like mixing chopped strawberries, blueberries, or raspberries into the finished ice cream. The fruit adds color and fresh flavor in every bite.
Make it extra vanilla – I use a little extra vanilla extract or scrape in half a vanilla bean for a richer homemade vanilla taste.
Things Not to Do When Making Homemade Oat Milk Ice Cream
Skipping the full freeze time – If the base is not frozen solid, the machine cannot make a smooth ice cream. I always wait the full 24 hours.
Using sweetened oat milk – Sweetened oat milk can make the finished ice cream much sweeter than expected. Plain oat milk gives better balance.
Not mixing the base completely – Small pockets of honey or coconut milk can freeze separately. I stir until the mixture looks smooth and even.
Using the wrong program – I always choose the Light Ice Cream setting because it gives this recipe the best texture.
Skipping the Respin – If the first spin looks crumbly, don’t stop there. One Respin usually turns it into soft and creamy ice cream.
Overfilling the pint – I stay below the fill line so the machine can process the ice cream correctly without making a mess.
Leaving the finished ice cream out too long – Dairy-free ice cream softens quickly. I scoop it right after spinning so it keeps the best texture.
Best Ways to Serve This Ninja Creami Oat Milk Ice Cream
Serve in a waffle cone – I love serving this ice cream in a crispy waffle cone because the crunchy texture goes perfectly with the creamy scoop.
Top with fresh berries – I like adding sliced strawberries, blueberries, or raspberries. They bring fresh flavor and make every bite taste even better.
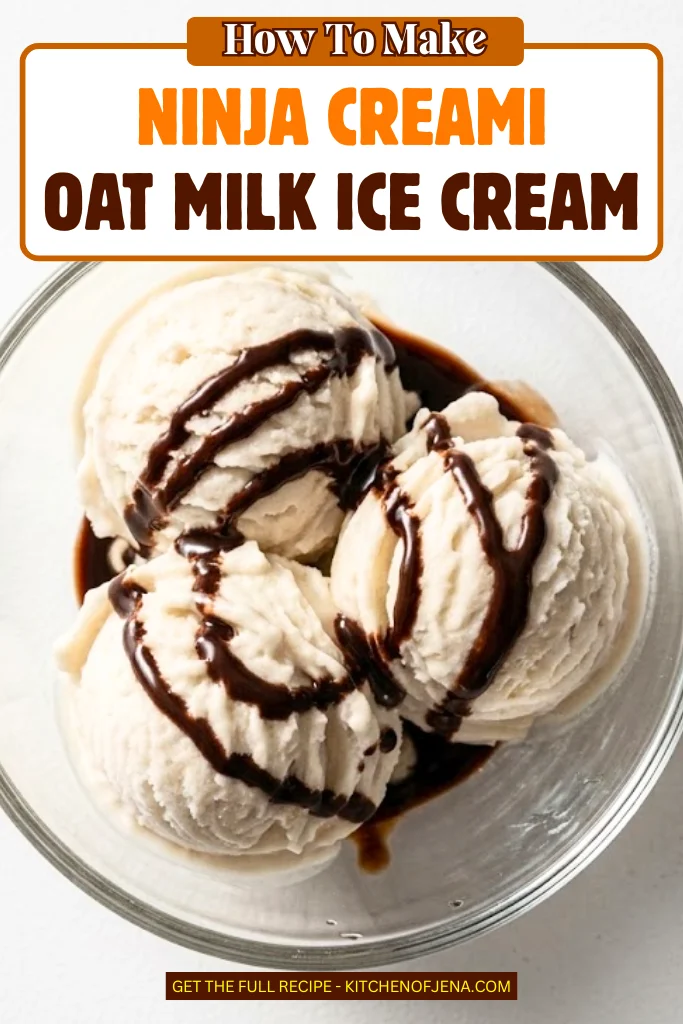
Drizzle with dairy-free chocolate syrup – I pour a little chocolate syrup over the top when I want a simple dessert that feels extra special.
Pair with warm oatmeal cookies – I enjoy serving a scoop next to homemade oatmeal cookies. The warm cookies and cold ice cream make a great match.
Sprinkle with toasted coconut – I sometimes finish each bowl with toasted coconut flakes. They add a little crunch and bring out the coconut flavor in the recipe.
Add chopped roasted almonds – I like adding a handful of chopped almonds for extra texture. They make each spoonful more satisfying without overpowering the vanilla flavor.
Leftover Storing
I keep any leftover ice cream right inside the Ninja Creami pint with the lid tightly closed. It stays fresh in the freezer for up to one week.
Before serving it again, I don’t scoop it straight from the freezer. Instead, I place the pint back into the Ninja Creami and use the Respin function. That brings back the creamy texture almost like it was freshly made.
If the ice cream has been stored longer than a week, the texture and flavor may not be as good, so I try to enjoy it while it’s fresh.
Ninja Creami Oat Milk Ice Cream Recipe FAQs
Can I use sweetened oat milk for this Ninja Creami Oat Milk Ice Cream Recipe?
Yes, you can, but the finished ice cream will taste much sweeter because the recipe already includes sweetened condensed coconut milk and honey. I usually stick with plain, unsweetened oat milk so I have better control over the sweetness and the vanilla flavor stays balanced.
Can I replace the honey with another sweetener?
Yes. Maple syrup or agave syrup both work well in this recipe. They mix easily into the base and keep the ice cream dairy free. Each sweetener changes the flavor just a little, so you can pick the one you enjoy most.
Why is my ice cream crumbly after the first spin?
This happens sometimes and it’s completely normal. The frozen base may simply need another processing cycle. I always run one Respin after the first spin if the texture looks dry. It quickly becomes smooth and creamy without adding more liquid.
Do I really need to freeze the base for 24 hours?
Yes. A full 24-hour freeze is important for the Ninja Creami. If the base is only partly frozen, the machine cannot process it correctly. Waiting the full time gives you the best texture and the smoothest scoop.
Can I add mix-ins to this recipe?
Absolutely. I always wait until after the ice cream is fully processed before adding mix-ins. Chocolate chips, chopped nuts, cookie pieces, or fresh fruit all work well. Fold them in gently or use the Mix-In program if your machine has one.
Can I make this recipe without honey?
Yes. If you don’t want to use honey, simply replace it with maple syrup or agave syrup. Both blend well into the mixture and keep the recipe dairy free while still adding enough sweetness.
How long does this ice cream stay fresh?
I find the ice cream tastes best within one week when stored in the freezer with the lid tightly closed. Before serving leftovers, I usually process it again with the Respin setting so the creamy texture comes back.
Can I double the recipe?
I don’t recommend doubling everything in one Ninja Creami pint because it can go over the fill line. If you want more ice cream, prepare two separate pints and freeze them individually for the best results.
Can I use another plant-based milk?
Yes. Almond milk, soy milk, and cashew milk can all work. Just remember that each milk has a different amount of fat, so the texture may change a little. Oat milk usually gives one of the creamiest dairy-free results.
Is this Ninja Creami Oat Milk Ice Cream Recipe dairy free?
Yes. This recipe uses oat milk and sweetened condensed coconut milk instead of dairy products, making it a great dairy-free dessert. Just check the labels on every ingredient you buy to make sure they fit your own dietary needs.
Ninja Creami Oat Milk Ice Cream Recipe
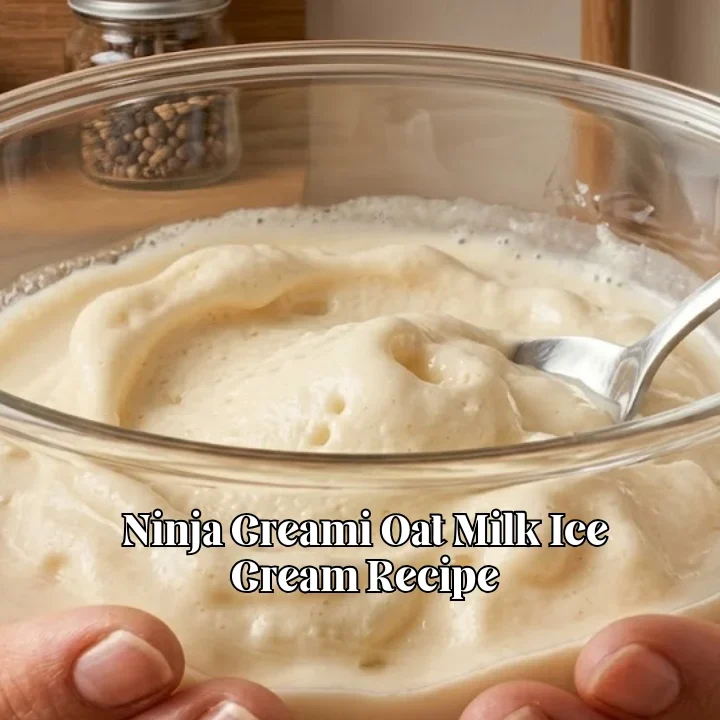
This Ninja Creami Oat Milk Ice Cream Recipe is one of my favorite dairy-free desserts because it's creamy, simple, and made with only four everyday ingredients. I use my Ninja Creami ice cream maker to turn oat milk, sweetened condensed coconut milk, honey, and vanilla into a smooth homemade treat with very little effort. It's an easy recipe with about 5 minutes of prep, 24 hours of freezing, and beginner-friendly steps. If you enjoy homemade oat milk ice cream or dairy-free Ninja Creami recipes, this one is a keeper. Serve yours in a waffle cone or with fresh berries for an even better dessert.
Ingredients
- 1¼ cups oat milk
- ⅓ cup sweetened condensed coconut milk
- 1 tablespoon honey
- 1 teaspoon vanilla extract
Instructions
- Pour the oat milk into a clean Ninja Creami pint container. Add the sweetened condensed coconut milk, honey, and vanilla extract. Stir well until everything is fully mixed. I make sure the honey is completely dissolved and no streaks of condensed coconut milk are left in the mixture.
- Place the lid tightly on the pint container and set it on a flat spot in the freezer. Freeze for a full 24 hours. The mixture must be completely solid before using the Ninja Creami or the texture will not turn out right.
- Take the frozen pint from the freezer and remove the lid. Place it into the Ninja Creami outer bowl and lock it into the machine. Select the Light Ice Cream setting and let the machine finish the full cycle without stopping it.
- Open the pint and check the texture. Sometimes it looks dry or crumbly after the first spin. When that happens, I simply place it back into the machine and run one Respin cycle. It becomes much smoother and creamier without adding extra liquid.
- Once the texture is soft and creamy, scoop the ice cream into bowls or cones and enjoy it right away. If I want firmer scoops, I place the finished ice cream back into the freezer for about 15 to 20 minutes before serving.
Nutrition Information:
Serving Size: 2 ServingsAmount Per Serving: Calories: 185Total Fat: 6gSaturated Fat: 4gSodium: 85mgCarbohydrates: 33gFiber: 1gSugar: 27gProtein: 2g
This Ninja Creami Oat Milk Ice Cream Recipe is the kind of dessert I keep coming back to when I want something cold, creamy, and easy. It has that homemade copycat feel without the fuss, and the simple ingredients make it a regular in my freezer. Give it a spin in your Ninja Creami and make it your own.