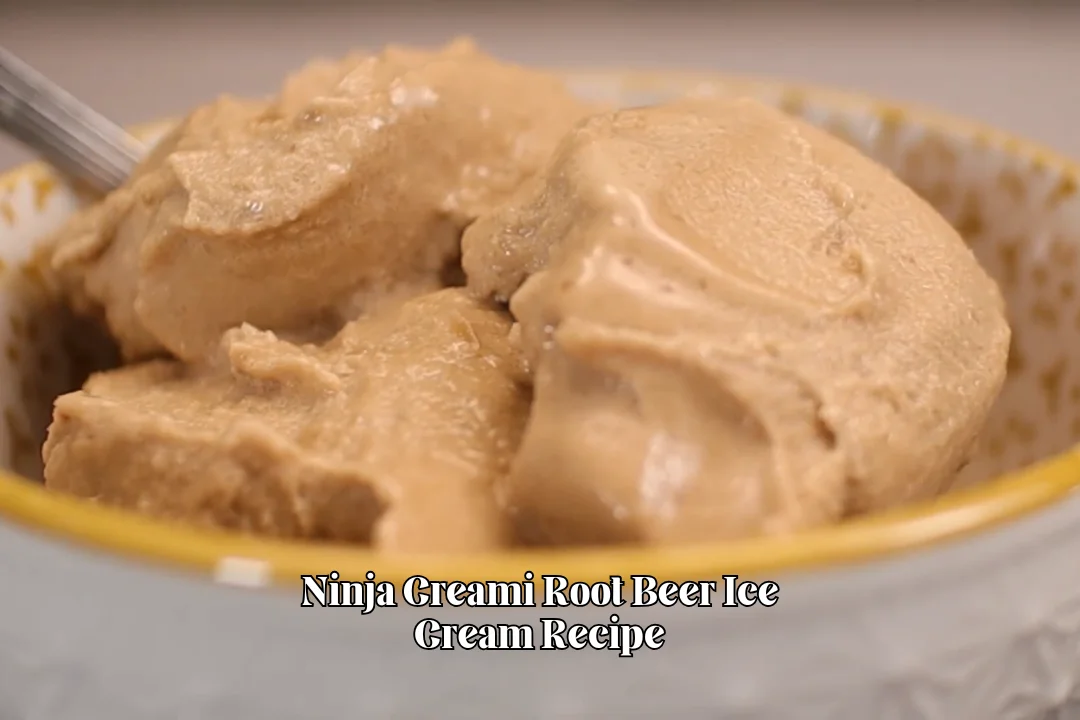
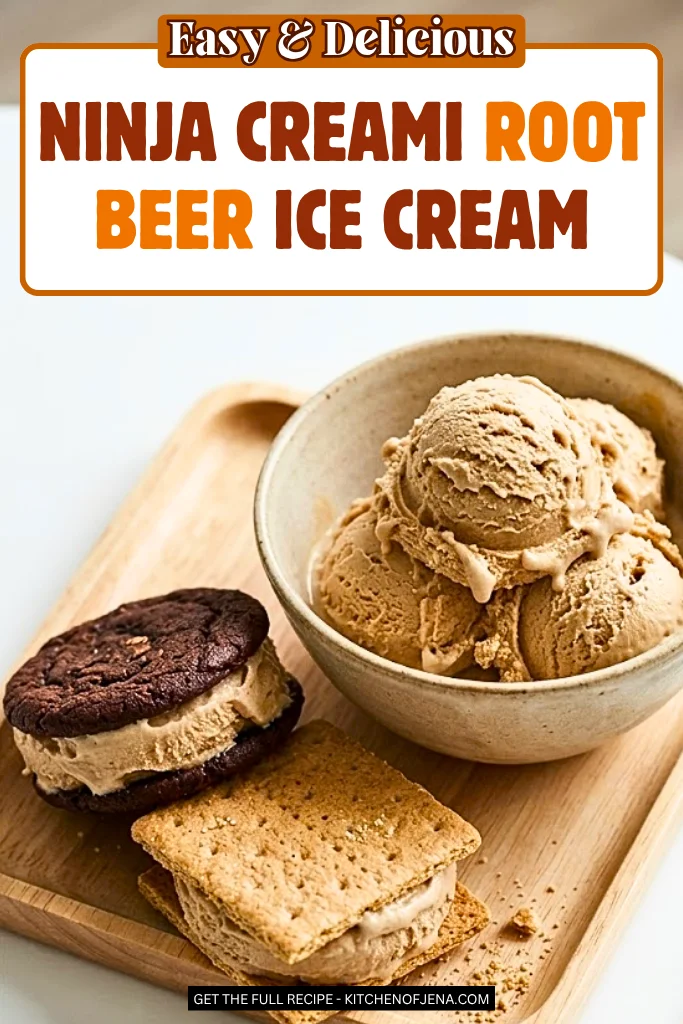
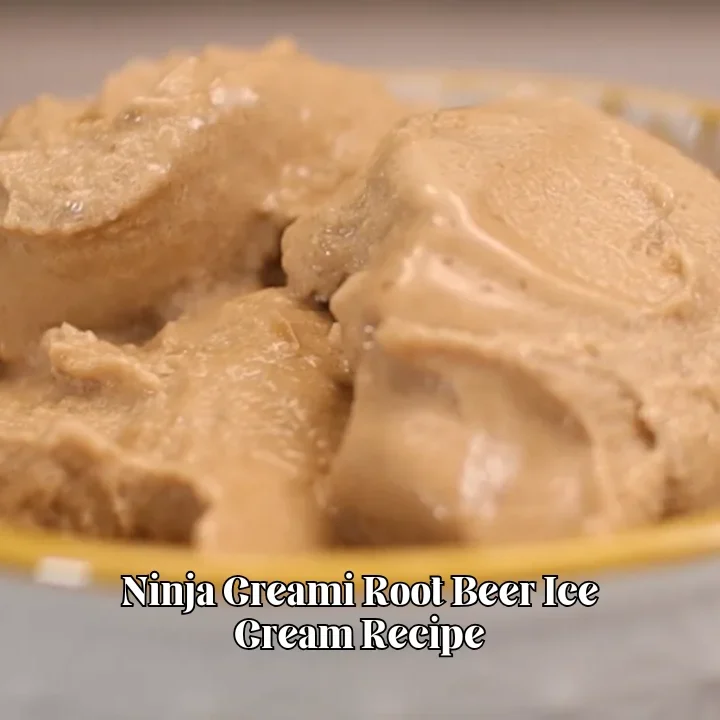
Ninja Creami Root Beer Ice Cream Recipe
Ninja Creami Root Beer Ice Cream Recipe is one of those treats that takes me right back to simple days and cold drinks after school.
It reminds me of those old diner drinks, cold root beer with a scoop of vanilla ice cream melting on top. Instead of making a float, I wanted that same flavor packed into every bite.
This root beer ice cream recipe does exactly that. It uses simple stuff like milk, pudding mix, cream cheese, and a strong root beer syrup like SodaStream, which really brings out that classic taste.
I like how it stays light but still feels creamy, not heavy or greasy. It’s also quick to mix, and the Ninja Creami handles the hard part.
Even if you’re not big on root beer drinks, this one hits different in ice cream form. The flavor stands out and feels smooth from the first spoon.
You can scoop it into a bowl and keep it simple, or you can pour a little cold root beer on top and make your own float-style treat at home.
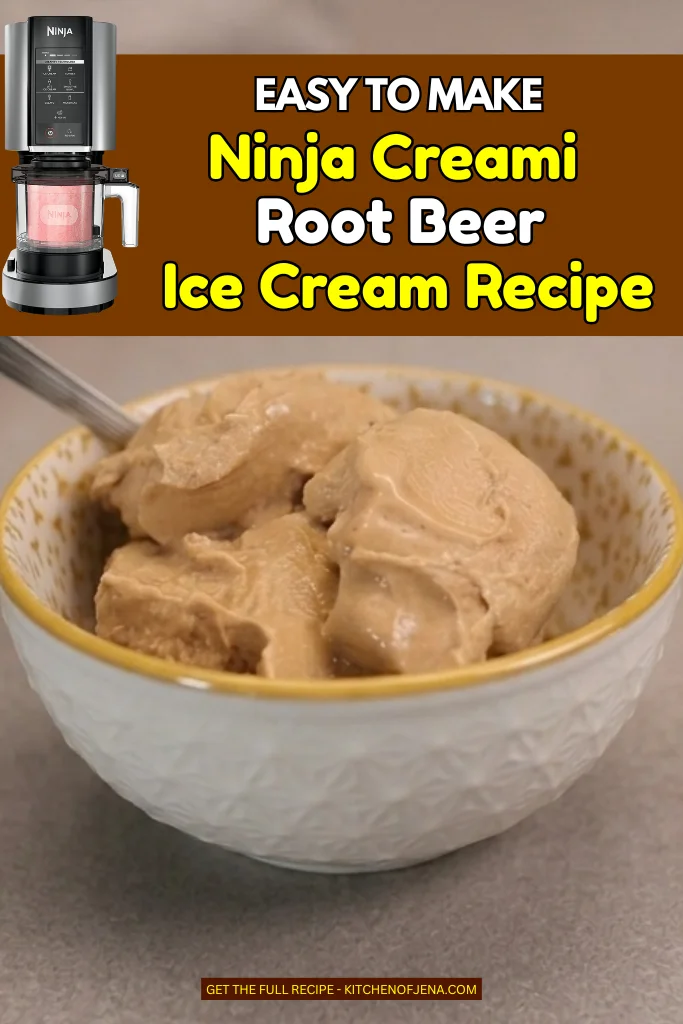
Why Ninja Creami is Perfect To Make This Ninja Creami Root Beer Ice Cream Recipe?
I use my Ninja Creami a lot, and for this recipe, it really makes a big difference. The machine takes a frozen block and turns it into smooth ice cream in minutes. That’s why I keep using it again and again.
Here’s why it works so well:
- It spins fast and breaks ice crystals, so the texture feels creamy
- You don’t need heavy cream to get that soft scoop
- It has a respin option, which saves a lot of recipes
- It works great with simple ingredients like milk and syrup
- You can control how light or rich your ice cream feels
From my own use, I noticed it fixes mistakes too. If the ice cream looks dry, I just hit respin and it turns smooth. That alone makes it worth it.
Root Beer Ice Cream Is Perfect For
- Hot summer days: A cold scoop feels refreshing when the air is warm—especially after outdoor time.
- Kids’ snack time: The bright root beer taste makes it feel like a special treat without over-the-top effort.
- Movie nights: You can scoop it while relaxing and enjoy a dessert that tastes like a classic drive-in.
- Quick cravings: When you want something sweet fast, it has that scoop-ability that melts-in-your-mouth satisfaction.
- Simple recipe lovers: For people who enjoy easy methods with clear steps, this works without fussing over complicated ingredients.
Root Beer Ice Cream Ingredients
1½ cups nonfat milk – This makes up most of the base and keeps everything smooth without adding heaviness. I use whatever brand is on sale at my grocery store. The nonfat version works better here than whole milk because it doesn’t get waxy during spinning. Room temperature or cold both work fine for mixing.
2 tablespoons vanilla instant pudding mix (sugar-free or regular) – This is the secret weapon that makes everything creamy without using heavy cream. I usually grab the Jell-O brand in the small box. The sugar-free version works great if you’re watching sugar intake. It also adds that classic ice cream flavor that makes everything taste more traditional and familiar.
2 tablespoons whipped cream cheese (softened) – This adds richness and helps the texture feel more like premium ice cream. I use Philadelphia whipped cream cheese because it mixes easier than the block kind. Make sure it’s really soft before mixing or you’ll get lumps. I leave mine on the counter for about thirty minutes before starting.
½ cup root beer syrup – This brings all the root beer flavor that makes this recipe special. I make my own by reducing root beer on the stove, but Torani or DaVinci syrups work perfectly too. Don’t use actual root beer soda here – it’s too watery and won’t give enough flavor. The concentrated syrup is what makes each bite taste like a real root beer float.
Kitchen Appliances You’ll Need
- Ninja Creami machine (obviously the star here)
- Ninja Creami pint container (comes with the machine)
- Measuring cups and spoons
- Stick blender, hand mixer, or regular blender
- Mixing container or bowl
- Fork (for leveling the frozen surface)
- Freezer with enough space for the pint container
How To Make Ninja Creami Root Beer Ice Cream Recipe
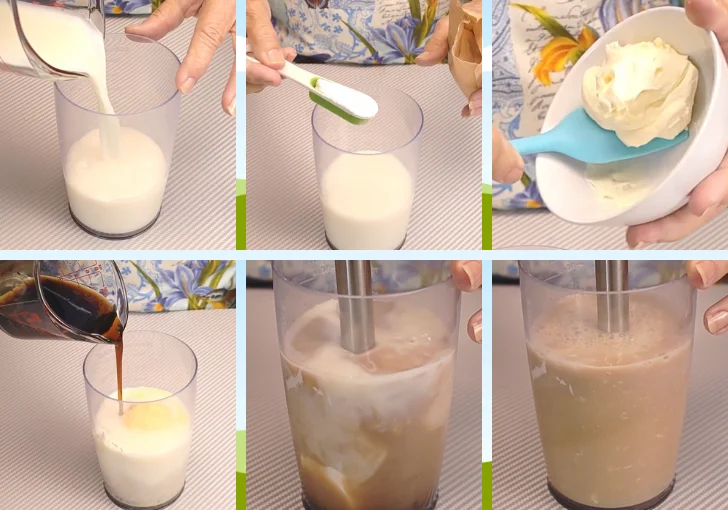
Step 1 | Mix the Base
Add the nonfat milk, vanilla instant pudding mix, softened cream cheese, and root beer syrup into a mixing container. Blend everything using a stick blender until the mixture is completely smooth.
Make sure the cream cheese and pudding mix are fully dissolved with no lumps. A hand mixer or regular blender can also be used if needed.
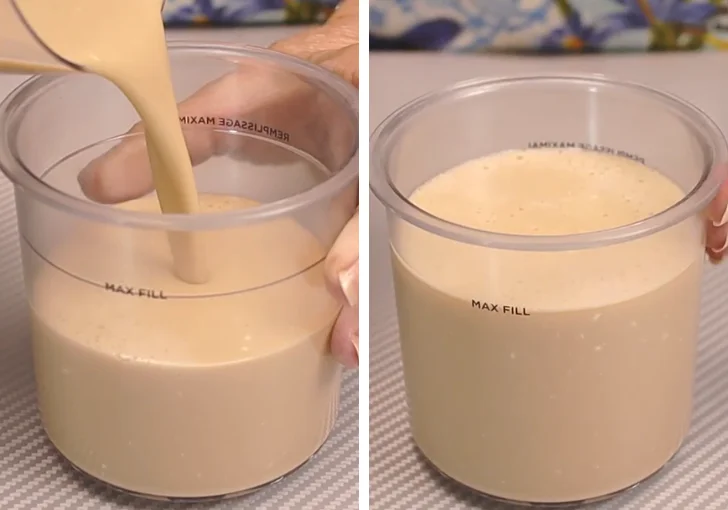
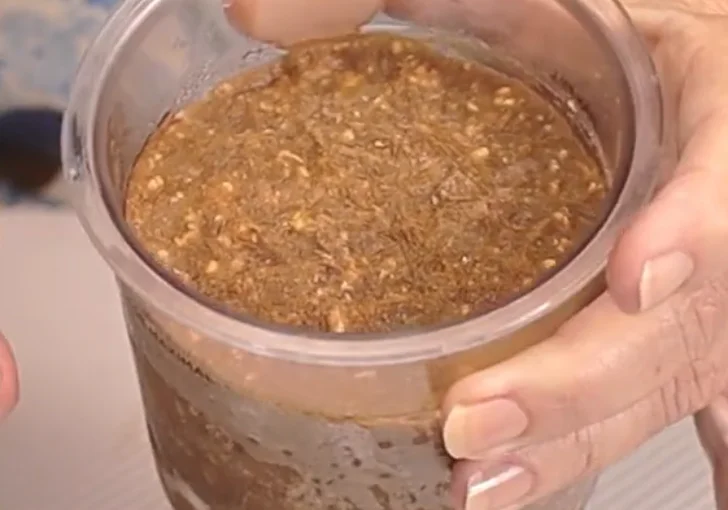
Step 2 | Pour into Pint Container
Pour the blended mixture into the Ninja Creami pint container. It should fill it almost to the top, with just a small amount left over if any.
Step 3 | Freeze Properly
Place the container in the freezer without the lid if freezing for about 24 hours. This helps prevent a raised bump from forming on the surface. Freeze for at least 24 hours until completely solid.
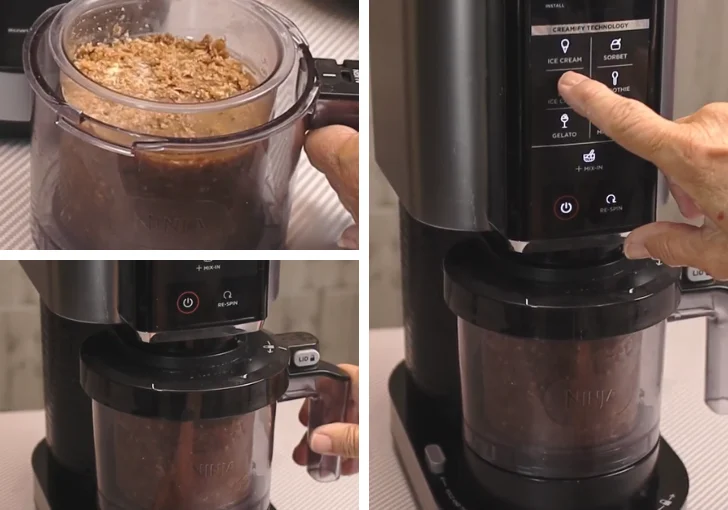
Step 4 | Prepare for Spinning
Remove the frozen container from the freezer and let it sit at room temperature for about 10 minutes. If the top is uneven or has a bump, scrape it down with a fork and level the surface.

Step 5 | First Spin
Insert the container into the Ninja Creami machine. Select the “Lite Ice Cream” setting since the recipe uses low-fat ingredients.
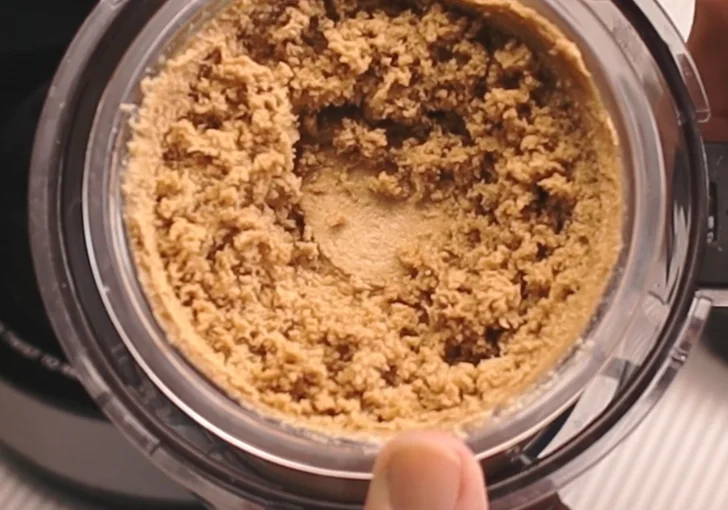
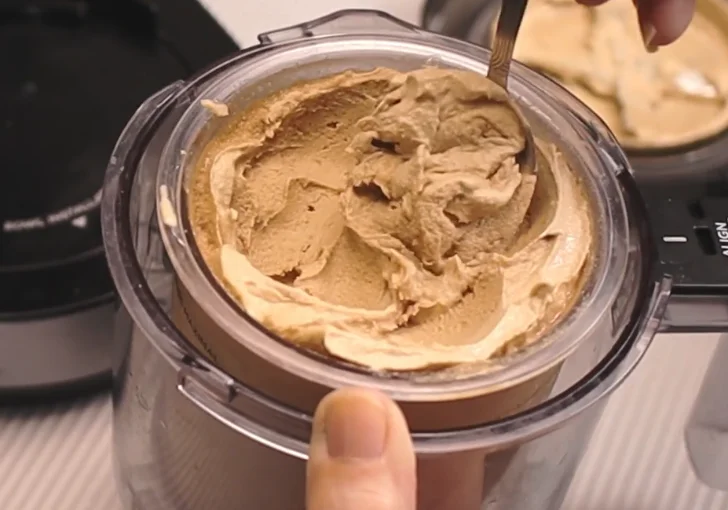
Step 6 | Check Texture
After the first spin, the ice cream will likely look crumbly. This is normal and means it needs another spin.
Step 7 | Respin
Run the Respin cycle once. This step is important to turn the crumbly mixture into a smooth and creamy ice cream texture.
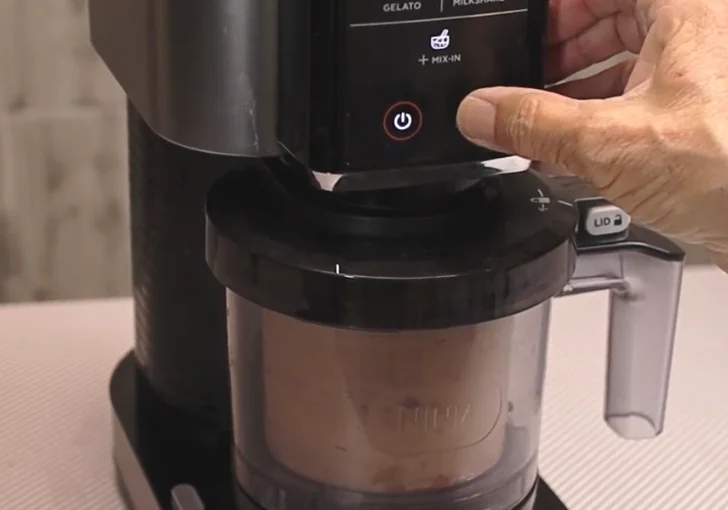
Step 8 | Final Texture
After respinning, the ice cream should be smooth, creamy, and easy to scoop, with a clear root beer float flavor.
Tips & Notes for the Best Ninja Creami Root Beer Ice Cream Recipe Ice Cream
- Don’t Use Heavy Cream: I tried it, and it can make the ice cream feel waxy or even turn into butter. Stick with the lighter milk and cream cheese combo.
- Always Level the Top: Before you spin, make sure the frozen surface is flat. A big bump can put stress on the machine.
- Respin is Your Best Friend: If your ice cream looks dry or powdery after the first spin, don’t be sad. Just hit that respin button. It almost always needs it.
- Pudding Mix is Key: Don’t skip the pudding mix! It’s what makes the ice cream so creamy and smooth without needing lots of fat.
- Soften the Cream Cheese: Make sure your cream cheese is soft before you blend. Cold cream cheese will leave you with lumps.
Variations and Adaptations
Vanilla Root Beer Twist: Swap in vanilla syrup as a softer flavor while keeping the same soda aroma; it turns out smooth and gentle in taste.
Creamy Float Style: Add a spoon of vanilla ice cream on top right before eating; it gives that classic float feeling with every scoop.
Extra Fizzy Flavor: Mix in a drop or two of root beer extract to boost the soda taste; it makes the scent pop more without changing the base.
Low-Sugar Option: Use sugar-free pudding mix and syrup so you keep the flavor but cut back on sweetness; it works well if you watch sugar intake.
Crunchy Add-In: Stir in crushed cookies after the final spin for added bite; it makes the dessert feel fun and extra satisfying.
Mistakes To Avoid While Making Ninja Creami Root Beer Ice Cream Recipe
Skipping the level-top step: If the frozen surface is uneven, the machine may spin unevenly and the texture can come out chunky or icy.
Forgetting the Respin: The first spin often leaves crumbs, and missing the respin means you’ll miss that smooth scoop you’re aiming for.
Using heavy cream: It can create a waxy, weird texture once spun, and the flavor may feel heavier than the classic root beer you want.
Not blending completely: Lumpy pudding or cream cheese gives you strange pockets of texture instead of a creamy bite every time.
Freezing too short or too warm: If the mix isn’t fully solid, the machine won’t spin it into ice cream, and it will taste slushy rather than rich and cool.
Serving Ideas and Mix-ins
Waffle Cones With Root Beer Drizzle – I fill regular waffle cones and drizzle extra root beer syrup on top for double flavor. The crispy cone texture works perfectly with the creamy ice cream. You can find waffle cones at any grocery store in the ice cream aisle.
Root Beer Float Style – Pour actual root beer soda over a scoop in a tall glass for the classic float experience. The fizz mixing with the ice cream brings back childhood memories. I use this serving style when I really want to impress someone.
Brownie Sundae Base – Put a warm brownie in a bowl and top it with this ice cream. The chocolate and root beer combination tastes better than you’d think. Add some whipped cream if you’re feeling really indulgent that day.
Ice Cream Sandwiches – Sandwich the ice cream between two chocolate cookies or graham crackers. Press down gently and wrap in plastic wrap, then freeze for an hour. These make great grab-and-go treats that kids absolutely love taking to school.
Milkshake Version – Blend two scoops with a half cup of milk for a root beer milkshake. Add another splash of root beer syrup if you want it stronger. This is my go-to when I want something drinkable instead of scoopable.
Crushed Cookie Mix-in – After respinning, stir in crushed vanilla wafers or Oreos by hand. The cookie pieces add nice crunch against the smooth ice cream. I prefer vanilla wafers because they don’t overpower the root beer taste.
Leftover Storing
If you somehow have leftovers (it’s rare in my house!), storing them is easy. Just take a spoon and smooth out the top of the ice cream in the pint container as best you can. Pop the lid on securely and stick it back in the freezer.
When you want to eat it again, it will be frozen hard as a rock. Don’t try to scoop it! You’ll need to let the Ninja Creami work its magic again. Just put it back in the machine and run it on the “Lite Ice Cream” or “Respin” cycle one more time. It will be perfectly smooth and creamy again in just a couple of minutes.
Ninja Creami Root Beer Ice Cream Recipe FAQs
Can I use regular root beer instead of syrup?
I tried using regular root beer once, but it didn’t work well because it has too much water. The flavor turned very light and icy. Syrup is thick and strong, so it gives better taste and texture. I always stick with syrup now.
Why is my ice cream crumbly after first spin?
This happens almost every time with low-fat recipes. It’s normal. The Ninja Creami needs another spin to smooth it out. Just use the respin button and it will turn creamy. I never skip this step anymore.
Can I use heavy cream in this recipe?
You can, but I don’t recommend it. From my experience, it makes the texture feel waxy and too thick. It even starts to taste like butter if over processed. Using milk and pudding works much better.
How long should I freeze the mixture?
I always freeze it for at least 24 hours. If you try earlier, the inside may not be fully solid and the texture will not come out right. Full freezing gives best results every time.
What does pudding mix do in this recipe?
The pudding mix helps make the ice cream smooth and creamy. It works like a stabilizer. Without it, the ice cream can feel icy and not as rich. I always include it for better texture.
Can I make this dairy-free?
You can try using plant milk and dairy-free cream cheese, but I haven’t tested it fully. The texture may change a bit. You may need to adjust pudding or add another thickener.
Why do I need to level the top before spinning?
If the surface is uneven, the machine doesn’t spin properly. It can even cause damage. I always use a fork to smooth it out. It takes just a minute and helps a lot.
Can I add mix-ins before freezing?
I don’t suggest that. It’s better to add mix-ins after spinning. This keeps the texture smooth and prevents hard chunks forming during freezing.
How do I make the flavor stronger?
Use a stronger root beer syrup or add a little more. I noticed weak syrup gives very light taste. So I always pick a bold one for better flavor.
Can I store it for a long time?
You can store it for a week or more, but texture may change. I like to eat it within 3–4 days. Always respin before serving again to bring back creaminess.
Ninja Creami Root Beer Ice Cream Recipe
Make this easy Ninja Creami Root Beer Ice Cream Recipe with just four simple ingredients and nonfat milk. Get smooth, creamy ice cream that tastes like your favorite root beer float in about 5 minutes of prep time. The vanilla pudding mix creates perfect texture without heavy cream. Total time is 24 hours including freezing but actual work is under 10 minutes. This lighter ice cream uses my Ninja Creami machine for results that beat store-bought every time. You can serve it in cones, make floats, or eat it straight from the pint.
Ingredients
- 1½ cups nonfat milk
- This is the base of the ice cream. It keeps the texture light and avoids a heavy or waxy feel.
- 2 tablespoons vanilla instant pudding mix (sugar-free or regular)
- Acts as a stabilizer and gives a classic ice cream flavor and creamy texture.
- 2 tablespoons whipped cream cheese (softened)
- Adds richness and smoothness without using heavy cream.
- ½ cup root beer syrup
- This provides the root beer flavor. It should be a concentrated syrup (like homemade or store-style).
Instructions
- Add the nonfat milk, vanilla instant pudding mix, softened cream cheese, and root beer syrup into a mixing container. Blend everything using a stick blender until the mixture is completely smooth. Make sure the cream cheese and pudding mix are fully dissolved with no lumps. A hand mixer or regular blender can also be used if needed.
- Pour the blended mixture into the Ninja Creami pint container. It should fill it almost to the top, with just a small amount left over if any.
- Place the container in the freezer without the lid if freezing for about 24 hours. This helps prevent a raised bump from forming on the surface. Freeze for at least 24 hours until completely solid.
- Remove the frozen container from the freezer and let it sit at room temperature for about 10 minutes. If the top is uneven or has a bump, scrape it down with a fork and level the surface.
- Insert the container into the Ninja Creami machine. Select the “Lite Ice Cream” setting since the recipe uses low-fat ingredients.
- After the first spin, the ice cream will likely look crumbly. This is normal and means it needs another spin.
- Run the Respin cycle once. This step is important to turn the crumbly mixture into a smooth and creamy ice cream texture.
- After respinning, the ice cream should be smooth, creamy, and easy to scoop, with a clear root beer float flavor.
Nutrition Information:
Serving Size: 2-3Amount Per Serving: Calories: 110Total Fat: 2gSaturated Fat: 1gCholesterol: 8 mgmgCarbohydrates: 18gFiber: 0gSugar: 14gProtein: 4g
This Ninja Creami Root Beer Ice Cream Recipe has become one of my most-made treats at home. The flavor brings me back to summer days and soda fountains without all the guilt of regular ice cream.
I love that it’s simple enough to make on a random Tuesday but special enough to serve when friends visit. The Ninja Creami makes the whole process so easy that I never stress about it.
Every batch comes out smooth and creamy with that perfect root beer taste in every bite. I hope you try making this recipe soon and see what I’m talking about.