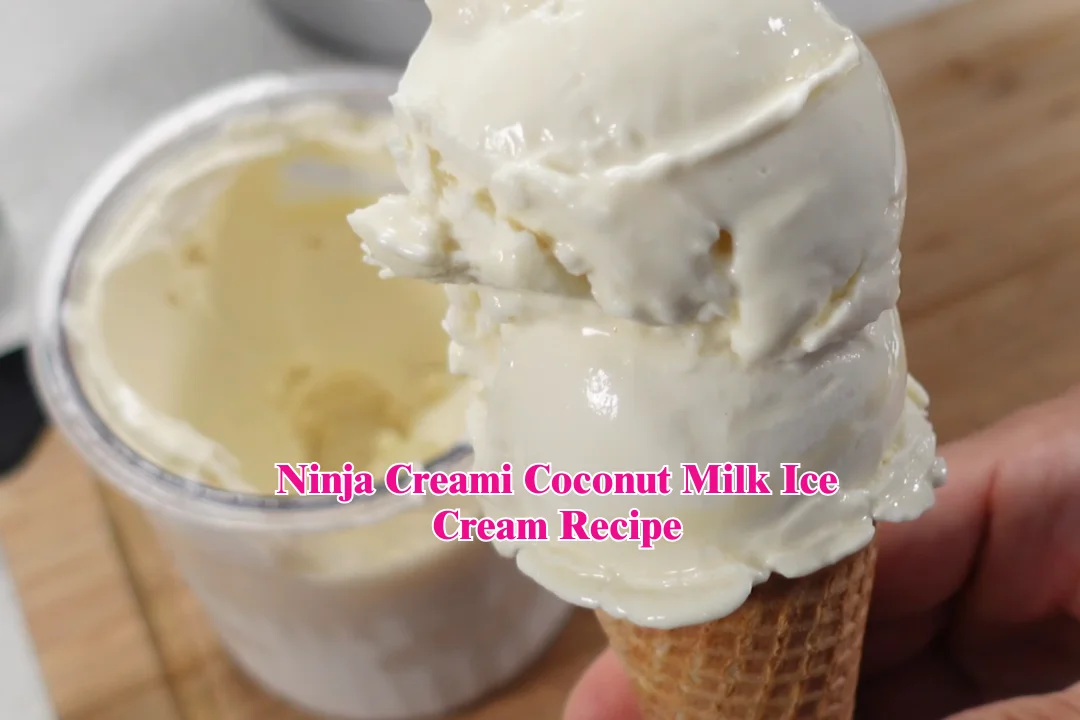
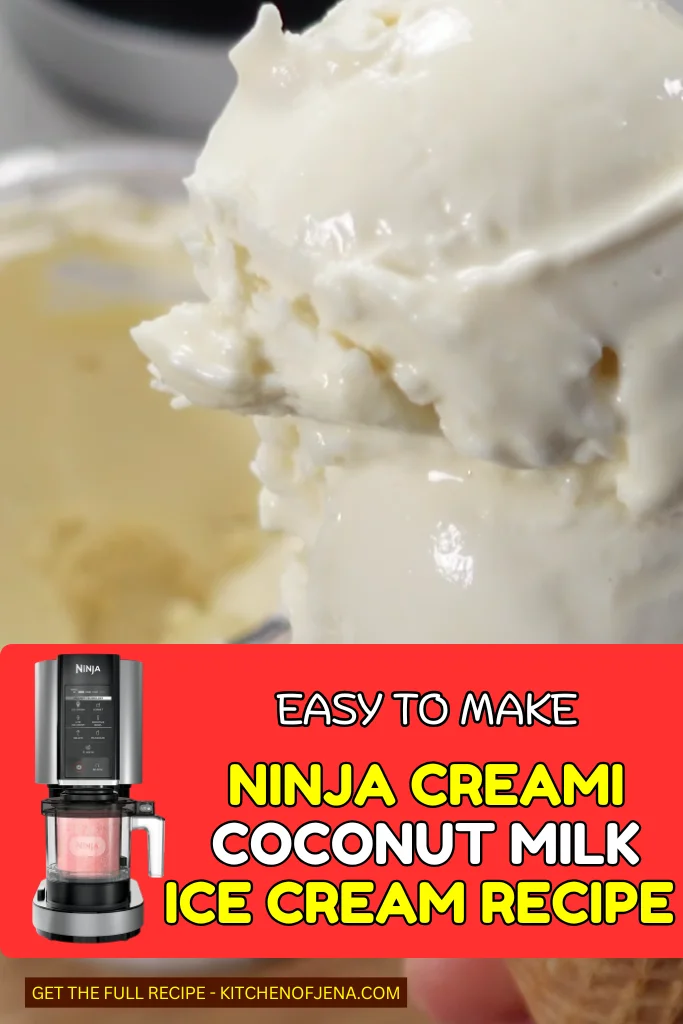
Ninja Creami Coconut Milk Ice Cream Recipe
Today I decided to make something a little different in my kitchen. This ninja creami coconut milk ice cream recipe is not one of those popular ice cream flavors people talk about all the time, but it turned out really good.
I had a can of coconut milk sitting in the pantry and thought it might make a creamy dessert in the Ninja Creami. The result honestly surprised me. The texture came out smooth, the flavor felt light and sweet, and that little coconut mix-in added a nice bite.
The best part is this recipe is simple and quick to prepare. The base takes only a few minutes to mix, and the ingredients are pretty basic.
It also feels a bit lighter compared to many ice creams, especially with monk fruit sweetener. If you love coconut flavor, this one will probably become a favorite.
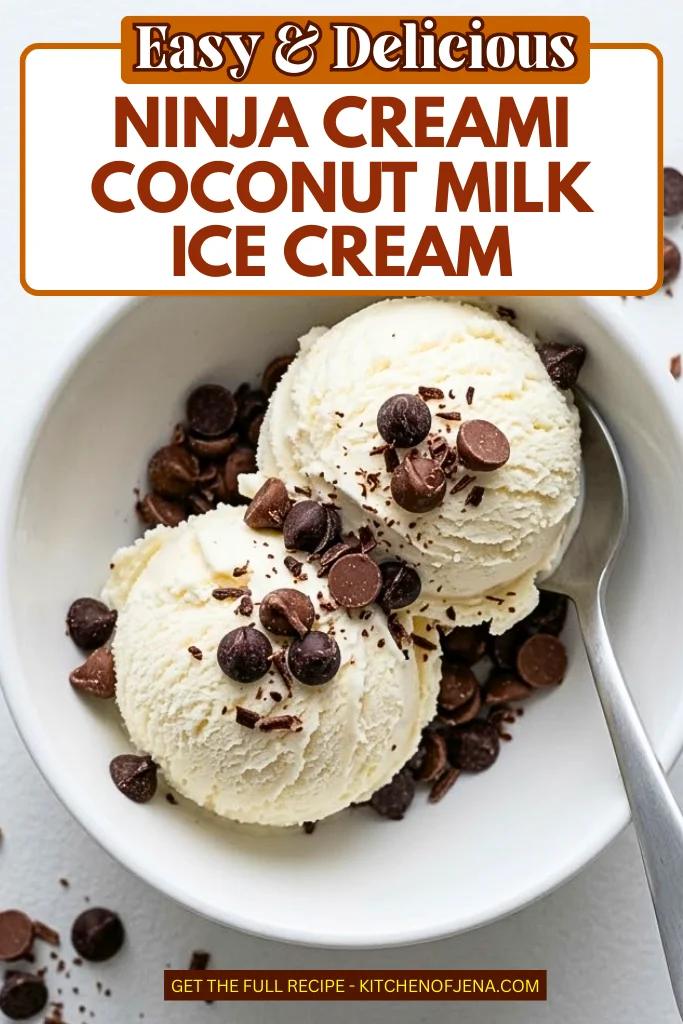
My kids tried it first and they really enjoyed it. You can scoop it into a bowl and add fresh fruit on top.
You can also serve it in a cone and sprinkle toasted coconut or chopped nuts for extra crunch.
Why Ninja Creami is Perfect To Make This Coconut Milk Ice Cream?
I’ve made ice cream many different ways before, but the Ninja Creami changed everything for me. It makes the texture very smooth without a complicated process. When I tested this coconut milk ice cream, the machine turned the frozen base into a creamy dessert in minutes.
Here are a few reasons I really like using the Ninja Creami for this recipe.
It creates smooth texture
Coconut milk alone can freeze hard. The Ninja Creami breaks that frozen base and spins it into creamy ice cream. The texture feels close to store-bought ice cream.
Simple process
Most of the work is just mixing, freezing, and spinning. I don’t need to constantly churn the mixture like old-style ice cream makers.
Great for low sugar recipes
This recipe uses monk fruit sweetener instead of regular sugar. The machine still produces a soft and creamy result.
Consistent results
Every time I run the Light Ice Cream setting, the texture comes out almost perfect. If it feels a little crumbly, one extra spin fixes it.
Perfect for small batches
The pint container size works great when I want a fresh batch of ice cream without making a huge amount.
Because of these reasons, the Ninja Creami is my favorite tool for homemade ice cream now.
Perfect For Coconut Milk Ice Cream.
This coconut milk ice cream fits many moments when you want something sweet but simple.
- Hot summer afternoons – When the day feels warm, a cold scoop of coconut ice cream cools everything down.
- Low sugar dessert nights – The monk fruit sweetener keeps this dessert lighter but still tasty.
- Coconut lovers – If you enjoy coconut flavor, the milk and shaved coconut give a nice tropical taste.
- Small household treats – The Ninja Creami pint makes a perfect size for a few servings.
- After dinner dessert – I like serving this after dinner because it feels light and refreshing.
- Homemade dessert beginners – The steps are easy. Even if it’s your first time making ice cream, you can follow along.
Ninja Creami Coconut Milk Ice Cream Ingredients
1 ½ cups coconut milk – I use full-fat coconut milk because it makes the ice cream creamy and rich. My usual pick is Thai Kitchen or Native Forest canned coconut milk. The fat in it helps the Ninja Creami spin the base into a smoother texture.
2 large egg yolks – Egg yolks help thicken the ice cream base and give it that soft, creamy texture. I always use fresh large eggs from the grocery store. Beating them first makes the base smoother before heating.
2 tablespoons monk fruit sweetener – I like using monk fruit sweetener to keep the recipe lower in sugar. Lakanto Classic Monkfruit Sweetener is the one I usually grab. It mixes well with the egg yolks and gives the ice cream a clean, sweet taste.
1 scoop vanilla whey protein powder – I add vanilla whey protein powder because it improves the texture and adds a little sweetness. My go-to is Orgain or Optimum Nutrition vanilla whey. It helps the base spin creamier in the Ninja Creami.
½ teaspoon vanilla extract – A small amount of vanilla extract adds a warm dessert flavor. I usually use McCormick Pure Vanilla Extract because it has a strong but smooth taste that works really well with coconut milk.
¼ teaspoon rum extract – Rum extract adds a light tropical flavor that pairs perfectly with coconut. I normally use McCormick Rum Extract. You only need a tiny amount, but it gives the ice cream a deeper flavor.
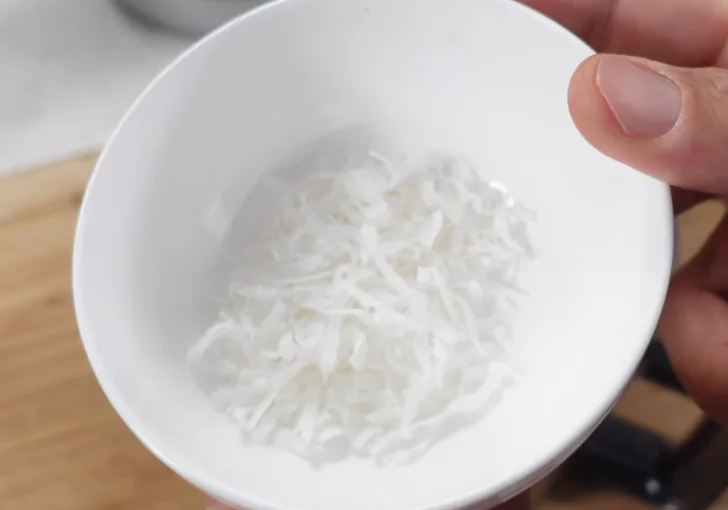
2 tablespoons dry shaved coconut – I mix shaved coconut into the ice cream after the first spin. I often buy Bob’s Red Mill or Let’s Do Organic unsweetened coconut flakes. They add texture and make the coconut flavor stand out more.
Sugar-free ice cream cones (optional) – Sometimes I serve this ice cream in sugar-free cones for a crunchy bite. I usually buy Keebler sugar-free cones. They add a nice contrast to the creamy coconut ice cream.
Kitchen Appliances You’ll Need
These basic tools make the recipe easier to prepare.
- Ninja Creami machine
- Ninja Creami pint container
- Medium mixing bowl
- Whisk or hand mixer
- Saucepan
- Digital thermometer (helpful but optional)
- Measuring cups and spoons
- Freezer
Quick Ninja Creami Coconut Milk Ice Cream With Just a Few Ingredients
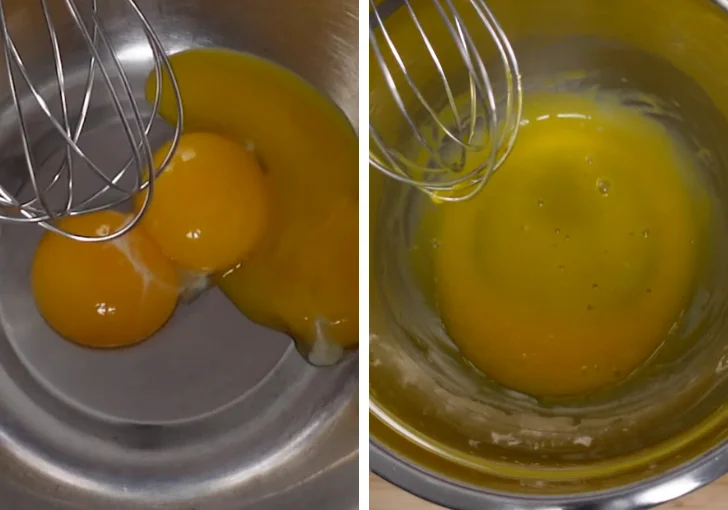
Step 1 | Beat the Egg Yolks
Place the egg yolks in a medium mixing bowl. Beat them until smooth and slightly thickened. The color should change from a darker orange shade to a lighter yellow. This process takes about one minute and helps create a smoother ice cream base.
Step 2 | Mix in the Sweetener
Add the monk fruit sweetener to the beaten egg yolks. Stir until the sweetener is fully combined with the yolks and no visible granules remain. The mixture should look smooth and evenly blended.

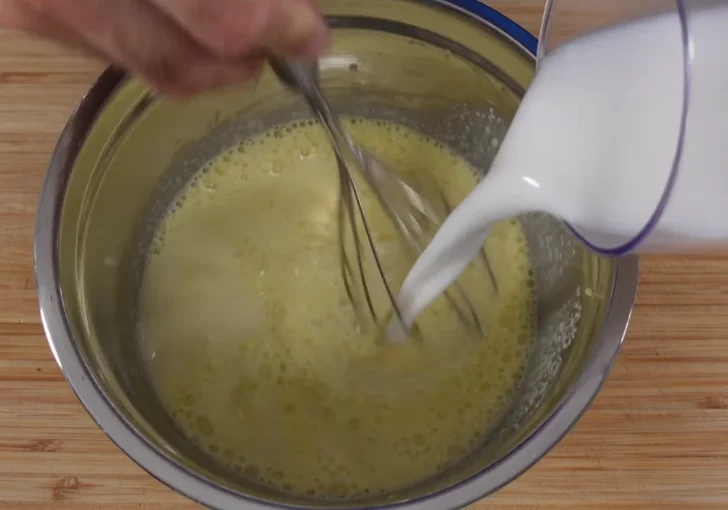
Step 3 | Add the Coconut Milk
Pour the coconut milk into the bowl with the egg mixture. Stir well to combine everything. The sweetener may not dissolve completely at this stage, which is normal. Continue mixing for about a minute until the ingredients are evenly incorporated.
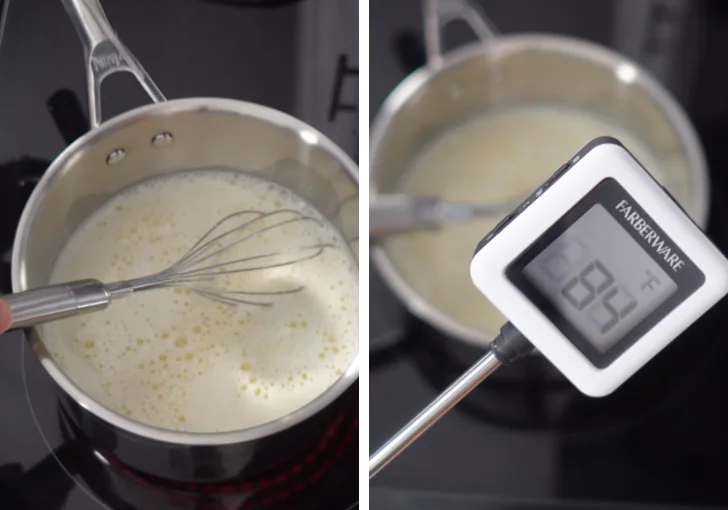
Step 4 | Heat the Ice Cream Base
Transfer the mixture to a saucepan and place it on the stove over medium heat. Use a digital thermometer if possible. Stir occasionally to prevent the mixture from sticking to the bottom of the pan.
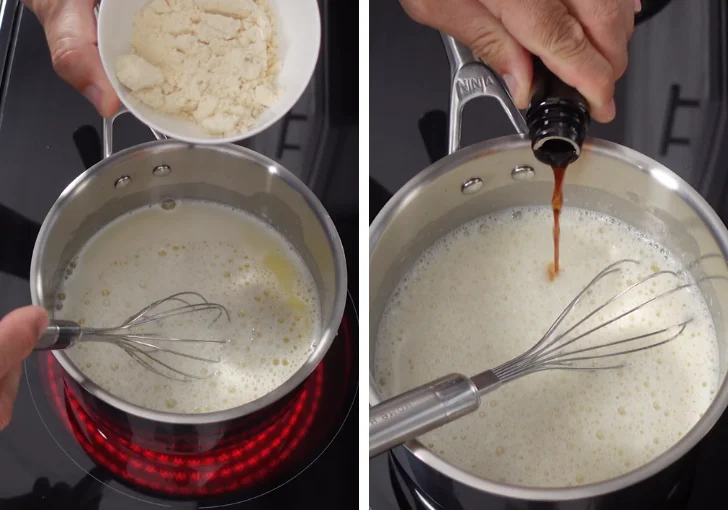
Step 5 | Add Protein and Flavorings
Once the mixture reaches about 110°F (43°C), slowly add the vanilla whey protein powder. Sprinkle it in a little at a time while stirring continuously to prevent clumping. After the protein powder is fully incorporated, add the vanilla extract and rum extract and stir to combine.
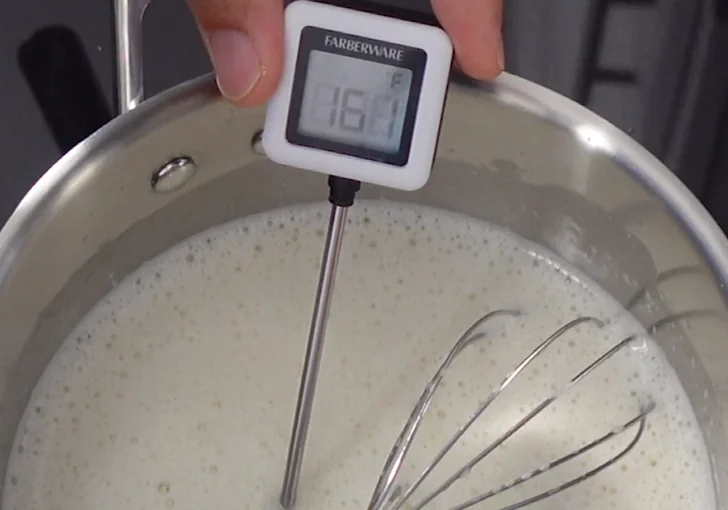
Step 6 | Finish Heating
Continue heating the mixture until it reaches 165°F (74°C). This temperature safely tempers the egg yolks while thickening the base slightly. Remove the saucepan from the heat once it reaches this temperature.
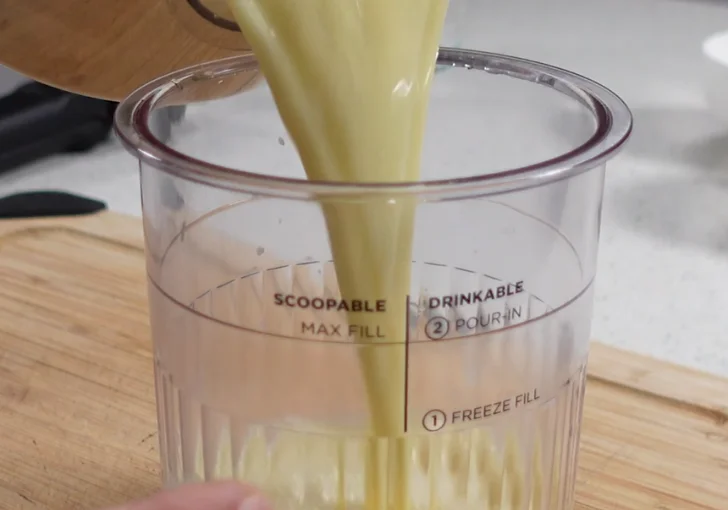
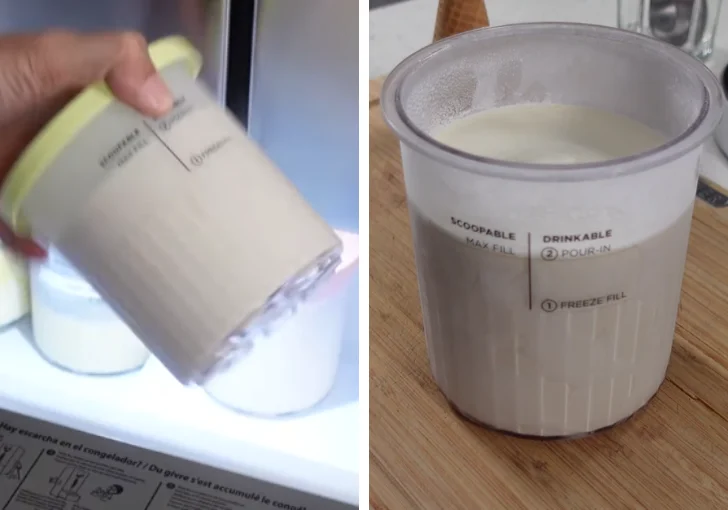
Step 7 |Fill the Ninja Creami Pint
Allow the mixture to cool slightly. Pour the ice cream base into a Ninja Creami pint container, making sure it does not go past the scoopable max fill line.
Step 8 | Freeze the Base
Secure the lid on the container and place it in the freezer. Freeze the mixture for 24 hours until completely solid.
Step 9 | Thaw Before Processing
Remove the frozen pint from the freezer and let it sit at room temperature for about 15 minutes. This helps the Ninja Creami process the ice cream more smoothly.
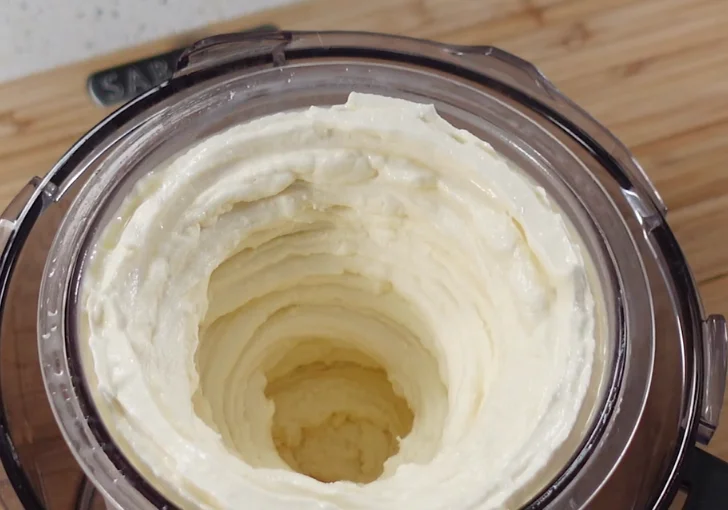
Step 10 | Process in the Ninja Creami
Insert the pint into the Ninja Creami Deluxe outer bowl and lock it into the machine. Select the top processing option and run the Light Ice Cream setting.

Step 11 | Add the Coconut Mix-In
After the first spin, open the lid and add the dry shaved coconut to the top of the ice cream. Return the pint to the machine and run the Mix-In function on the same Light Ice Cream setting to evenly distribute the coconut.
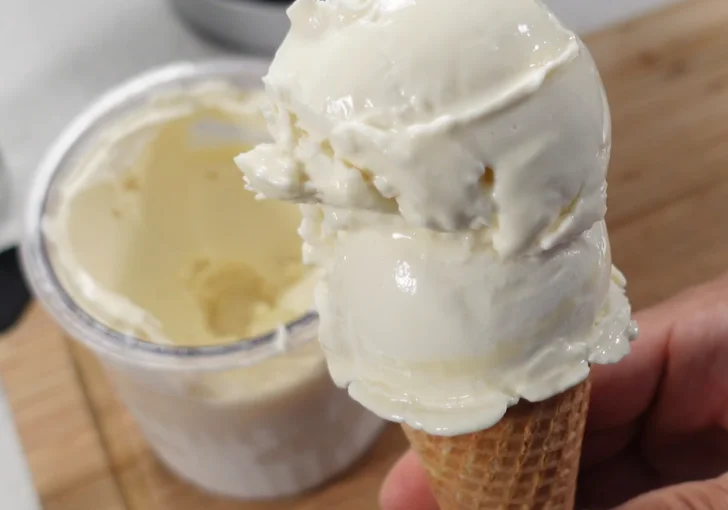
Step 12 | Serve the Ice Cream
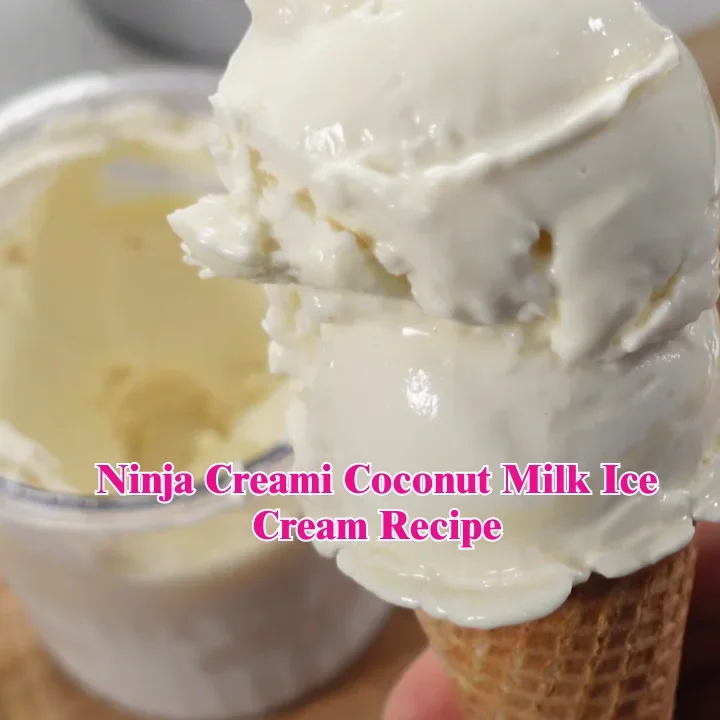
Once the mix-in cycle is complete, the ice cream should be smooth and creamy. Scoop it into bowls or serve it inside sugar-free ice cream cones for a crunchy finish.
Tips & Notes for the Best Ninja Creami Coconut Milk Ice Cream
Use full-fat coconut milk for better texture
From my testing, full-fat coconut milk makes a big difference in creaminess. Lower-fat coconut milk freezes harder and can turn a little icy. The natural fat helps the Ninja Creami spin the base into a smoother and richer ice cream.
Let the frozen pint rest before spinning
After removing the pint from the freezer, I always let it sit on the counter for about 10–15 minutes. This small rest softens the edges of the frozen base so the machine can process it more smoothly.
Use the Re-Spin setting if needed
Sometimes the first spin creates a slightly crumbly texture, especially with low-sugar recipes. When that happens, I simply run the Re-Spin function once. The second spin usually turns the ice cream into a soft and creamy texture.
Stir the base slowly while heating
While heating the mixture on the stove, I keep stirring gently. Egg yolks can cook too fast if the heat is high or if the mixture sits still. Slow stirring keeps everything smooth and prevents small scrambled egg bits.
Freeze the base a full 24 hours
I learned this the hard way once. If the base is not fully frozen, the Ninja Creami struggles to process it properly. A solid 24-hour freeze gives the best results and makes the spinning process much smoother.
Add mix-ins only after the first spin
For ingredients like shaved coconut, chocolate chips, or nuts, I always add them after the first spin. This keeps them evenly mixed through the ice cream instead of sinking to the bottom during freezing.
Don’t overfill the pint container
The scoopable max fill line on the pint container is there for a reason. I always stay under that line because too much mixture can affect the spinning process and make the texture less consistent.
Variations and Adaptations
Chocolate Coconut Ice Cream
Add one tablespoon cocoa powder to the base before heating. The chocolate flavor blends nicely with coconut milk and creates a rich dessert that feels like a tropical chocolate treat.
Toasted Coconut Version
Toast the shaved coconut in a small pan before adding it as a mix-in. The toasted flavor becomes deeper and slightly nutty, which makes the ice cream taste even more special.
Almond Coconut Ice Cream
Replace the rum extract with almond extract. The almond and coconut together give a flavor similar to classic coconut almond desserts.
Berry Coconut Ice Cream
Add chopped strawberries or raspberries during the mix-in step. The fruit gives a fresh and slightly tart flavor that balances the creamy coconut base.
Extra Creamy Version
Blend one tablespoon cream cheese into the base before freezing. This small addition helps create a thicker and richer texture after spinning.
Mistakes To Avoid While Making Ninja Creami Coconut Milk Ice Cream
Overheating the mixture
I once heated the base too fast and the eggs started to cook unevenly. Keep the heat medium and stir slowly so the mixture warms evenly.
Skipping the cooling time
Pouring a very hot mixture directly into the container can affect freezing. Let it cool slightly first.
Not freezing long enough
If the base is not completely frozen, the Ninja Creami will not spin properly. I always freeze it the full 24 hours.
Adding mix-ins too early
If coconut flakes go in before the first spin, they can sink and freeze unevenly. Adding them later works much better.
Overfilling the container
Going above the max line can make the machine struggle during processing. I always check that line before freezing.
Delicious Serving Ideas and Topping Options
Coconut Ice Cream Cones – Scoop the coconut ice cream into sugar-free cones when you want a crunchy bite with every spoonful. The cone adds a light crisp texture that works well with the soft ice cream, and it makes serving simple when you hand one to someone.
Fresh Fruit Bowl – You can place a scoop in a small bowl and add sliced strawberries, pineapple, or mango around it. The fruit brings a bright taste and natural sweetness that balances the creamy coconut flavor really well.
Toasted Coconut Cup – Add a scoop to a dessert cup and sprinkle toasted coconut flakes over the top. I tried this one evening and liked the deeper coconut taste. The toasted flakes also give the ice cream a little chew.
Chocolate Drizzle – A thin line of sugar-free chocolate syrup over the scoop changes the flavor in a good way. Coconut and chocolate sit well together, so you get a mild tropical taste mixed with a light chocolate finish.
Nutty Coconut Bowl – Drop a scoop into a bowl and scatter chopped almonds or macadamia nuts on top. You get small crunchy bites between the creamy spoonfuls, which makes the texture feel more interesting while eating.
Leftover Storing
When I have leftover ice cream, I keep it inside the Ninja Creami pint container with the lid closed tightly. The freezer keeps it fresh for several days.
The ice cream becomes very firm after freezing again. Before eating leftovers, I usually let the container sit on the counter for about 10–15 minutes. Then I run the Re-Spin function on the Ninja Creami.
This quick spin brings the texture back to creamy and smooth again. That small step really helps the ice cream taste fresh the next day.
Ninja Creami Coconut Milk Ice Cream Recipe FAQs
Can I use canned coconut milk for this recipe?
Yes, canned coconut milk works very well. I actually prefer full-fat canned coconut milk because it gives the ice cream a richer texture. Light coconut milk can work too, but the final result may be less creamy.
Do I need the egg yolks in this recipe?
Egg yolks help thicken the ice cream base and create a smooth texture. Without them the ice cream may turn icy. If you want to skip eggs, you may need a stabilizer like cream cheese or xanthan gum.
Why does the base need to reach 165°F?
Heating the mixture to about 165°F safely cooks the egg yolks and helps thicken the ice cream base. This step improves texture and also makes the mixture safer to eat.
Can I replace monk fruit sweetener with regular sugar?
Yes, regular sugar works fine if you prefer it. Use the same amount or slightly more depending on your taste. The Ninja Creami handles both sweeteners very well.
What if my ice cream looks crumbly after spinning?
This happens sometimes with low sugar recipes. Simply run the Re-Spin function once or twice. The extra spin usually turns the mixture into a smooth and creamy texture.
Can I make this recipe dairy free?
Yes. The base already uses coconut milk, which is dairy free. Just make sure your protein powder is dairy-free if that matters to you.
How long does homemade Ninja Creami ice cream last?
When stored in a sealed container in the freezer, it usually keeps well for about 3–5 days. Running the Re-Spin function helps restore the creamy texture after storage.
Can I skip the protein powder?
You can, but the texture might be slightly less creamy. The protein powder helps the mixture hold together better after freezing and spinning.
What other mix-ins work well with coconut ice cream?
Many flavors work well. Chopped chocolate, toasted coconut flakes, macadamia nuts, and tropical fruit pieces are all great choices.
Do I need to thaw the frozen pint before spinning?
Yes, letting the pint sit for about 10–15 minutes helps the Ninja Creami process the frozen base smoothly. This small step prevents the ice cream from becoming too crumbly.
Ninja Creami Coconut Milk Ice Cream Recipe
This ninja creami coconut milk ice cream recipe is a simple homemade dessert I keep coming back to. The base uses coconut milk, egg yolks, monk fruit sweetener, and vanilla whey protein for a creamy texture with light coconut flavor. I made this batch using my Ninja Creami ice cream maker, and the result turned smooth after one spin and a quick coconut mix-in. Prep takes about 15 minutes before freezing, and the steps are easy even for beginners. If you enjoy homemade coconut ice cream or low sugar frozen desserts, this recipe works well. Serve it in a cone or bowl and add fruit, nuts, or toasted coconut.
Ingredients
- 1 ½ cups coconut milk
- 2 large egg yolks
- 2 tablespoons monk fruit sweetener
- 1 scoop vanilla whey protein powder
- ½ teaspoon vanilla extract
- ¼ teaspoon rum extract
- 2 tablespoons dry shaved coconut (for mix-in)
- Sugar-free ice cream cones, for serving (optional)
Instructions
- Place the egg yolks in a medium mixing bowl. Beat them until smooth and slightly thickened. The color should change from a darker orange shade to a lighter yellow. This process takes about one minute and helps create a smoother ice cream base.
- Add the monk fruit sweetener to the beaten egg yolks. Stir until the sweetener is fully combined with the yolks and no visible granules remain. The mixture should look smooth and evenly blended.
- Pour the coconut milk into the bowl with the egg mixture. Stir well to combine everything. The sweetener may not dissolve completely at this stage, which is normal. Continue mixing for about a minute until the ingredients are evenly incorporated.Transfer the mixture to a saucepan and place it on the stove over medium heat.
- Use a digital thermometer if possible. Stir occasionally to prevent the mixture from sticking to the bottom of the pan.
- Once the mixture reaches about 110°F (43°C), slowly add the vanilla whey protein powder. Sprinkle it in a little at a time while stirring continuously to prevent clumping. After the protein powder is fully incorporated, add the vanilla extract and rum extract and stir to combine.
- Continue heating the mixture until it reaches 165°F (74°C). This temperature safely tempers the egg yolks while thickening the base slightly. Remove the saucepan from the heat once it reaches this temperature.
- Allow the mixture to cool slightly. Pour the ice cream base into a Ninja Creami pint container, making sure it does not go past the scoopable max fill line.
- Secure the lid on the container and place it in the freezer. Freeze the mixture for 24 hours until completely solid.
- Remove the frozen pint from the freezer and let it sit at room temperature for about 15 minutes. This helps the Ninja Creami process the ice cream more smoothly.
- Insert the pint into the Ninja Creami Deluxe outer bowl and lock it into the machine. Select the top processing option and run the Light Ice Cream setting.
- After the first spin, open the lid and add the dry shaved coconut to the top of the ice cream. Return the pint to the machine and run the Mix-In function on the same Light Ice Cream setting to evenly distribute the coconut.
- Once the mix-in cycle is complete, the ice cream should be smooth and creamy. Scoop it into bowls or serve it inside sugar-free ice cream cones for a crunchy finish.
Nutrition Information:
Serving Size: 1Amount Per Serving: Calories: 180Total Fat: 13gCarbohydrates: 6gFiber: 1gSugar: 1gProtein: 10g
Making homemade ice cream always feels special, and this ninja creami coconut milk ice cream recipe is one I truly enjoy making in my own kitchen.
The flavor is creamy, slightly tropical, and simple to prepare. The Ninja Creami turns a frozen base into smooth ice cream in minutes, which still amazes me every time.
I hope you give this recipe a try and enjoy the process just like I did. Once you taste that fresh coconut flavor, you might want to make it again soon.
If you try it, share your cooking experience with us and don’t forget to follow us on Pinterest for more homemade dessert ideas.