Ninja Creami Pumpkin Ice Cream Recipe
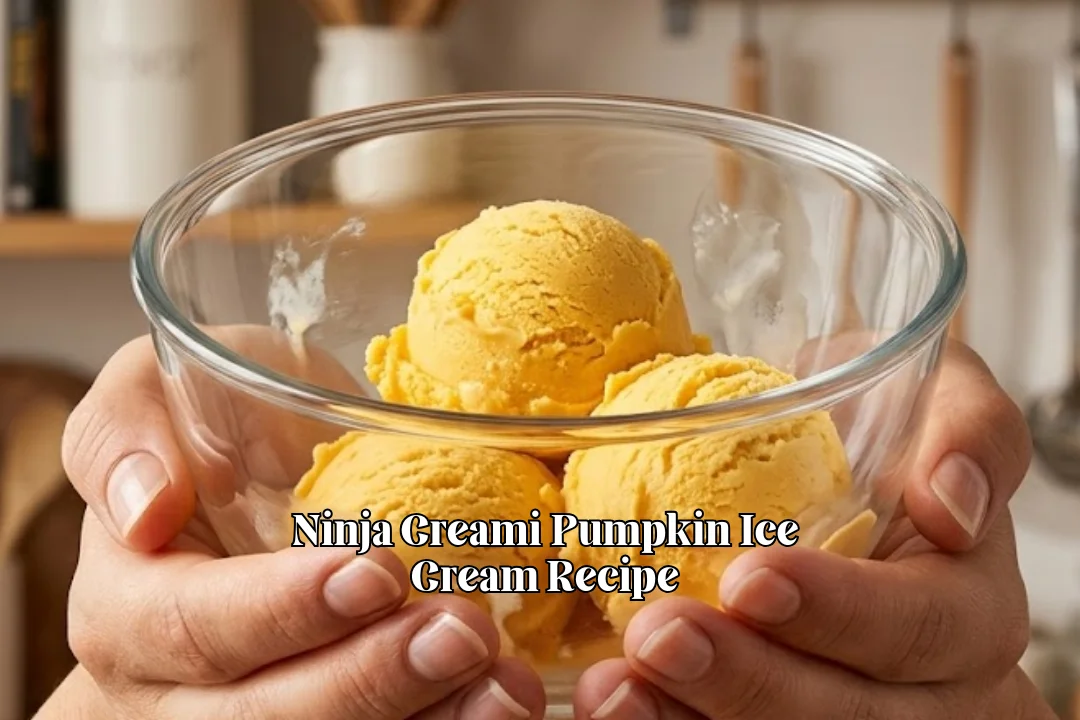
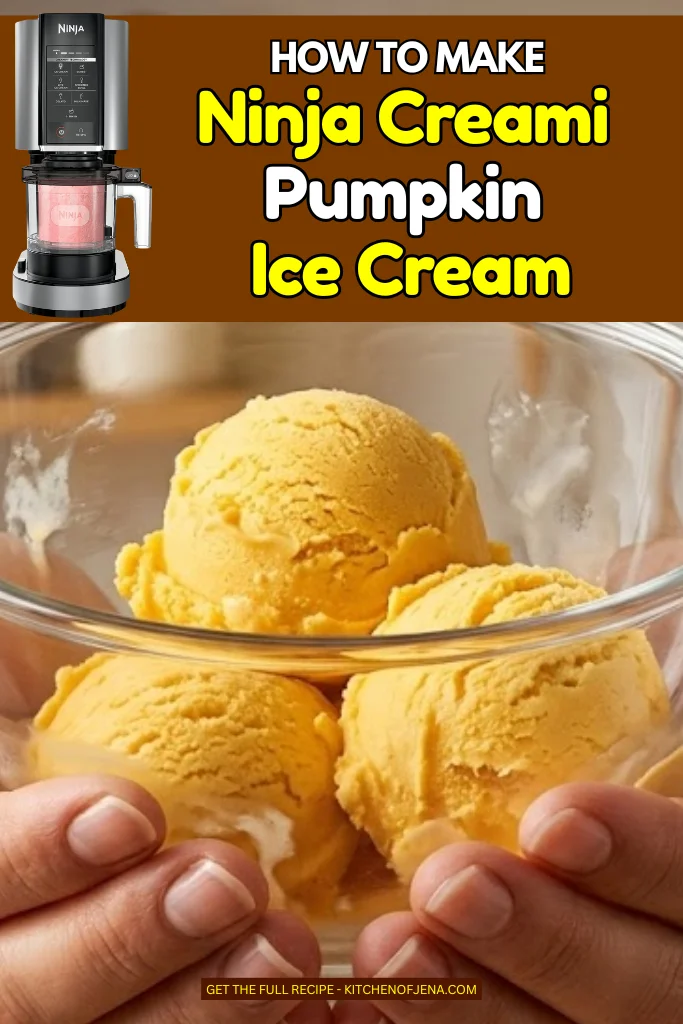
The first cool week of fall always puts me in the mood for pumpkin desserts, but I don’t always want another loaf, muffin, or slice of pie. That’s when I started making this Ninja Creami Pumpkin Ice Cream Recipe, and it quickly became one of those freezer desserts I keep thinking about after the pint is gone.
I wanted the flavor of pumpkin pie, but in a cold, creamy scoop that didn’t taste flat or overly sweet. The base starts with real pumpkin puree, then silken tofu and raw cashews give it body without needing a long custard process.
Vanilla and pumpkin pie spice bring in that familiar fall flavor, while a little sugar keeps the pumpkin from tasting dull once frozen.
The part that surprised me most was the texture. After freezing and spinning, it turns smooth and creamy, and a quick Re-Spin fixes any crumbly spots.
I usually keep the first bowl simple, then add chopped pecans or mini chocolate chips to the next one.
Make one pint of this pumpkin ice cream with your Ninja Creami first, but don’t be surprised if you start planning the next batch before fall is over.
Why Use Silken Tofu and Cashews in Pumpkin Ice Cream?
I know silken tofu isn’t the first ingredient most people think of when making pumpkin ice cream. I was curious about it too, but it makes sense once you see the texture after blending.
Silken tofu creates a smooth base, while the raw cashews add richness and help the mixture feel fuller. Once I blend them well with pumpkin puree, sugar, vanilla, and pumpkin pie spice, the base turns thick and creamy before it even goes into the freezer.
The important part is blending long enough. I keep the blender running until I can’t see any tofu pieces or tiny cashew bits. That smooth base makes a big difference once the Ninja Creami processes the frozen pint.
Ninja Creami Pumpkin Ice Cream Ingredients
1 cup pure pumpkin puree – I always use plain pumpkin puree, not pumpkin pie filling, because I want to control the sugar and spice myself. Libby’s is an easy choice, but any 100% pure pumpkin puree works well and gives the ice cream its real pumpkin flavor.
1 (12.3-ounce) package silken tofu, drained – I use soft silken tofu because it blends into the pumpkin base without leaving a strong tofu taste. Mori-Nu works well for me, but another plain silken tofu is fine. Just drain off the extra liquid before adding it to the blender.
½ cup raw cashews – Raw, unsalted cashews give the ice cream more body and help the base turn smooth after blending. I avoid salted or heavily roasted cashews here because their stronger flavor can take attention away from the pumpkin, vanilla, and warm fall spices.
⅓ cup granulated sugar – Regular white sugar keeps the sweetness simple and lets the pumpkin spice flavor stay clear. I find ⅓ cup is enough for my taste, but remember that frozen desserts taste less sweet once cold, so I would not cut it too much.
2 teaspoons vanilla extract – Vanilla rounds out the pumpkin and spice flavors and gives the finished ice cream a sweeter, softer taste. I usually reach for pure vanilla extract, but imitation vanilla also works here since pumpkin pie spice is already the main flavor in the pint.
2 teaspoons pumpkin pie spice – This is the ingredient that gives the ice cream its pumpkin pie taste. I use a store-bought blend for convenience, usually one with cinnamon, ginger, nutmeg, and cloves. McCormick works well, though your favorite pumpkin spice blend is fine too.
¼ teaspoon salt – A small amount of salt may not seem important, but I never skip it. It cuts through the sweetness a little and helps the pumpkin, vanilla, and spice taste stronger. You only need ¼ teaspoon, so the ice cream will not taste salty.
1 scoop vanilla protein powder, optional – I add vanilla protein powder when I want more protein in the pint and a slightly thicker base. Use one you already enjoy, since the flavor will come through. I prefer a mild vanilla powder that does not overpower the pumpkin spice.
Mini chocolate chips, optional – Mini chocolate chips are one of my favorite mix-ins because you get small bits of chocolate without making the ice cream hard to scoop. I add them after spinning, then use the Mix-In setting so they spread through the pint more evenly.
Chopped pecans, optional – Chopped pecans add a buttery crunch that tastes especially good with pumpkin and warm spices. I like to toast them lightly first and let them cool before adding. Use small pieces so the Ninja Creami can mix them through the ice cream easily.
How To Make Ninja Creami Pumpkin Ice Cream
Step 1 | Blend the Base Ingredients
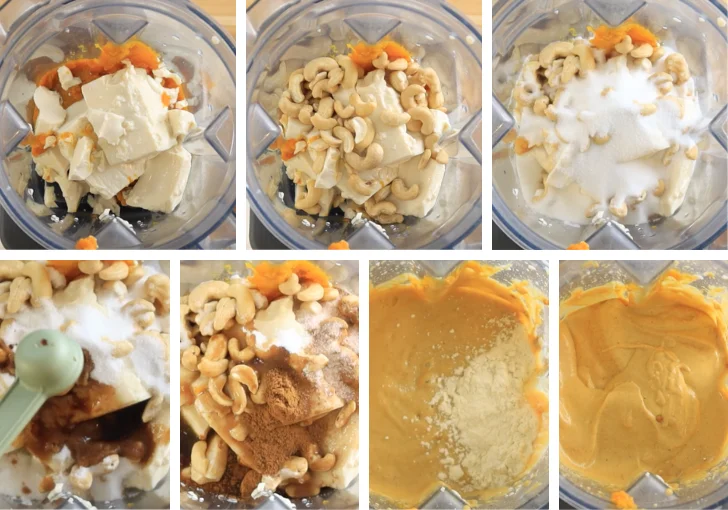
Add the pumpkin puree, drained silken tofu, raw cashews, granulated sugar, vanilla extract, pumpkin pie spice, and salt to a blender. If you want extra protein, add the vanilla protein powder now. Blend everything on high speed until the mixture starts looking smooth.
Step 2 | Make the Mixture Creamy
Stop the blender once or twice and scrape down the sides with a spatula. Blend again until there are no small cashew pieces or tofu bits left. The mixture should look thick, silky, and creamy with a rich pumpkin pie smell.
Step 3 | Fill the Ninja Creami Pint
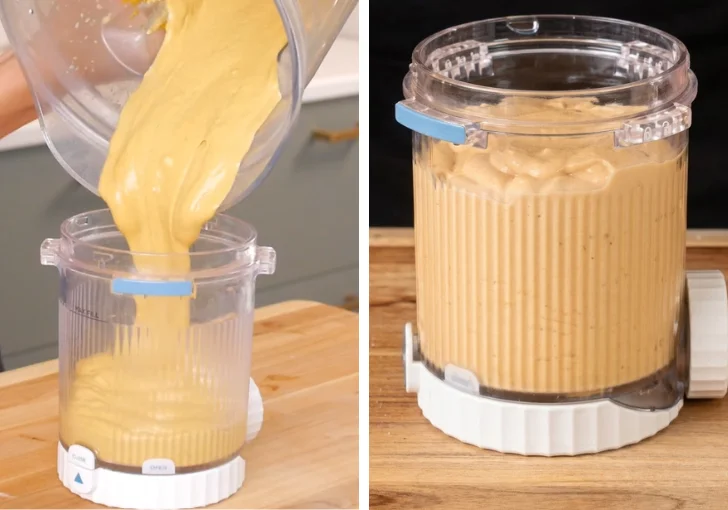
Pour the blended mixture into your Ninja Creami pint container. Do not fill past the MAX FILL line. Smooth the top if needed, then place the lid on tightly before freezing.
Step 4 | Freeze Until Solid
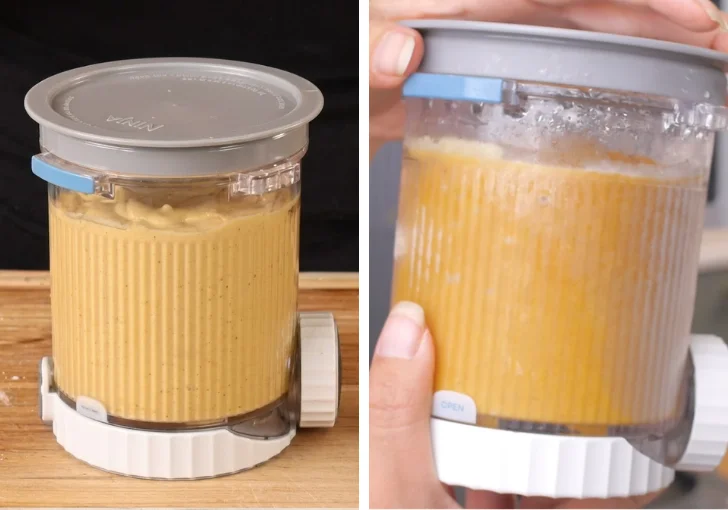
Place the pint on a flat shelf in your freezer. Freeze it for at least 24 hours. The mixture needs to be completely frozen before using the Ninja Creami for the best texture.
Step 5 | Process the Ice Cream
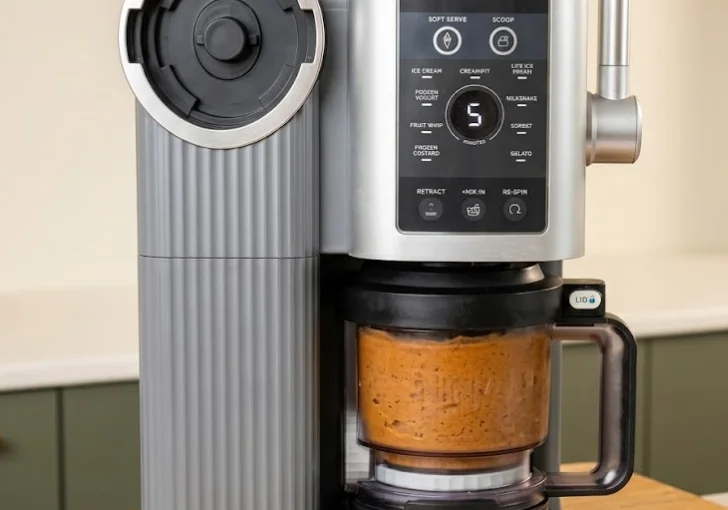
Take the frozen pint from the freezer and place it into the Ninja Creami following your machine’s directions. Select the Ice Cream program. If your machine has a Soft Serve setting, you can use that for an even softer texture.
Step 6 | Re-Spin if Needed
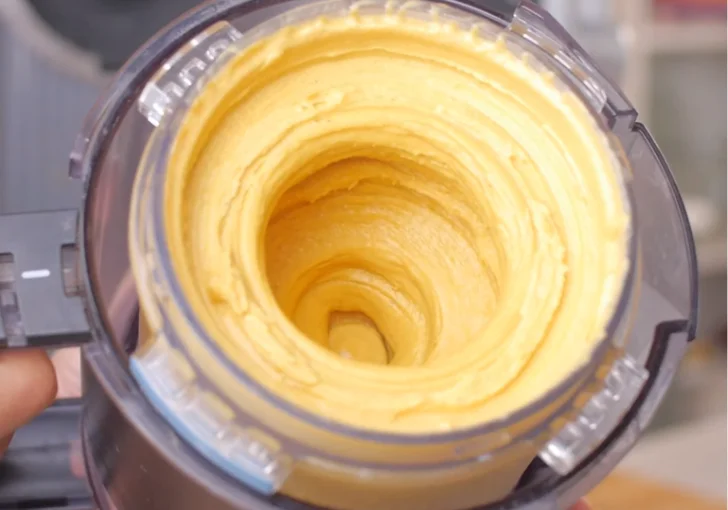
After the first spin, check the ice cream. Sometimes it looks dry or a little crumbly. If that happens, simply run one Re-Spin cycle. It usually becomes smooth and creamy after that.
Step 7 | Add Optional Mix-Ins
If you want extra texture, make a small hole in the center of the ice cream. Add mini chocolate chips or chopped pecans, then use the Mix-In function to spread them evenly through the ice cream.
Step 8 | Scoop and Enjoy
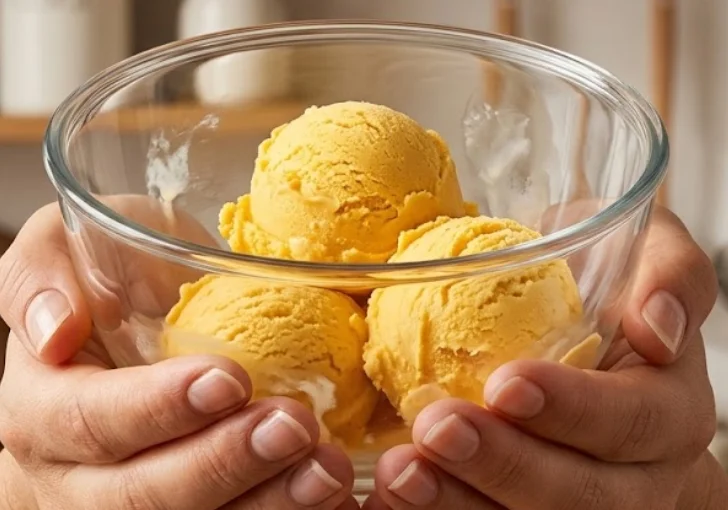
Scoop the pumpkin ice cream into bowls, cones, or dessert cups. I like serving it right after spinning because the texture is soft, creamy, and tastes just like a slice of pumpkin pie.
Chef Tips & Notes for the Perfect Ninja Creami Pumpkin Ice Cream
Use pure pumpkin puree – Pumpkin pie filling already has sugar and spices, so it changes the flavor of the recipe.
Blend until completely smooth – Tiny cashew pieces or tofu bits can make the finished ice cream feel grainy.
Don’t fill above the MAX FILL line – Leaving enough space helps the Ninja Creami process the ice cream correctly.
Freeze for a full 24 hours – A fully frozen pint gives the machine the best chance to make smooth ice cream.
Use the Re-Spin cycle if needed – I almost always do one Re-Spin when the first spin looks dry. It makes a big difference.
Add mix-ins after spinning – Chocolate chips and pecans keep their texture much better when mixed in at the end.
Scrape down the blender sides – This helps every ingredient blend evenly so every bite tastes the same.
Serve right after processing – I think the texture is at its best right after the final spin, when it’s soft, rich, and easy to scoop
What Does Ninja Creami Pumpkin Ice Cream Taste Like?
This pumpkin ice cream tastes much closer to a cold slice of pumpkin pie than plain pumpkin puree. The pumpkin pie spice comes through first, followed by vanilla and a light nutty taste from the cashews.
The texture is thick, smooth, and easy to scoop after spinning. I don’t get a strong tofu taste in the finished ice cream because the pumpkin, vanilla, sugar, and warm spices cover it well.
I like this one best when it is freshly spun. Add chopped pecans for a little crunch, or mini chocolate chips when you want something sweeter in each bite.
Variations and Adaptations
Make it extra sweet – If you like sweeter pumpkin ice cream, add 1 to 2 more tablespoons of granulated sugar before blending. I think it brings out the pumpkin pie flavor even more without making it too sweet.
Use different mix-ins – I sometimes swap the chocolate chips for crushed graham crackers, toffee bits, or chopped walnuts. Each one adds a different texture and makes every scoop a little more fun.
Add more protein – I use two scoops of vanilla protein powder when I want a higher-protein dessert. If the mixture gets too thick, I add a splash of milk before blending.
Give it a maple flavor – I replace a little of the sugar with pure maple syrup for a deeper fall taste. The pumpkin and maple work really well together.
Make it dairy-free – This recipe is already dairy-friendly because of the silken tofu. Just choose a dairy-free vanilla protein powder if you’re adding protein.
Avoid These Mistakes While Making Pumpkin Ice Cream with Ninja Creami Machine
Using pumpkin pie filling – I always double-check the label. Pumpkin pie filling already has sugar and spices, so the ice cream can turn out much sweeter than planned.
Not blending long enough – If the cashews are not fully blended, the finished ice cream can feel gritty. I blend until everything looks silky smooth.
Skipping the full freeze time – I never rush this step. If the center is still soft, the Ninja Creami won’t make the texture nice and creamy.
Overfilling the pint – Filling above the MAX FILL line can keep the machine from processing the ice cream correctly. I always leave enough space.
Skipping the Re-Spin – When the first spin looks crumbly, I don’t worry. One Re-Spin usually turns it into creamy ice cream.
Adding mix-ins too early – Chocolate chips and pecans blend much better after the first spin. Adding them before freezing can change the texture.
Serving after sitting out too long – I scoop it soon after spinning. If it sits too long, it gets softer than I like.
Best Ways to Serve Ninja Creami Pumpkin Ice Cream
Top with whipped cream – I add a little whipped cream and a light sprinkle of pumpkin pie spice. It feels like eating pumpkin pie in ice cream form.
Serve in a waffle cone – I love the crunchy cone with the creamy pumpkin filling. It makes the dessert even more enjoyable.
Add chopped pecans – I sprinkle toasted pecans over each scoop for a buttery crunch that goes perfectly with the warm pumpkin spices.
Enjoy with graham crackers – I like serving a few graham crackers on the side. They remind me of pie crust with every bite.
Drizzle with caramel sauce – A small drizzle of caramel gives the ice cream a richer dessert flavor without covering the pumpkin taste.
Pair with pumpkin bread – I sometimes serve a scoop beside warm pumpkin bread for a simple dessert that always disappears fast.
Leftover Storing
If I have leftovers, I smooth the top of the ice cream before putting the lid back on the Ninja Creami pint. Then I store it in the freezer for up to one week for the best flavor and texture.
When I’m ready for another serving, I don’t try to scoop it straight from the freezer because it becomes very firm. Instead, I place the pint back into the Ninja Creami and run the Re-Spin cycle. If it still looks a little dry, I add one tablespoon of milk and run another Re-Spin. It comes back creamy almost every time.
I also keep the lid tightly sealed so the ice cream stays fresh and doesn’t pick up freezer odors.
Ninja Creami Pumpkin Ice Cream Recipe FAQs
Can I use pumpkin pie filling instead of pure pumpkin puree?
No, I don’t recommend it. Pumpkin pie filling already has sugar and spices mixed in, so it changes the flavor and sweetness of the recipe. Pure pumpkin puree lets you control the taste and gives the best creamy pumpkin flavor in this Ninja Creami Pumpkin Ice Cream Recipe.
Can I make this recipe without protein powder?
Yes. The protein powder is completely optional. I make this recipe both ways, and it turns out creamy either way. The protein powder simply adds extra protein and makes the mixture a little thicker.
Why is my ice cream crumbly after the first spin?
This happens sometimes with the Ninja Creami, and it’s completely normal. I simply run one Re-Spin cycle, and the texture usually becomes smooth and creamy. If it still looks dry, adding a tablespoon of milk before another Re-Spin helps.
Can I use roasted cashews instead of raw cashews?
I prefer raw cashews because they blend into a smoother base and have a mild flavor. Roasted cashews can change the taste a little and may not blend quite as smoothly.
How long should I freeze the pint before spinning?
I always freeze the pint for at least 24 hours. The mixture needs to be completely solid from top to bottom. A shorter freezing time can lead to poor texture after processing.
Can I add chocolate chips before freezing?
I don’t recommend it. I always add chocolate chips after the first spin and use the Mix-In function. This keeps the chips whole and spreads them evenly through the ice cream.
Can I use another sweetener instead of granulated sugar?
Yes. I’ve used maple syrup and some sugar substitutes with good results. Keep in mind that changing the sweetener may slightly change the texture and sweetness of the finished ice cream.
How long does homemade pumpkin ice cream stay fresh?
I like eating it within one week. It stays safe longer when frozen, but I think the flavor and creamy texture are best during the first several days after making it.
Can I make this recipe if I don’t have a blender?
A high-speed blender works best because it completely smooths the cashews and tofu. A food processor may work, but you may need to blend longer for the same creamy texture.
What mix-ins taste best with this recipe?
Mini chocolate chips and chopped pecans are my favorites because they match the pumpkin spice flavor really well. I also enjoy crushed graham crackers, toffee bits, or a drizzle of caramel after serving for a little extra sweetness.
Ninja Creami Pumpkin Ice Cream Recipe
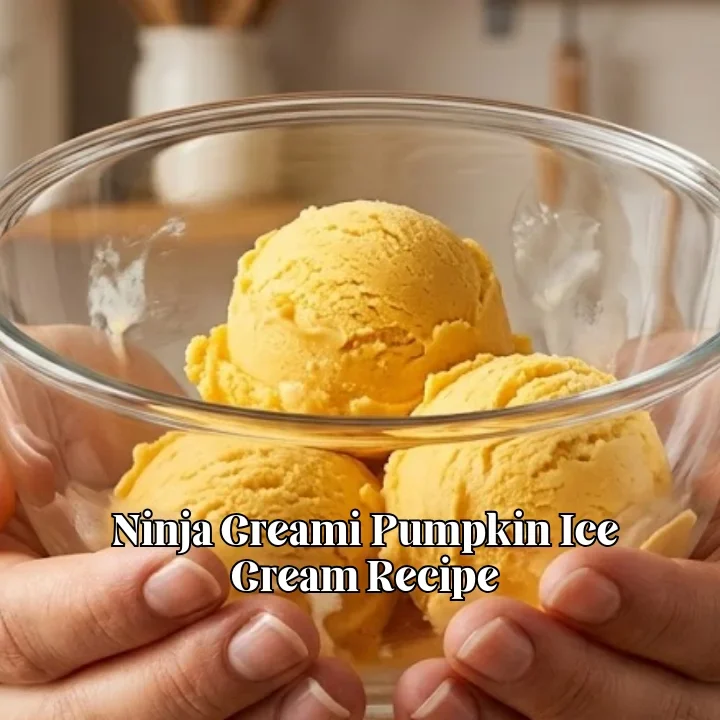
Make this Ninja Creami Pumpkin Ice Cream Recipe for a rich, creamy dessert that tastes like homemade pumpkin pie in every scoop. I use my Ninja Creami ice cream maker with real pumpkin puree, silken tofu, cashews, pumpkin pie spice, and vanilla for a smooth texture that comes out great after a quick Re-Spin. This easy pumpkin ice cream recipe is beginner-friendly, takes about 15 minutes to prepare plus freezing time, and is worth the wait. You can serve it with chopped pecans, caramel sauce, whipped cream, or crispy waffle cones for the best treat.
I really enjoy making this Ninja Creami Pumpkin Ice Cream Recipe every fall, but honestly, I don’t wait for pumpkin season to make it again. It’s creamy, full of real pumpkin flavor, and so easy to put together with simple ingredients.
If you’re looking for a homemade ice cream that tastes like pumpkin pie in every bite, I think you’ll love this one too.
Give it a try in your Ninja Creami and make it your own with your favorite mix-ins.