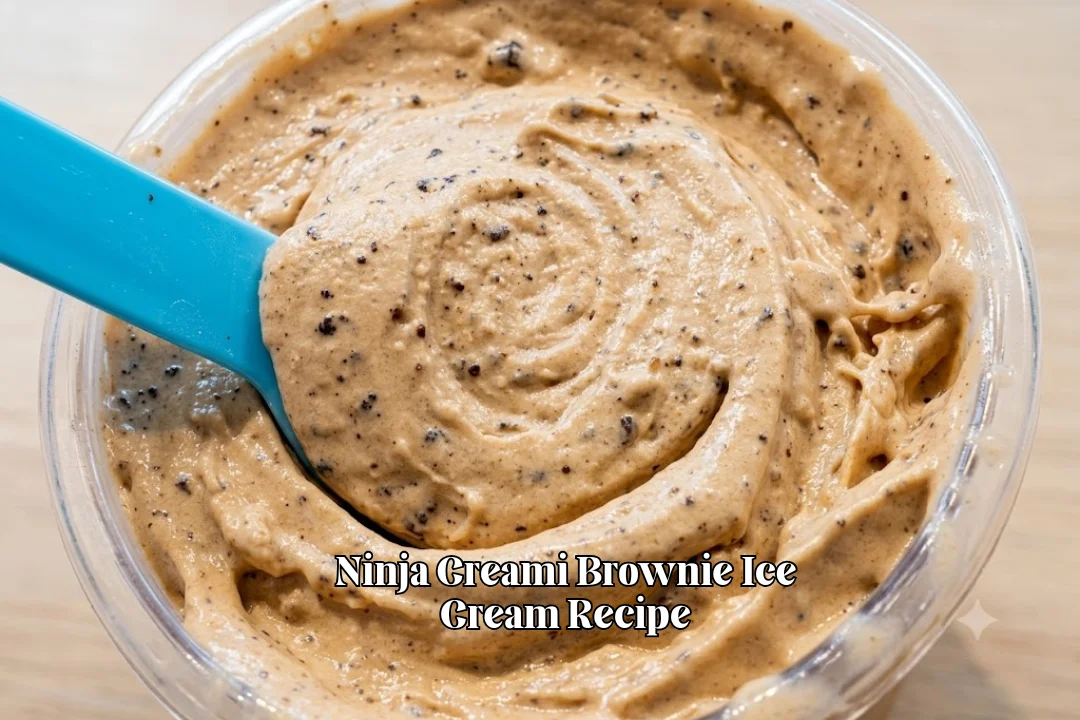
Ninja Creami Brownie Ice Cream Recipe
You know what’s better than a simple brownie? This Ninja Creami Brownie Ice Cream Recipe. I actually learned the idea for this one from my sister, who made a batch for a family get-together a while back. Everyone kept going back for another scoop, especially the kids.
After that day, my own kids wouldn’t stop asking me to make it at home, so I started testing different versions until I landed on this one.
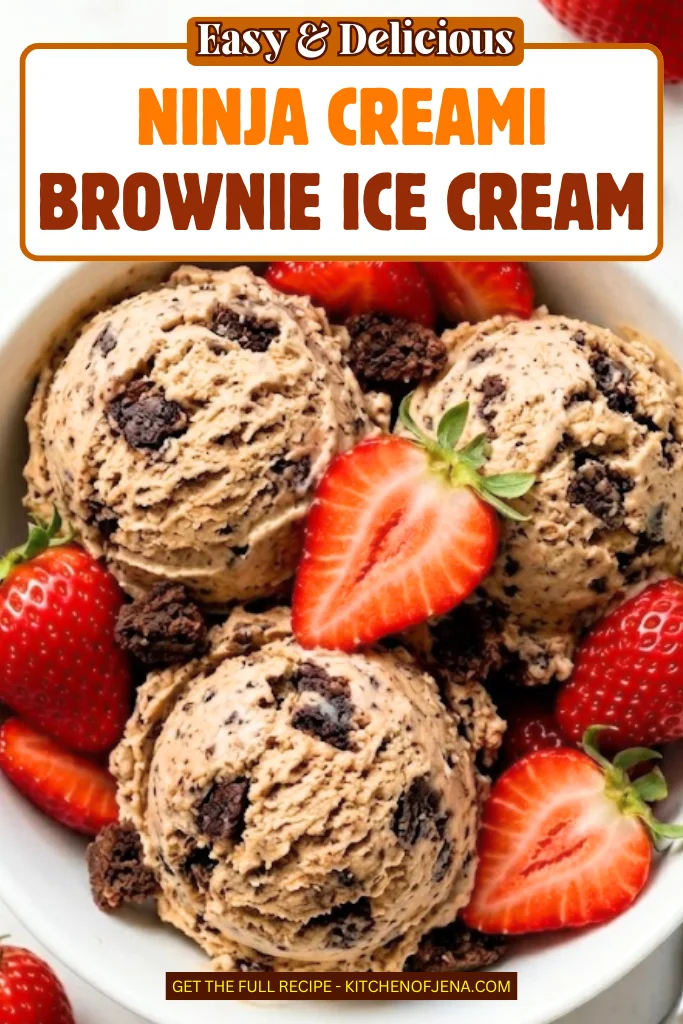
What I love about this brownie ice cream recipe is how it combines two favorite desserts into one creamy treat. The chocolate ice cream base is rich and smooth, while the brownie pieces add little bites of fudgy goodness throughout.
It reminds me of the kind of brownie ice cream you order when you’re out celebrating something special, except now I can make it whenever the craving hits.
Thanks to the Ninja Creami, this brownie ice cream recipe with Ninja Creami surprisingly easy and always disappears fast in my house.

Why You Will Love This Ninja Creami Brownie Ice Cream Recipe
I love this recipe because it tastes like a rich chocolate dessert while still packing plenty of protein. The combination of chocolate protein powder, melted dark chocolate, and brownie pieces gives every scoop a deep chocolate flavor that feels extra satisfying.
It is also easy to make with simple ingredients and the Ninja Creami does most of the work. The result is a smooth, creamy ice cream loaded with soft brownie bites throughout.
Rich Chocolate Flavor
The combination of chocolate whey protein, melted dark chocolate, and brownie pieces creates a bold chocolate taste that satisfies every craving.
High-Protein Dessert
This recipe delivers about 70 grams of protein per pint, making it a great option when I want something sweet that also helps support my protein intake.
Creamy Texture with Brownie Bites
The mix of ultra-filtered milk, half-and-half, and heavy cream creates a smooth texture, while the brownie pieces add soft bites throughout the ice cream.
Ninja Creami Brownie Ice Cream Ingredients
3 heaping scoops chocolate whey protein powder (108 g total)
I use chocolate whey protein because it gives strong chocolate flavor and adds plenty of protein to the ice cream.
¼ teaspoon sea salt
A small amount of salt helps balance the sweetness and makes the chocolate taste even better.
¼ teaspoon xanthan gum
I add xanthan gum to help create a smoother texture and reduce ice crystals.
2 packets stevia sweetener
Stevia adds sweetness without adding extra sugar. Adjust it if you like sweeter ice cream.
14 g dark chocolate morsels
I melt these into the base for deeper chocolate flavor and tiny chocolate flecks.
370 g ultra-filtered milk
This milk adds protein and helps create a creamy texture without making the mixture too heavy.
30 g half-and-half
I use half-and-half to make the ice cream richer and smoother.
30 g heavy whipping cream
Heavy cream gives the finished ice cream a creamy and satisfying texture.
1 chocolate protein brownie
I use a chocolate protein brownie cut into small pieces. It adds chewy brownie bites throughout the ice cream.
Kitchen Appliances You’ll Need
- Ninja Creami Machine
- Ninja Creami Pint Container
- Small Heat-Safe Bowl
- Small Mixing Bowl
- Measuring Spoons
- Digital Kitchen Scale
- Spoon
- Hand Mixer, Immersion Blender, or Similar Blending Tool
- Knife
- Cutting Board
How To Make Ninja Creami Brownie Ice Cream
Step 1 | Melt the Chocolate
Place the dark chocolate morsels in a small heat-safe bowl. Set the bowl over hot water and let the chocolate melt slowly. Stir until smooth, then set it aside while preparing the rest of the mixture.
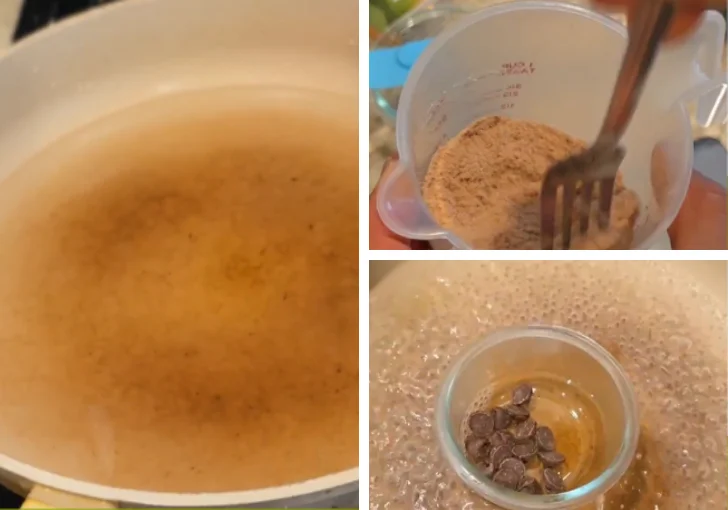
Step 2 | Mix the Dry Ingredients
Add the chocolate whey protein powder, sea salt, xanthan gum, and stevia packets to a small bowl. Stir well until everything looks evenly combined and there are no lumps.
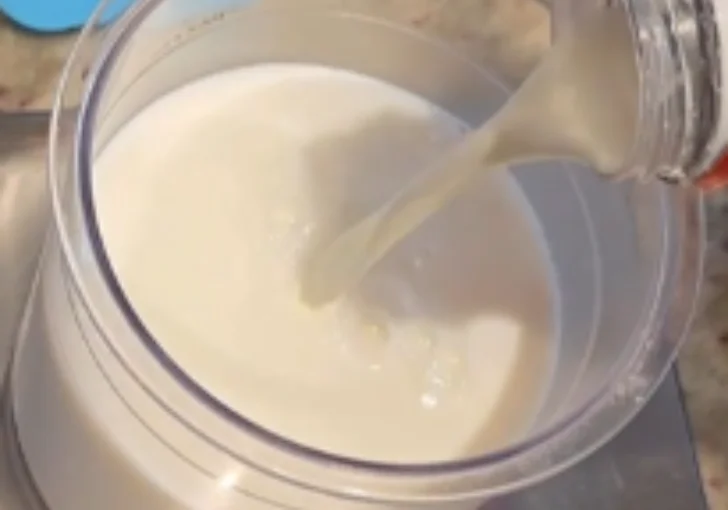
Step 3 | Add the Milk and Cream
Pour the ultra-filtered milk into the Ninja Creami pint container. Add the half-and-half and heavy whipping cream. These ingredients help create a rich and creamy base.
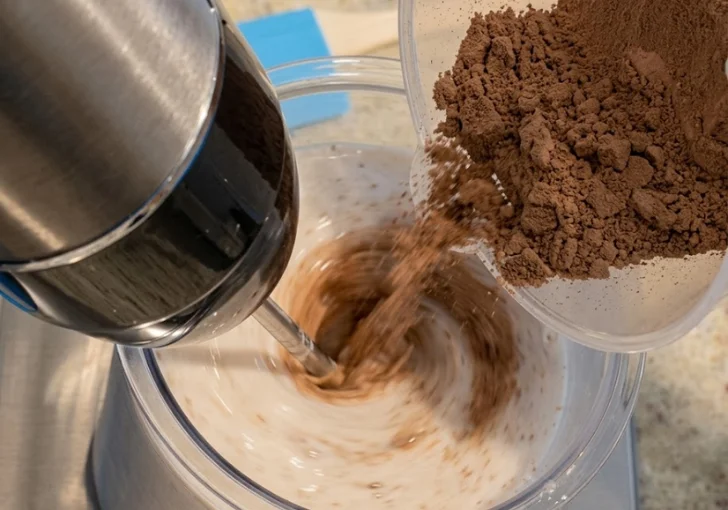
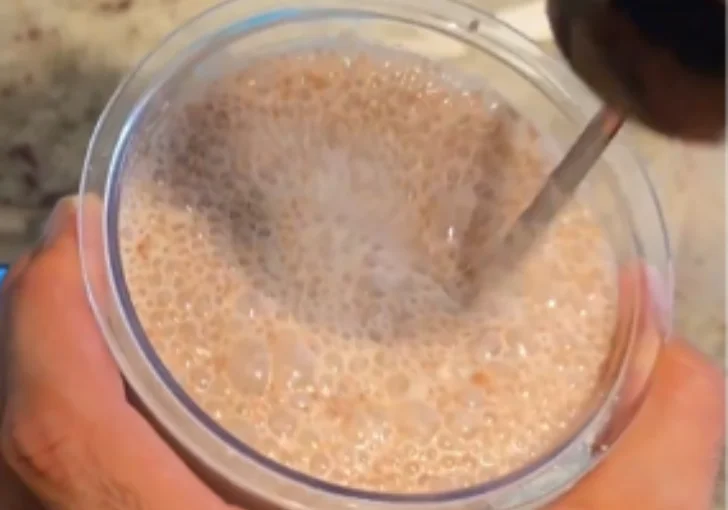
Step 4 | Blend the Base
Start blending the milk mixture using a hand mixer or immersion blender. Slowly add the dry ingredient mixture while blending. Continue mixing until everything is smooth and fully combined. Scrape the sides and bottom if needed.
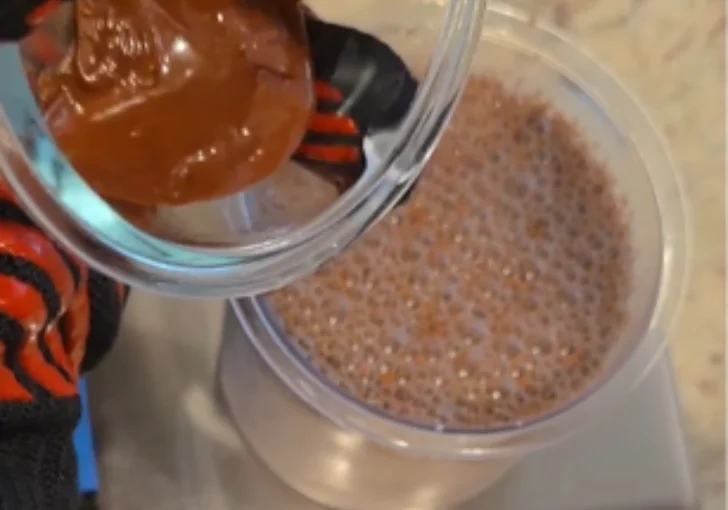
Step 5 | Add the Melted Chocolate
Pour the melted chocolate into the blended mixture. Blend again right away so the chocolate mixes evenly throughout the base. A few tiny chocolate pieces are perfectly fine and add extra texture.
Step 6 | Freeze the Pint
Place the lid on the pint container and freeze it on a flat surface for at least 24 hours. The mixture should be completely frozen before spinning.

Step 7 | Prepare for Spinning
Remove the frozen pint from the freezer. Run hot water around the outside of the container for about one minute while rotating it. This helps soften the outer layer slightly for a smoother spin.
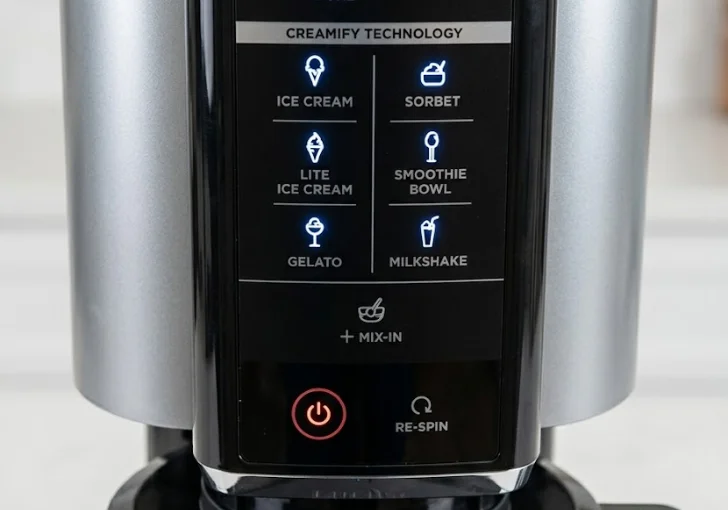
Step 8 | Run the Light Ice Cream Cycle
Remove the lid and place the pint into the Ninja Creami outer bowl. Attach the blade assembly and lock everything into the machine. Select the Lite Ice Cream setting and let the cycle finish completely.
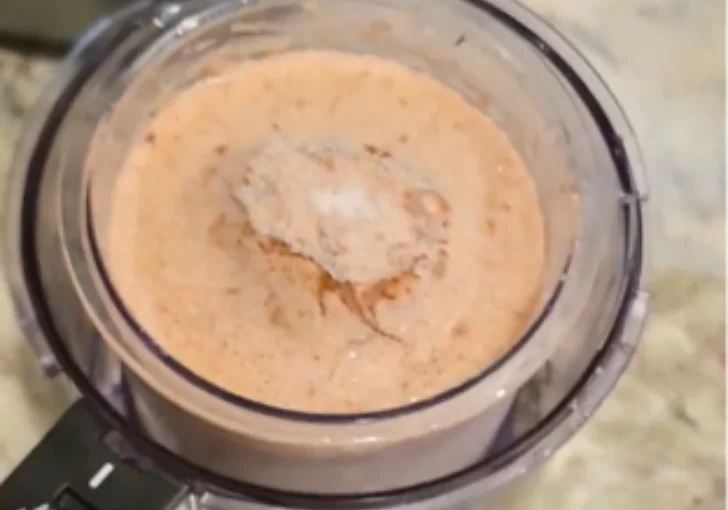
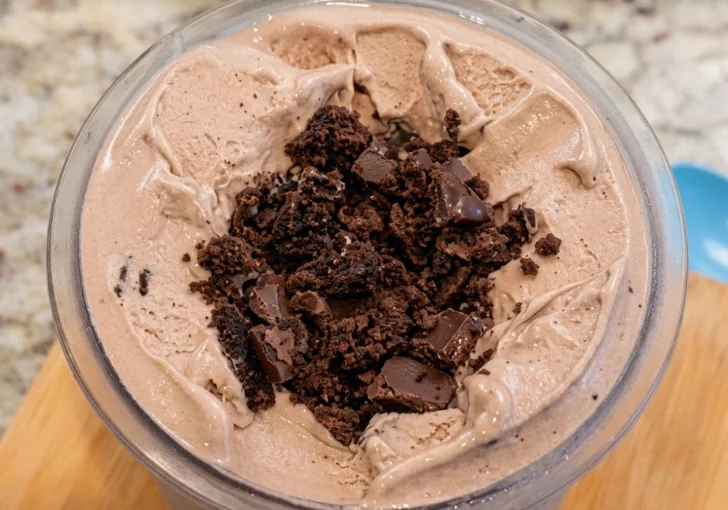
Step 9 | Add the Brownie Pieces
Use a spoon to create a deep hole in the center of the ice cream. Cut the chocolate protein brownie into bite-sized pieces and place them into the center well.
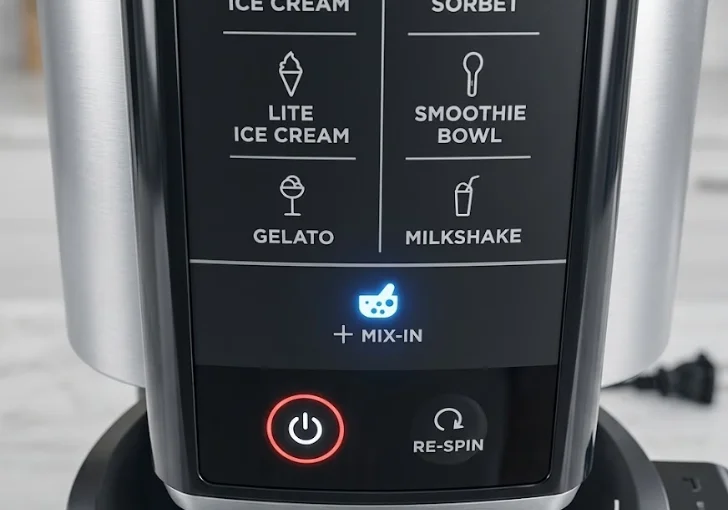
Step 10 | Run the Mix-In Cycle
Return the pint to the Ninja Creami machine and select the Mix-In function. The machine will spread the brownie pieces throughout the ice cream.
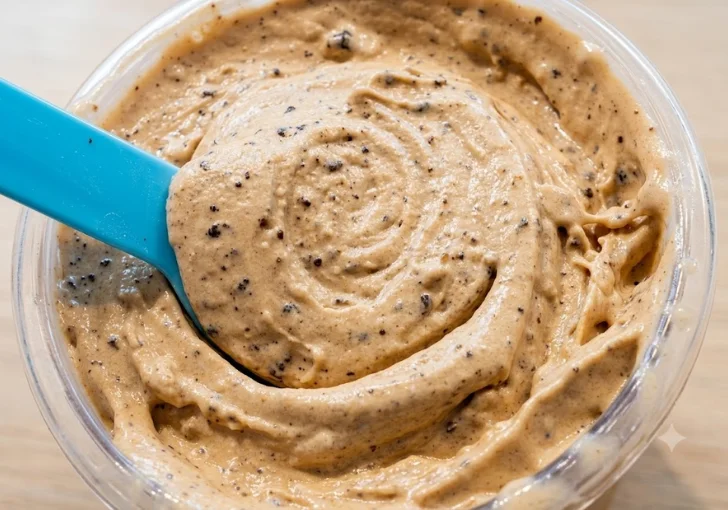
Step 11 | Serve and Enjoy
Remove the finished ice cream from the machine and serve immediately. The texture should be creamy and smooth with brownie pieces in every scoop.
Expert Tips for the Best Ninja Creami Brownie Ice Cream
Use good chocolate protein powder – A quality protein powder makes a huge difference in flavor and texture.
Freeze on a flat surface – This helps the pint freeze evenly and spin better later.
Blend completely before freezing – Any dry powder left behind can affect the final texture.
Warm the outside of the pint – Running hot water around the container helps create a creamier result.
Cut brownie pieces small – Smaller pieces mix more evenly throughout the ice cream.
Use ultra-filtered milk – It adds extra protein and creates a smoother texture.
Variations and Adaptations
Add chocolate chips – I sometimes mix in mini chocolate chips along with the brownie pieces for extra crunch and chocolate flavor in every bite.
Use white chocolate protein powder – White chocolate protein powder creates a different flavor while keeping the same creamy texture.
Add peanut butter – A spoonful of peanut butter gives the ice cream a chocolate peanut butter brownie flavor that tastes amazing.
Mix in walnuts – Chopped walnuts add crunch and pair nicely with the brownie pieces and chocolate base.
Make it extra dark chocolate – I add a few extra grams of melted dark chocolate when I want a richer chocolate flavor.
Avoid These Mistakes If You’re Making First Time
Skipping the 24-hour freeze – If the base is not fully frozen, the texture can become soft and uneven.
Not mixing the dry ingredients first – I always combine them before adding liquid so I don’t end up with clumps.
Adding large brownie chunks – Big pieces do not mix evenly and can stay stuck in one area.
Forgetting to soften the outside of the pint – A quick rinse with hot water helps the machine create a smoother texture.
Using too much sweetener – Too much sweetener can overpower the chocolate flavor and make the ice cream taste artificial.
Not scraping the sides while blending – Dry ingredients can hide on the sides and create uneven texture later.
Best Ways to Serve Ninja Creami Brownie Ice Cream
Serve straight from the pint – I often enjoy it right after the Mix-In cycle because the texture is at its absolute best.
Top with chocolate drizzle – A small drizzle of melted chocolate adds extra richness without much effort.
Add whipped cream – I like a spoonful of whipped cream when I want the dessert to feel extra special.
Serve with fresh strawberries – The berries add freshness and balance the rich chocolate flavor.
Make an ice cream bowl – I top it with extra brownie pieces for a dessert that feels like a treat from an ice cream shop.
Pair with a protein shake – This creates a high-protein dessert combination that keeps me satisfied longer.
Leftover Storing
If I have leftovers, I place the lid back on the Ninja Creami pint and store it in the freezer. The ice cream will become firm again after freezing.
Before eating, I usually run the pint through the Ninja Creami Lite Ice Cream or Re-Spin cycle to bring back the creamy texture. I try to enjoy leftovers within one week for the best flavor and texture.
Keeping the lid tightly sealed also helps prevent freezer odors from affecting the ice cream.
Ninja Creami Brownie Ice Cream Recipe FAQs
Can I use regular milk instead of ultra-filtered milk?
Yes, you can use regular milk. The recipe will still work, but ultra-filtered milk adds more protein and often creates a creamier texture. Whole milk usually gives the richest result, while lower-fat milk may produce a slightly lighter texture.
Can I use a different protein powder?
Yes, you can use another chocolate protein powder. Different brands absorb liquid differently, so the final texture may change slightly. If your mixture seems too thick, add a small splash of milk before freezing.
Do I need xanthan gum?
Xanthan gum helps improve texture and reduces iciness. The recipe can still be made without it, but the finished ice cream may not be quite as smooth and creamy after spinning.
Can I replace stevia with another sweetener?
Absolutely. Monk fruit sweetener, regular sugar, or another sugar substitute can be used. The sweetness level may vary, so adjust the amount based on your personal preference.
Why is my ice cream crumbly after spinning?
A crumbly texture usually means the pint is very cold or needs another spin. Running warm water around the outside of the container before spinning often helps. A Re-Spin cycle can also improve the texture.
Can I use homemade brownies instead of protein brownies?
Yes. Homemade brownies work great in this recipe. Just cut them into small pieces before adding them during the Mix-In cycle so they distribute evenly throughout the ice cream.
How long should I freeze the pint?
I recommend freezing it for at least 24 hours. This gives the mixture enough time to become completely solid, which is important for proper Ninja Creami processing.
Can I make this recipe lower in calories?
Yes. You can reduce the heavy cream and half-and-half or use lower-fat alternatives. The texture may be slightly less rich, but it will still be tasty and creamy.
Can I add extra mix-ins?
Yes. Chocolate chips, nuts, cookie pieces, or peanut butter chips can all be added during the Mix-In cycle. Just avoid overfilling the center well.
How much protein is in this recipe?
The entire pint contains approximately 70 grams of protein based on the ingredients used. The exact amount may vary depending on the protein powder and brownie brand you choose.

Ninja Creami Brownie Ice Cream Recipe
This Ninja Creami Brownie Ice Cream Recipe combines chocolate whey protein, melted dark chocolate, and brownie chunks into one rich and creamy frozen treat. I make it in my Ninja Creami when I want something that tastes like dessert but still adds extra protein to my day. The texture comes out smooth, thick, and packed with chocolate flavor in every bite. With simple ingredients, easy prep, and just a little patience while freezing, this recipe is beginner-friendly and worth making again. You can serve it with extra brownie pieces, whipped cream, or a drizzle of chocolate syrup.
Ingredients
Ice Cream Base
- 3 heaping scoops chocolate whey protein powder (108 g total; 36 g per scoop)
- ¼ heaping teaspoon sea salt
- ¼ teaspoon xanthan gum
- 2 packets stevia sweetener
- 14 g dark chocolate morsels
- 370 g ultra-filtered milk
- 30 g half-and-half
- 30 g heavy whipping cream
Mix-In
- 1 chocolate protein brownie (Alpha Prime Bites Chocolate Protein Brownie was used)
Instructions
- Place the dark chocolate morsels in a small heat-safe bowl. Set the bowl over hot water and let the chocolate melt slowly. Stir until smooth, then set it aside while preparing the rest of the mixture.
- Add the chocolate whey protein powder, sea salt, xanthan gum, and stevia packets to a small bowl. Stir well until everything looks evenly combined and there are no lumps.
- Pour the ultra-filtered milk into the Ninja Creami pint container. Add the half-and-half and heavy whipping cream. These ingredients help create a rich and creamy base.
- Start blending the milk mixture using a hand mixer or immersion blender. Slowly add the dry ingredient mixture while blending. Continue mixing until everything is smooth and fully combined. Scrape the sides and bottom if needed.
- Pour the melted chocolate into the blended mixture. Blend again right away so the chocolate mixes evenly throughout the base. A few tiny chocolate pieces are perfectly fine and add extra texture.
- Place the lid on the pint container and freeze it on a flat surface for at least 24 hours. The mixture should be completely frozen before spinning.
- Remove the frozen pint from the freezer. Run hot water around the outside of the container for about one minute while rotating it. This helps soften the outer layer slightly for a smoother spin.
- Remove the lid and place the pint into the Ninja Creami outer bowl. Attach the blade assembly and lock everything into the machine. Select the Light Ice Cream setting and let the cycle finish completely.
- Use a spoon to create a deep hole in the center of the ice cream. Cut the chocolate protein brownie into bite-sized pieces and place them into the center well.
- Return the pint to the Ninja Creami machine and select the Mix-In function. The machine will spread the brownie pieces throughout the ice cream.
- Remove the finished ice cream from the machine and serve immediately. The texture should be creamy and smooth with brownie pieces in every scoop.
Nutrition Information:
Serving Size: ½ pintAmount Per Serving: Calories: 285Total Fat: 9gSaturated Fat: 4gSodium: 310mgCarbohydrates: 17gFiber: 2gSugar: 8gProtein: 35g
This Ninja Creami Brownie Ice Cream Recipe is one of my favorite ways to enjoy a rich chocolate dessert at home. The creamy chocolate base, melted dark chocolate, and brownie pieces create a texture that feels like a real ice cream shop treat.
I love that it also delivers plenty of protein in every serving. If you enjoy chocolate desserts, give this recipe a spot on your next Ninja Creami list.
I hope you make it, enjoy every scoop, and come back to share how it turned out.
Don’t forget to follow us on Pinterest for more easy Ninja Creami recipes and homemade ice cream ideas.