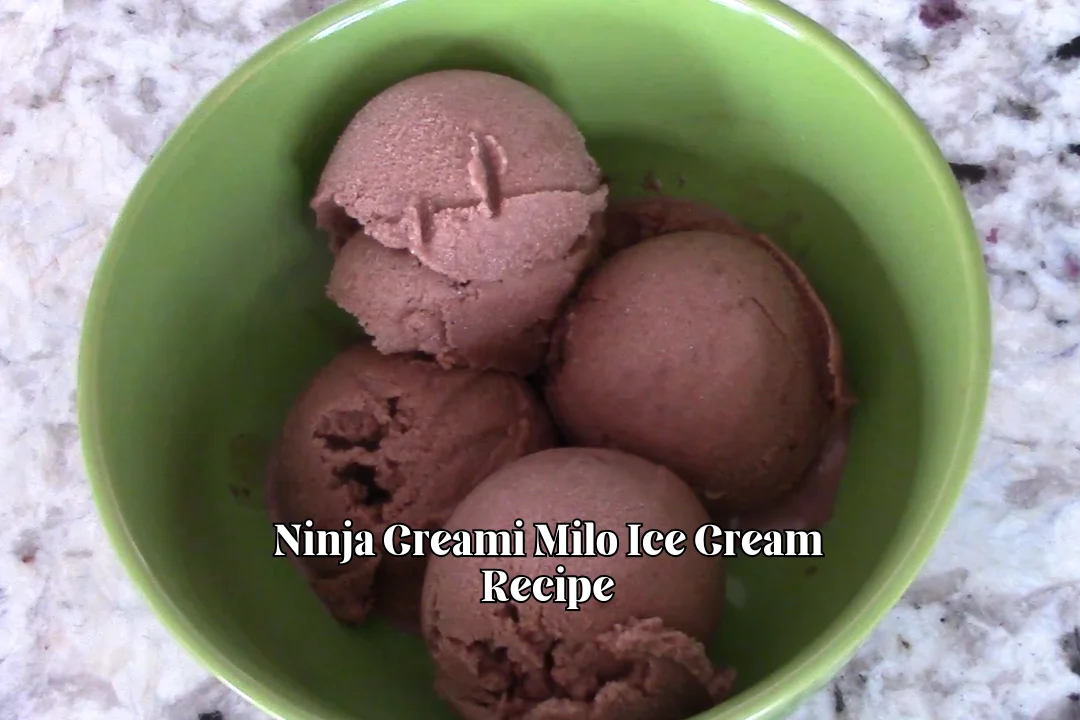
Ninja Creami Milo Ice Cream Recipe (Tastes Like Childhood)
Today’s Ninja Creami Milo Ice Cream Recipe brings back the kind of flavor that can make an ordinary afternoon feel a little familiar again. Milo was one of those drinks that always felt like a treat when I was younger.
A spoonful of the powder, that chocolate-malt smell, and suddenly waiting for it to mix felt like the longest part.
That memory is the reason this ice cream ended up in my Ninja Creami.
Plain chocolate ice cream just wasn’t going to give me the same taste. Milo has that slightly malty flavor that stands out right away, and turning it into a frozen dessert sounded like a fun change from the usual pint.
After testing the texture, one small adjustment made a noticeable difference and helped the finished ice cream come out smoother. The result keeps that familiar Milo taste front and center.
This is an easy way to turn a familiar childhood flavor into a cold, creamy dessert.
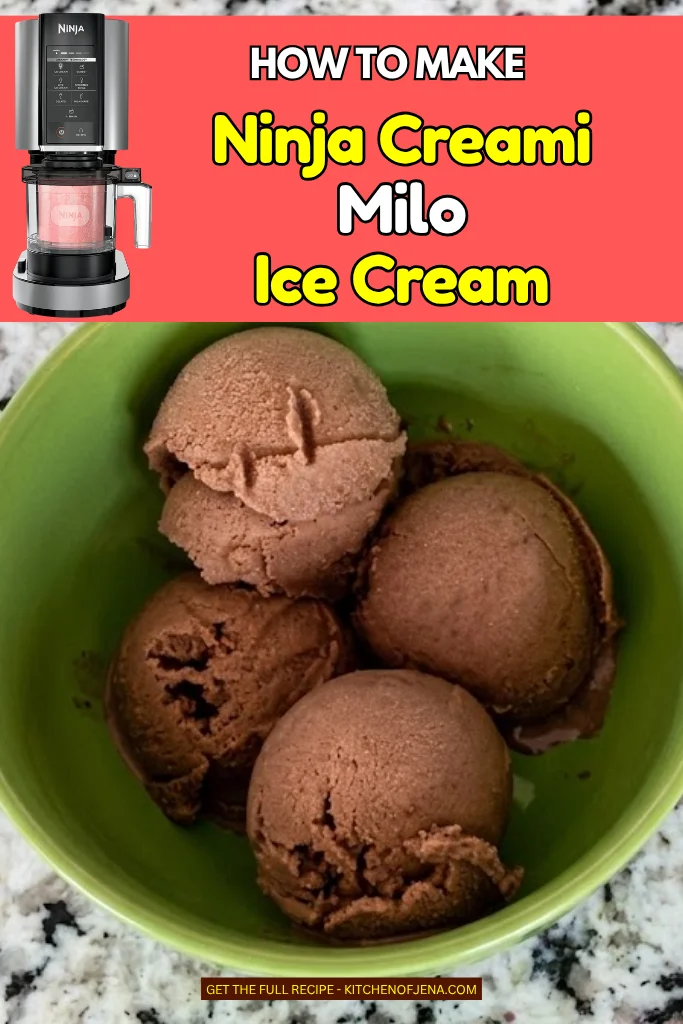
What Does Milo Ice Cream Taste Like?
Milo ice cream is not quite the same as regular chocolate ice cream. The chocolate flavor has a malted taste that gives it a different character.
The first bite is sweet and chocolatey, but the malt flavor comes through right after. That familiar Milo taste is really the reason to make this instead of a basic chocolate ice cream.
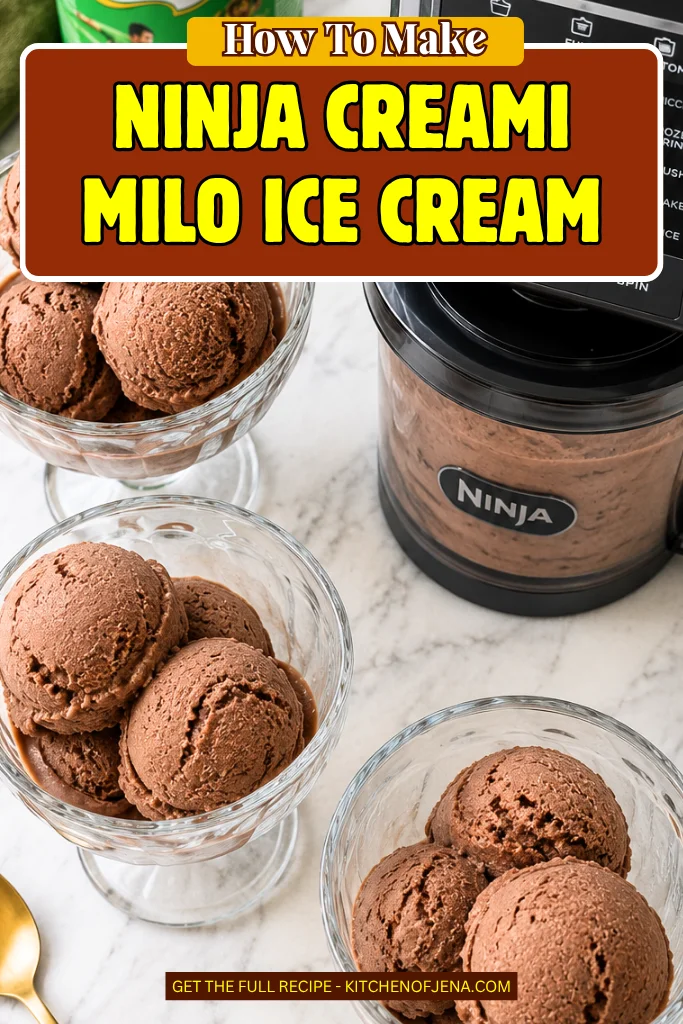
With the Ninja Creami, the frozen base turns into a smooth and creamy dessert while keeping that chocolate-malt flavor front and center.
Why Use the Ninja Creami for Milo Ice Cream?
A regular freezer can turn a Milo mixture into a solid block, but the Ninja Creami changes the texture after freezing. That makes it possible to start with a simple liquid base and turn it into something you can scoop and eat like ice cream.
This Milo ice cream also gives you room to adjust the final texture. A Re-spin can help if the first spin comes out a little crumbly, and extra Milo can be mixed in when you want a stronger flavor.
For me, that flexibility makes the Ninja Creami a good match for this recipe. You can keep the Milo flavor simple or add a little extra at the end.
Milo Ice Cream vs. Regular Chocolate Ice Cream
The biggest difference is the malt flavor. Regular chocolate ice cream usually tastes rich and straight chocolatey, while Milo ice cream has a lighter chocolate taste with a noticeable malted note.
The texture can also be different. This Ninja Creami Milo ice cream recipe uses a lighter base instead of the heavy cream often found in traditional ice cream.
So, while both are chocolate desserts, they don’t taste the same. Regular chocolate ice cream is familiar and rich.
Milo ice cream has that childhood drink flavor that makes each spoonful feel a little different.
Ninja Creami Milo Ice Cream Ingredients
Vanilla almond milk – enough to reach the MAX FILL line
I use vanilla almond milk because it gives the ice cream a light vanilla taste and works well with the chocolate malt flavor.
Milo chocolate malt drink mix – 4 tablespoons, plus more for the mix-in
I use four tablespoons for a strong Milo taste. You can add a little more after spinning if you want extra chocolate-malt flavor.
Xanthan gum – ½ teaspoon or slightly less
I add a small amount to help the almond milk base feel thicker and smoother after spinning in the Ninja Creami.
Essential Kitchen Appliances
- Ninja Creami ice cream maker – This is the main machine used to turn the frozen Milo base into a creamy dessert.
- Ninja Creami pint container – Use the pint that fits your Ninja Creami machine and keep the mixture below the MAX FILL line.
- Blender – I use a blender to mix the Milo and xanthan gum well into the almond milk.
- Measuring spoons – These help keep the Milo and xanthan gum amounts close to the tested measurements.
- Freezer – A deep freezer works well for getting the pint fully frozen before processing.
- Small spoon – I use one to add extra Milo to the center when making a mix-in.
How To Make Ninja Creami Milo Ice Cream At Home
Step 1 | Add the Almond Milk
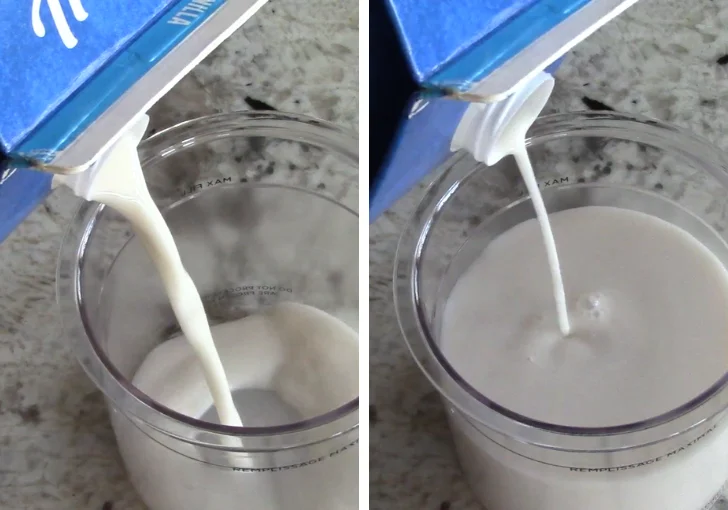
Pour vanilla almond milk into the Ninja Creami pint. Stop just below the MAX FILL line and leave a little space at the top. The almond milk becomes the full liquid base, so there is no need to add coconut milk, cream, or another liquid. I like to keep the fill level a little under the line instead of pushing it too close to the top.
Step 2 | Add the Milo
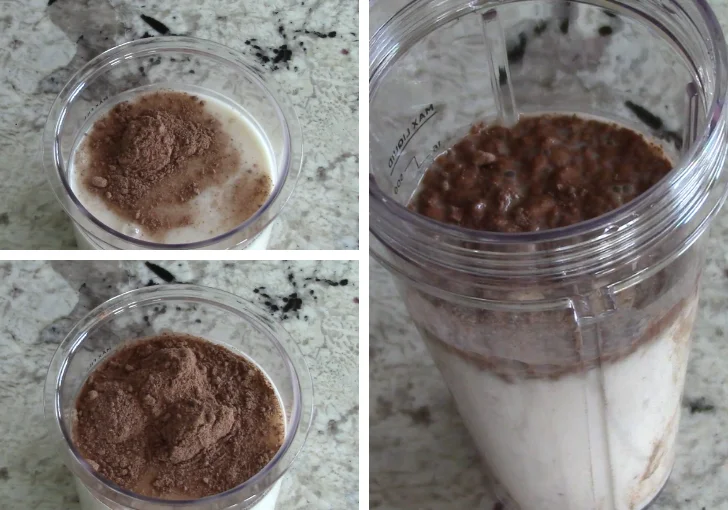
Add about 3 tablespoons of Milo chocolate malt drink mix to the vanilla almond milk. Mix it well so the powder starts to break down into the liquid. I find a blender works best because Milo can take a little time to mix into cold almond milk. Taste the mixture after blending. Add the fourth tablespoon if you want a stronger Milo taste.
For this recipe, four tablespoons give the base a clear chocolate-malt flavor without making it too heavy.
Step 3 | Add the Xanthan Gum
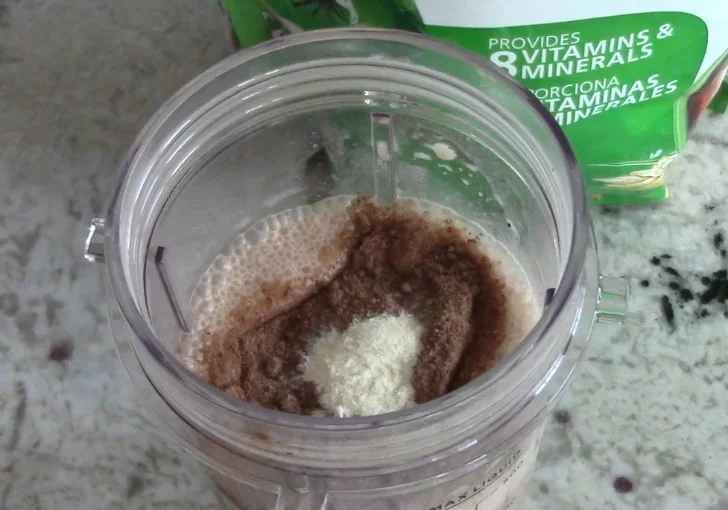
Add ½ teaspoon of xanthan gum, or slightly less, to the Milo mixture. Mix again until the xanthan gum is spread through the base. A little goes a long way here, so I don’t add more than the amount listed. Xanthan gum helps give the almond milk base a thicker feel after the Ninja Creami processes it.
If you leave it out, the ice cream can still work, but the finished texture will be softer.
Step 4 | Fill and Freeze
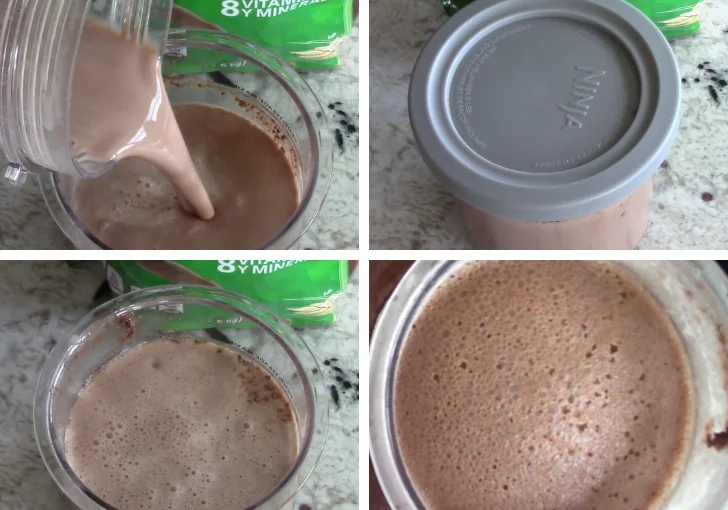
Pour the blended mixture into the Ninja Creami pint and check the level again. Keep the liquid below the MAX FILL line. Put the lid on the pint and place it flat in the freezer. The original preparation used about 19 hours in a deep freezer, but I recommend a full 24 hours for a more reliable freeze.
The base needs to be completely solid before processing. I usually give it the full freezing time so I don’t have to guess if the center is ready.
Step 5 | Process the Ice Cream
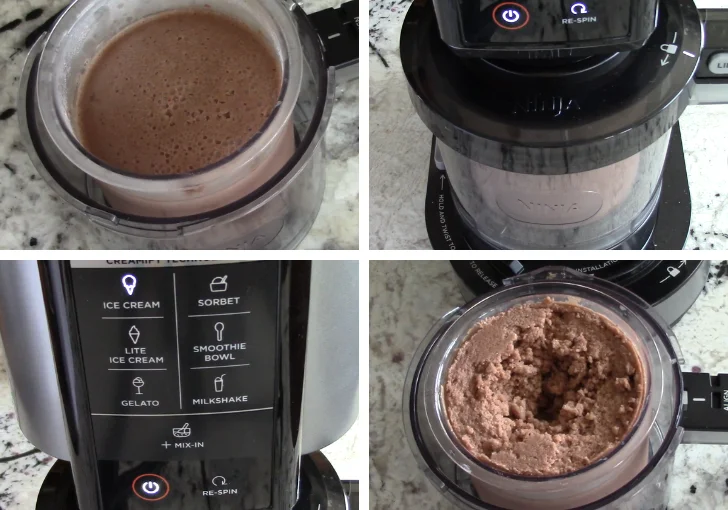
Take the frozen pint from the freezer and remove the lid. Place the pint into the Ninja Creami outer bowl. Attach the paddle, lock the bowl into place, and select the Ice Cream setting. Let the machine run through the cycle. The processing takes about 2 minutes.
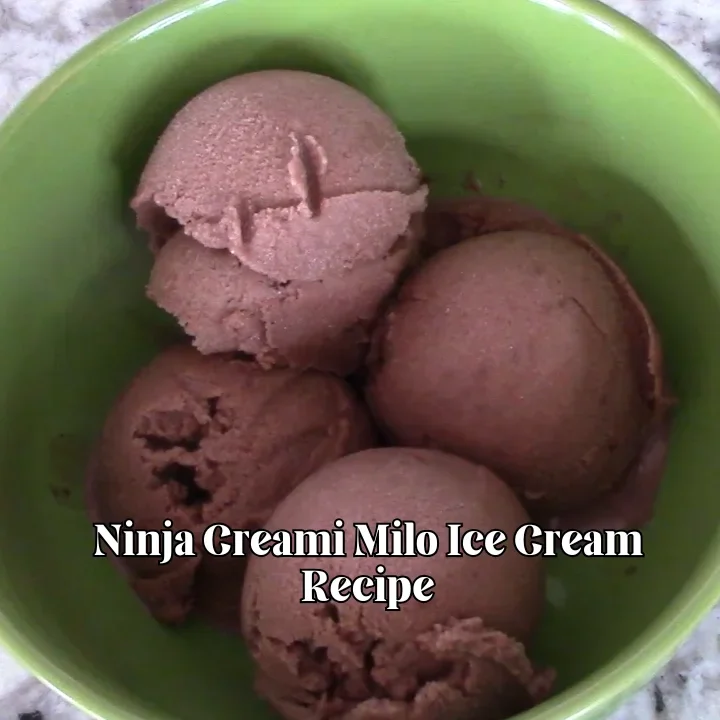
When the cycle ends, check the texture. The ice cream should have a creamy look with a strong chocolate-malt smell.
Step 6 | Add More Milo
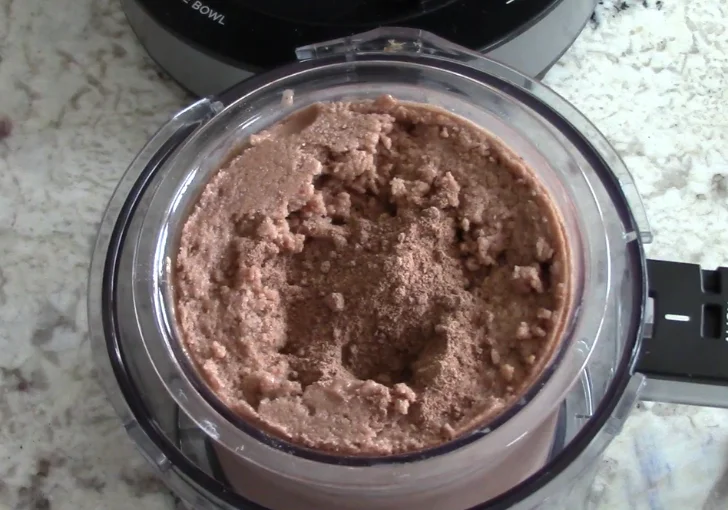
Check the ice cream after the first spin. If the texture looks crumbly or needs more work, use the Re-spin setting. For extra Milo flavor, make a small hole in the center of the processed ice cream. Add a little more Milo chocolate malt drink mix into that hole.
I like this step when I want small pockets of extra malt flavor throughout the scoop.
Step 7 | Mix In the Milo
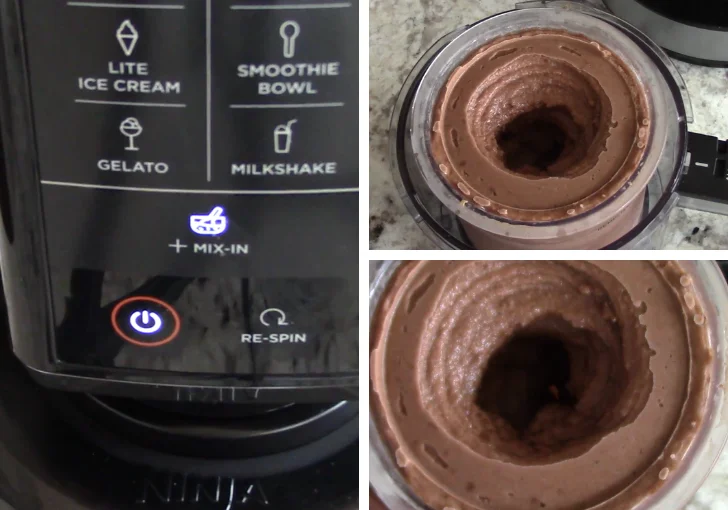
Use the Mix-In setting after adding the extra Milo. This spreads the powder through the ice cream and gives the finished scoop more of that chocolate-malt taste. If you are not adding extra Milo and only need to improve the texture, skip the Mix-In setting and use Re-spin instead.
There is no need to run extra cycles when the texture already looks smooth.
Step 8 | Serve
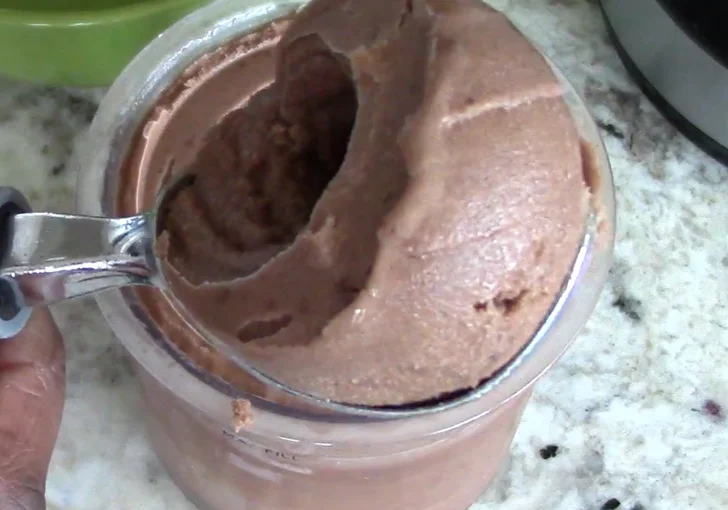
Scoop the finished Milo ice cream into a bowl and serve right away. I love the first few bites when the ice cream is fresh from the machine. The texture is creamy, and the chocolate-malt flavor stands out while the vanilla almond milk stays in the background. Add a little extra Milo on top if you want an easy finish.
Easy Tips For The Best Ninja Creami Milo Ice Cream
Keep the base below the MAX FILL line – I always leave a little room at the top. This keeps the mixture at a safe fill level while it freezes and processes.
Blend the Milo well – Cold almond milk can make Milo harder to mix. A blender helps break up the powder and gives the base a more even taste.
Use only a little xanthan gum – Stick close to ½ teaspoon or slightly less. Too much can make the ice cream feel thick or gummy.
Freeze the pint for 24 hours – The original preparation used around 19 hours, but I prefer the full 24 hours for a solid, even freeze.
Taste before freezing – The Milo flavor is easier to adjust while the base is still liquid. Add the fourth tablespoon if three tablespoons taste too mild.
Use Re-spin when needed – A crumbly first spin does not mean the batch is ruined. One Re-spin can help bring the texture together.
Serve right after processing – The fresh texture is soft and scoopable. I think this is when the Milo flavor and creamy texture taste best.
Creative Variations And Adaptations To Try
Extra Milo topping – Add a light spoonful of Milo over each scoop before serving. I like this version when I want a stronger malt taste and a little powdery chocolate flavor with every bite.
Chocolate Milo ice cream – Add a small amount of unsweetened cocoa powder to the base with the Milo. I use this when I want the finished ice cream to taste darker and more like chocolate.
Milo cookie mix-in – Stir in crushed chocolate cookies during the Mix-In cycle. I enjoy this when I want a little crunch with the soft Milo ice cream instead of keeping the recipe plain.
Banana Milo version – Add a small amount of ripe banana to the base before freezing. The banana brings natural sweetness and gives the chocolate-malt flavor a soft, fruity note.
Peanut butter Milo ice cream – Add a small spoonful of creamy peanut butter to the base. I like the nutty taste with Milo, especially when I want something richer without adding heavy cream.
The Most Common Mistakes That Can Ruin Ninja Creami Milo Ice Cream
Adding too much xanthan gum – More does not always mean better. I stay near ½ teaspoon because too much can make the ice cream feel sticky or gummy instead of soft and creamy.
Not mixing the Milo enough – If the powder stays in clumps, some bites can taste much stronger than others. I blend the base well so the chocolate-malt flavor spreads evenly.
Filling past the MAX FILL line – This is an easy mistake to make when working with a liquid base. I always stop below the line and leave some room at the top.
Freezing for too little time – A partly frozen base can give poor results in the machine. I use 24 hours when possible because a fully frozen pint gives me a more dependable texture.
Using too much extra Milo – Adding a lot after spinning can make the flavor too strong and leave dry powder in some bites. I start with a small amount and add more only if needed.
Skipping Re-spin when the texture needs it – Sometimes the first cycle does not look perfect. I use Re-spin when the ice cream looks dry or crumbly instead of adding extra liquid.
Expecting dairy-style richness – This recipe uses vanilla almond milk, so the result is lighter than ice cream made with heavy cream. I enjoy it for its smooth texture and clear Milo flavor.
Creative Ways To Serve Ninja Creami Milo Ice Cream
Milo dusted on top – I add a little Milo over the scoop for extra malt flavor and a simple finish that takes only a few seconds.
Chocolate sauce drizzle – I drizzle a small amount of chocolate sauce over the top when I want a richer chocolate taste with the light almond milk base.
Fresh banana slices – I add banana slices for a soft fruit flavor that works nicely with the chocolate and malt notes in the ice cream.
Crushed cookies – I sprinkle crushed chocolate cookies over my scoop when I want some crunch without changing the base recipe.
Peanut butter drizzle – A thin peanut butter drizzle adds a salty, nutty taste. I like this when the Milo flavor needs a little extra contrast.
Simple Milo bowl – Sometimes I keep it easy and add only a little extra Milo on top. The plain version lets the chocolate-malt flavor stand on its own.
Leftover Storage Tips
I store any leftover Ninja Creami Milo Ice Cream in the Ninja Creami pint with the lid firmly in place. Keep the pint in the freezer so the ice cream stays cold and protected from freezer odors.
The texture can become much harder after sitting in the freezer again. That is normal. When I want another serving, I let the pint sit out for a short time so the surface is not quite as hard. Then I use the Re-spin setting if the ice cream needs help becoming smooth again.
Try not to leave the pint sitting at room temperature for a long time. I take out only the amount I plan to eat. Keeping the rest frozen helps the ice cream hold its flavor and texture for the next serving.
For the best texture, I prefer eating this ice cream soon after the first spin. Ninja Creami recipes are at their softest and creamiest right after processing. If I refreeze the leftovers, I expect to use Re-spin before serving again.
Ninja Creami Milo Ice Cream Recipe FAQs
Can I use regular milk instead of vanilla almond milk?
Yes, you can use regular milk. Whole milk will make the ice cream richer and creamier, while low-fat milk gives a lighter result. Keep the same basic fill level and stay below the Ninja Creami MAX FILL line. The flavor will change a little because vanilla almond milk adds a mild vanilla and nutty note.
Can I make Ninja Creami Milo Ice Cream without xanthan gum?
Yes, xanthan gum can be left out. The recipe will still freeze and process in the Ninja Creami, but the texture may be softer and less thick. I use xanthan gum because almond milk does not have the same fat and milk solids found in dairy milk. If you skip it, focus on freezing the pint fully before processing.
How much Milo should I use for this ice cream recipe?
I use four tablespoons of Milo chocolate malt drink mix for the main base. I start with about three tablespoons, blend it, taste the mixture, and add the fourth tablespoon for a stronger flavor. You can adjust the amount slightly to match your taste. Extra Milo can also be added after the first spin as a mix-in.
Why is my Milo ice cream crumbly after the first spin?
A crumbly texture can happen with a low-fat almond milk base, especially when the pint is very hard after freezing. First, check the texture instead of adding random ingredients. If it looks dry or crumbly, use the Re-spin setting. In many cases, another spin is enough to turn the frozen mixture into a smoother scoop.
Can I use chocolate almond milk for the Ninja Creami Milo recipe?
Yes, chocolate almond milk can be used, but it will make the chocolate flavor stronger. The original recipe uses vanilla almond milk because it keeps the Milo as the main flavor. If you use chocolate almond milk, you may want to start with slightly less Milo and taste the liquid base before freezing.
How long should I freeze Ninja Creami Milo Ice Cream?
I recommend freezing the filled Ninja Creami pint for a full 24 hours. The original preparation used about 19 hours in a deep freezer, but a full day gives the base more time to freeze solid. Keep the pint level in the freezer. A solid, evenly frozen pint is important for getting a good result from the machine.
Can I add more Milo after the ice cream is spun?
Yes, and this is one of my favorite ways to make the Milo flavor stand out more. Make a small hole in the center of the processed ice cream and add a little extra Milo powder. Use the Mix-In setting to spread it through the ice cream. Start with a small amount so the powder does not overpower the base.
What Ninja Creami setting should I use for Milo ice cream?
Use the Ice Cream setting for the main processing cycle. After that, check the texture. If the ice cream looks crumbly, use Re-spin. If you add extra Milo or another mix-in, use the Mix-In setting. These settings help you adjust the texture and flavor without running the machine more than needed.
Why does my Milo ice cream taste too strong?
Milo has a strong chocolate-malt taste, so adding too much can make the flavor heavy. I use four tablespoons for the base because that gives a clear Milo taste without taking over the whole dessert. If you want a milder batch next time, start with three tablespoons, blend the base, and taste it before adding more.
Can I make this recipe with another malt drink powder?
You can try another chocolate malt drink powder, but the flavor will not be exactly the same. Milo has its own chocolate and malt taste, so changing the powder changes the final result. Keep the liquid base and xanthan gum close to the recipe at first. Then adjust the powder based on sweetness and flavor.
Can I add chocolate chips to Ninja Creami Milo Ice Cream?
Yes, chocolate chips can make a nice addition. I would add a small amount after the first spin and use the Mix-In setting. Mini chocolate chips work especially well because they spread through the ice cream more easily. Avoid adding a large amount at once because too many chips can make each spoonful feel heavy.
Is this Milo ice cream dairy-free?
The recipe uses vanilla almond milk instead of dairy milk, so the base is made without regular milk or heavy cream. However, check the package labels for the exact Milo product and almond milk you use if avoiding dairy is important to you. Ingredient formulas can vary between products and markets.
Can I make this Milo ice cream without a blender?
Yes, but mixing by hand may take more time. Milo can clump in cold almond milk, and xanthan gum also needs to spread evenly. A blender makes this part easier. If you do not have one, whisk the mixture well and give it extra time so the powders are evenly mixed before freezing.
Ninja Creami Milo Ice Cream Recipe
Ninja Creami Milo Ice Cream Recipe is my easy way to make a creamy chocolate malt treat with vanilla almond milk, Milo chocolate malt drink mix, and a little xanthan gum. The base takes about 10 minutes to mix, then it needs a full 24 hours to freeze before spinning. I use my Ninja Creami to turn the frozen mixture into a smooth scoop with a rich Milo flavor. This easy Ninja Creami ice cream recipe is great when you want a simple dairy-free dessert without cooking. Serve your Milo ice cream with extra Milo, chocolate sauce, banana slices, or crushed cookies.
Ingredients
- Vanilla almond milk – enough to reach the Ninja Creami container's MAX FILL line
- Use vanilla almond milk as the base. The recipe uses vanilla almond milk instead of coconut milk.
- Milo chocolate malt drink mix – 4 tablespoons, plus more for the mix-in
- Four tablespoons gave the desired chocolate-malt flavor in the recipe. Milo can be adjusted to taste.
- Xanthan gum – ½ teaspoon or slightly less
- A small amount helps give the almond-milk base a thicker, more ice-cream-like texture. This can be skipped, but the finished ice cream will be softer.
Instructions
- Pour vanilla almond milk into the Ninja Creami pint. Stop just below the MAX FILL line and leave a little space at the top. The almond milk becomes the full liquid base, so there is no need to add coconut milk, cream, or another liquid. I like to keep the fill level a little under the line instead of pushing it too close to the top.
- Add about 3 tablespoons of Milo chocolate malt drink mix to the vanilla almond milk. Mix it well so the powder starts to break down into the liquid. I find a blender works best because Milo can take a little time to mix into cold almond milk. Taste the mixture after blending. Add the fourth tablespoon if you want a stronger Milo taste. For this recipe, four tablespoons give the base a clear chocolate-malt flavor without making it too heavy.
- Add ½ teaspoon of xanthan gum, or slightly less, to the Milo mixture. Mix again until the xanthan gum is spread through the base. A little goes a long way here, so I don't add more than the amount listed. Xanthan gum helps give the almond milk base a thicker feel after the Ninja Creami processes it. If you leave it out, the ice cream can still work, but the finished texture will be softer.
- Pour the blended mixture into the Ninja Creami pint and check the level again. Keep the liquid below the MAX FILL line. Put the lid on the pint and place it flat in the freezer. The original preparation used about 19 hours in a deep freezer, but I recommend a full 24 hours for a more reliable freeze. The base needs to be completely solid before processing. I usually give it the full freezing time so I don't have to guess if the center is ready.
- Take the frozen pint from the freezer and remove the lid. Place the pint into the Ninja Creami outer bowl. Attach the paddle, lock the bowl into place, and select the Ice Cream setting. Let the machine run through the cycle. The processing takes about 2 minutes. When the cycle ends, check the texture. The ice cream should have a creamy look with a strong chocolate-malt smell.
- Check the ice cream after the first spin. If the texture looks crumbly or needs more work, use the Re-spin setting. For extra Milo flavor, make a small hole in the center of the processed ice cream. Add a little more Milo chocolate malt drink mix into that hole. I like this step when I want small pockets of extra malt flavor throughout the scoop.
- Use the Mix-In setting after adding the extra Milo. This spreads the powder through the ice cream and gives the finished scoop more of that chocolate-malt taste. If you are not adding extra Milo and only need to improve the texture, skip the Mix-In setting and use Re-spin instead. There is no need to run extra cycles when the texture already looks smooth.
- Scoop the finished Milo ice cream into a bowl and serve right away. I love the first few bites when the ice cream is fresh from the machine. The texture is creamy, and the chocolate-malt flavor stands out while the vanilla almond milk stays in the background. Add a little extra Milo on top if you want an easy finish.
Nutrition Information:
Serving Size: About ½ cupAmount Per Serving: Calories: 95Total Fat: 2.5gSaturated Fat: 0gCarbohydrates: 18gFiber: 1gSugar: 13gProtein: 2g
This Ninja Creami Milo Ice Cream Recipe is a simple way to turn a few everyday ingredients into a cold, creamy treat with a bold chocolate-malt taste. I love that the base does not need a stove or a long cooking process. Vanilla almond milk, Milo, and a little xanthan gum do most of the work. Freeze the pint, spin it, and enjoy that fresh creamy scoop. I hope you give this recipe a try and make it your own. Share your cooking experience with us, and don’t forget to follow us on Pinterest for more easy recipes.